

Check out our latest collection of compact vacuum sealer for food!
A freezer packed with unidentifiable frozen mysteries isn’t just frustrating—it’s expensive. Food waste drains hundreds of dollars from the average household every year, and a lot of it happens because we forget what’s hiding out in the freezer. Color-coding vacuum-sealed bags gives you an instant visual system that cuts out the guesswork, nips food waste in the bud, and turns your freezer into an organized powerhouse.
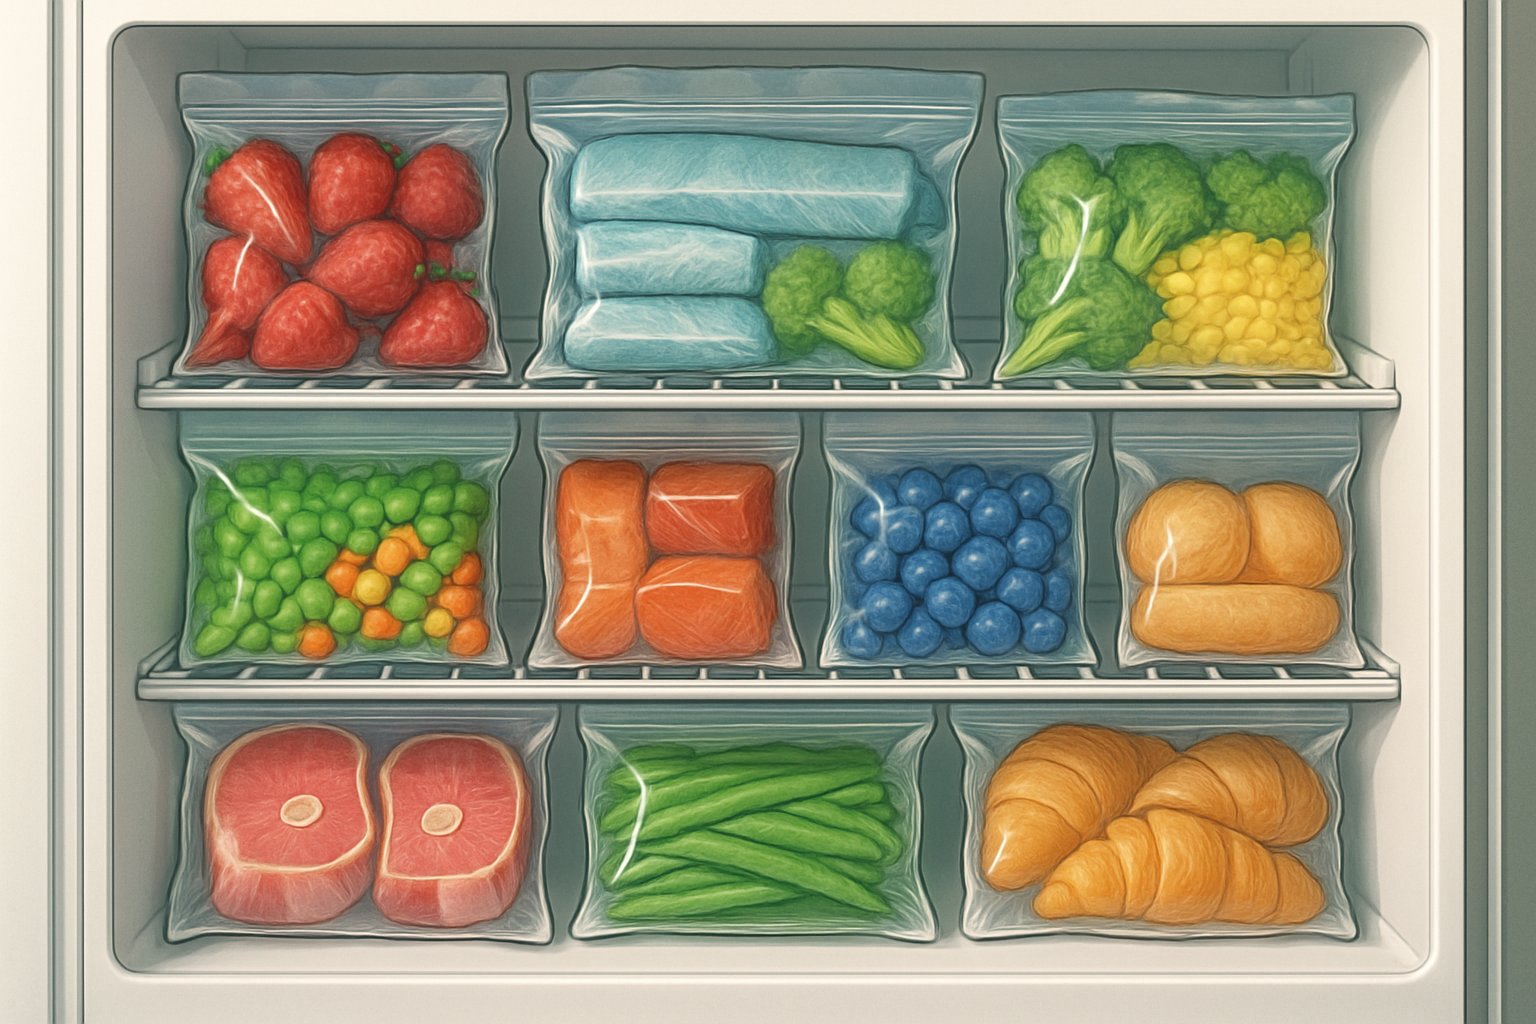
We’ve all been there: digging through frosty packages, squinting at faded labels, trying to figure out what that mystery bag is from three months ago. Sure, vacuum sealing keeps food fresher and saves space, but tossing in a simple color system? That’s when things really click. Use different colored bags or labels for meats, veggies, prepared meals, and leftovers—you’ll spot what you need in seconds.
This works for any freezer, whether you’re working with a tiny upright or a chest freezer the size of a small car. Here’s how to pick the right supplies, set up smart zones, and keep an inventory so nothing gets lost in the shuffle.
Key Takeaways
- Color-coding vacuum bags lets you ID food at a glance, slashing food waste and saving money
- Dedicated freezer zones with a consistent color system work for any freezer, big or small
- Pairing simple inventory tracking with color-coding means nothing gets lost or forgotten
Why Color-Coding Vacuum Bags Revolutionizes Freezer Organization
Color-coding takes vacuum-sealed storage from chaos to a streamlined system that saves time and cuts food waste. With a quick glance, you know exactly what’s what.
Benefits of a Color-Coded System
You can spot food categories instantly—no more peering at tiny labels or playing freezer roulette. Red bags for meat, green for veggies, blue for prepared meals—it’s like a map for your freezer.
No more rummaging through identical clear bags. You grab what you need in seconds, which is a lifesaver when you’re meal planning or just trying to keep the freezer door from hanging open too long.
When you know where everything belongs, you naturally create zones that make the most of your freezer’s space. Bags of the same color stack together, so you get tidy sections instead of random piles.
Inventory tracking gets easier too. You’ll notice at a glance if you’re running low on proteins or veggies, and you won’t end up buying stuff you already have buried in the back.
How Color-Coding Prevents Food Waste
You’ll actually see that blue bag of leftover soup before it turns into a frozen brick. Forgotten food is way less likely when colors make categories obvious.
It’s easy to rotate food first-in, first-out. Just arrange bags by color and date, keeping the older ones at the front. That way, good food doesn’t end up as expensive compost.
Meal planning is less of a chore when you can quickly see what’s available. Need more green veggies? Got too much red meat? A glance tells you.
Portion control gets better too. Use certain colors for single servings and others for family-sized meals—no more over-prepping and tossing extra food.
Psychology of Color for Quick Identification
Our brains process color way faster than text. That means you’ll recognize what you’re looking for almost instantly.
Color associations just make sense—green for veggies, red for meat, yellow for dairy or prepared foods. These natural links help cut down on decision fatigue.
You’ll remember “grab the blue bags for dinner” a lot faster than any complicated label system. It’s a shortcut that saves mental energy.
Consistency builds habits—once your color system is set, keeping it up becomes automatic instead of a dreaded chore.
Getting Started: Choosing Colors and Supplies for Freezer Success
Setting up a color-coding system is as simple as picking easy-to-remember colors for each food group and getting the right bags and labels. The right combo keeps food waste down and makes meal prep less of a headache.
Selecting the Right Colors for Food Categories
Go for colors that naturally fit the food. Red is perfect for beef and other red meats. White or clear works for poultry.
Blue is great for pork, and green obviously fits veggies and plant-based stuff. Yellow stands out for prepared meals and leftovers.
For seafood, try purple or teal—they won’t get mixed up with other proteins. Dairy and cheese? Orange bags do the trick.
Stick to 5-7 categories. More than that and it gets confusing, which kind of defeats the purpose.
Jot down your color assignments and tape the list inside a cupboard so everyone’s on the same page.
Best Types of Freezer Bags and Vacuum Bags
Vacuum-sealed bags are your best bet for keeping out freezer burn and making food last. Look for bags made for vacuum sealers—those textured ones that let the air out work best.
If you’re on a budget, heavy-duty freezer bags (at least 4 mil thick) are a decent alternative.
Stand-up freezer bags are a game changer—they stack neatly and are easy to label.
Skip regular storage bags. They’re too thin, let in air, and your food will suffer.
Reusable silicone bags are awesome for stuff you freeze often. They come in lots of colors and cut down on plastic waste.
Essential Tools and Labeling Materials
Waterproof labels are a must. Anything else will peel off or turn to mush in the cold.
Permanent markers made for freezing temps beat regular ones. Sharpie Fine Point markers don’t fade or smudge as much.
A label maker is nice if you want pro-looking labels—get one that lets you use colored tape to match your system.
Masking tape plus a permanent marker is a cheap and effective labeling solution. It sticks to frozen surfaces and peels off cleanly.
Keep a basket of labeling supplies near the freezer so you can label stuff right away.
If you use clear bins that change contents often, a dry erase marker works for quick notes.
Game Plan: Setting Up Your Freezer Zones
Turning your freezer from a jumble into an organized system starts with zones. Split up space by food group, assign colors, and use rotation strategies to keep things moving.
Dividing Freezer Space by Food Group
Assign specific areas for each food type. Sketch your freezer layout before you start moving things.
Top shelf or area: That’s where ready-to-eat stuff like leftovers and prepped meals should go. Easy to grab when you’re in a rush.
Middle sections: Raw proteins get their own spot. Keep chicken, beef, pork, and fish separate so nothing gets mixed up.
Lower areas: Veggies, fruits, and bulk items fit well in bottom drawers or bins—stuff you don’t reach for every day.
Door compartments: Best for small things like herbs, sauces, and specialty items. Don’t put proteins here—the temp fluctuates too much.
Think about what your family eats most and give that category more space.
Assigning Colors to Each Zone
Color-coding bags gives you instant recognition and keeps your inventory in check. Pick colors that make sense and stick to them.
Here’s a simple system:
- Red bags: Raw meats and poultry
- Green bags: Veggies and fruits
- Blue bags: Prepared meals and leftovers
- Yellow bags: Baked goods and desserts
- Clear bags: Bulk or miscellaneous stuff
Tape your color code inside the freezer door so nobody gets confused.
Buy colored vacuum bags in bulk or use colored markers on clear bags. Some brands sell colored bag rolls, which is pretty handy.
First-In, First-Out (FIFO) Rotation Made Easy
FIFO keeps food from getting forgotten. With color-coded zones, it’s a breeze.
Put new bags behind the old ones in each color zone. That way, you’re always grabbing the oldest first.
Label each bag with the freeze date. Even with colors, dates matter for freshness.
Keep a simple inventory sheet by color zone. Cross off items as you use them—it only takes a second and saves money over time.
Check your zones once a week when meal planning. Move anything nearing its best-by date to the front. Most vacuum-sealed food stays good for 2-3 years if stored right.
Strategies for Chest Freezers and Upright Freezers
Different freezers need different organization tricks. Chest freezers work best with vertical systems; uprights are all about shelves.
Color-Coding in Chest Freezer Organization
Chest freezers stack from bottom to top, so think vertical. Create clear color zones so nothing gets lost.
Color Zone Strategy:
- Red bags: Raw meats (bottom layer for safety)
- Green bags: Veggies and fruits (middle section)
- Blue bags: Prepared meals and leftovers (top layer)
- Yellow bags: Bread and baked goods (easy access)
Hang baskets from the rim with colored tags for quick-grab items.
Label each color zone on the outside wall—laminated cards work well and won’t peel off.
Stack bags flat like books, not in piles. That way, you can flip through and find what you need without digging.
Color-Coding in Upright and Deep Freezers
Upright freezers make color-coding simple since you can see everything. Each shelf gets a color zone.
Shelf Assignment System:
- Top shelf: Yellow bags (quick-grab treats)
- Eye level: Blue bags (dinner options)
- Middle shelves: Green bags (veggies)
- Bottom shelf: Red bags (raw proteins)
Stand bags upright in magazine holders or wire baskets to prevent avalanches.
Deep freezers need sturdy bins that slide out so you can reach the back.
Door compartments are perfect for small colored bags—herbs, sauces, single servings.
Separating Zones for Quick Access
Physical separation keeps things organized and speeds up meal planning. Use dividers between color sections.
Separation ideas:
- Wire baskets with colored handles
- Stackable containers with matching lids
- Magnetic strips for baskets (chest freezers)
- Sliding drawer organizers (uprights)
Put a “this week” zone at the front with clear containers. Fill it with bags for planned meals.
Make an inventory sheet by color and location and tape it inside or outside the freezer for reference.
Always put new items to the back in each color zone—oldest stays at the front.
Inventory Tracking: Never Lose a Bag Again
Keeping an inventory stops vacuum bags from turning into mystery meals. Tracking helps you cut waste and keeps your color-coded system working.
Simple Freezer Inventory Systems
No need for fancy spreadsheets. A whiteboard on the freezer door works for quick updates.
Digital apps like NoWaste or just your phone’s notes let you keep track, and you can snap photos of your system.
Other options:
- Dry-erase board with color categories
- Clipboard with printable inventory sheets
- Sheet protector taped to the door
Pick one method and stick with it—simple is best.
Label each entry with bag color, contents, and freeze date. That way, you don’t double-buy or forget what’s inside.
Tips for Maintaining an Up-to-Date List
Update your inventory right away when adding or removing bags. If you wait, you’ll forget.
Check inventory weekly—takes five minutes to match bags to your list.
Good habits:
- Cross off items as you use them
- Update amounts if you take part of a bag
- Note when bags change color categories
It helps to have one person as the “freezer keeper.” Anyone can use the food, but one person keeps the list up to date.
During meal prep, batch updates work—add several bags to your inventory at once.
Keep a notepad near the freezer for quick scribbles if you’re in a hurry. Update your main system later.
Pro Tips and Common Pitfalls to Avoid
Smart color-coding can really change how you organize your freezer, but honestly, small mistakes can mess things up fast. Let's dig into some wallet-friendly tricks, highlight errors that lead to waste, and figure out how to get everyone in the house actually using your system.
DIY Color-Coding Hacks for Freezer Bags
Colored tape is a lifesaver when you can't find colored freezer bags. I just wrap different colors of electrical tape around the top edges of clear bags—red for beef, blue for chicken, green for veggies. It's quick and you can always spot what you need.
Permanent markers are another go-to. Draw a colored square or circle on the corner of each bag before you fill it. It's super cheap compared to buying pre-colored bags, and you can change up the code anytime.
Rubber bands in different colors work surprisingly well. I keep a little pile of colored bands near the freezer and assign each color to a food group. When we use up the food, the band goes back in the box for next time.
Label makers with colored tape cartridges give a pro-level look. Print the food category right onto a colored background—easy to read, doesn't smudge, and you’ll never wonder what’s inside.
Mistakes That Lead to Food Waste
Inconsistent color assignment ruins everything fast. If you start out using red for meat and then switch to red for leftovers, but forget to tell the rest of the family? Suddenly, no one knows what’s what, and mystery bags get tossed.
Overstuffing bags is a classic mistake. If you cram too much in one bag, the food freezes into a solid lump and good luck breaking off a portion later.
Skipping expiration dates is a recipe for waste. Color tells you what’s inside, but not when you froze it. I always write the date right on the bag.
Cheap bags just don’t cut it. If the bags let in air or leak, you’ll get freezer burn, no matter how organized your color system is.
Keeping the System Family-Friendly
Make a color chart and tape it inside the freezer door. List each color with its food category, so everyone knows red means ground beef, not chicken.
Go with obvious color choices when you can. Green for veggies just feels right. Blue for fish? Makes sense—water, ocean, you get it.
Give family members their own colors for personal stuff. Kids can have purple for snacks, meal prep gets yellow, whatever works.
Keep backup supplies handy. We stash extra markers and tape in a kitchen drawer so nobody has to hunt around to keep the system going.
Frequently Asked Questions
Color-coding vacuum bags might sound like a small thing, but it really helps bring order to freezer chaos. These tricks tackle common storage headaches and help you actually use what you buy.
What color-coding system can I use for vacuum-sealed bags to reduce food waste?
I like a simple system: red for raw meats, green for veggies, blue for prepared meals, yellow for fruits. It’s easy to spot what you need, even with bags stacked up.
If you don’t have colored bags, just use clear ones and write the contents and date with a permanent marker.
For families with different diets, give each person a color. That way, no one grabs the wrong meal by accident.
Can you recommend some creative freezer storage ideas for optimizing space?
Vacuum-sealed bags stack up like bricks, so vertical storage works great. Magazine holders are a quirky but effective way to keep similar items together.
Try freezing soups or sauces in flat, thin layers. They stack beautifully and save tons of space.
The "file folder" method—standing bags upright—makes it easy to see everything without digging.
How do I keep track of what's in my freezer to avoid items getting buried and forgotten?
Tape a simple inventory list to the outside of your freezer. Update it when you add or take out food.
Snapping a quick photo of your freezer every month helps too. It’s a visual reminder to use up older stuff.
Always label with freeze dates, not just contents. Follow the "first in, first out" rule to keep things moving.
Are there any affordable organization hacks for chest freezers using dollar store finds?
Wire baskets from the dollar store make perfect dividers. They’re cheap and let the cold air flow.
Clear plastic bins are great for rounding up small things that always seem to vanish. You can see what’s inside at a glance.
Binder clips on the freezer rim can hold your inventory list or mark which basket has what.
What's the best way to use freezer baskets and dividers for efficiency?
Give each basket a job—proteins in one, veggies in another, prepared meals in a third. No more random dumping.
Keep the stuff you use most in the top basket or wherever’s easiest to grab. Heavy things like bulk meats can go on the bottom.
Dividers inside big baskets help too. That way, smaller vacuum bags don’t get buried under bigger ones.
How do I organize a small chest freezer to get to everything easily?
Try thinking in layers and zones instead of just tossing stuff in wherever it fits. Use baskets or bins to carve out areas for different types of food.
Keep a "recently added" basket right near the top so you can spot new items without digging around. That way, you won’t lose track of what you just froze.
Put the things you grab all the time along the sides—they’re way easier to reach there. The bottom? Save that for stuff you don’t need often, like those long-term backup meals.
Share:
Perfect Picnics: Pre‑Pack Mess‑Free Meals With a Portable Vacuum Sealing Device
Perfect Picnics: Pre‑Pack Mess‑Free Meals With a Portable Vacuum Sealing Device