

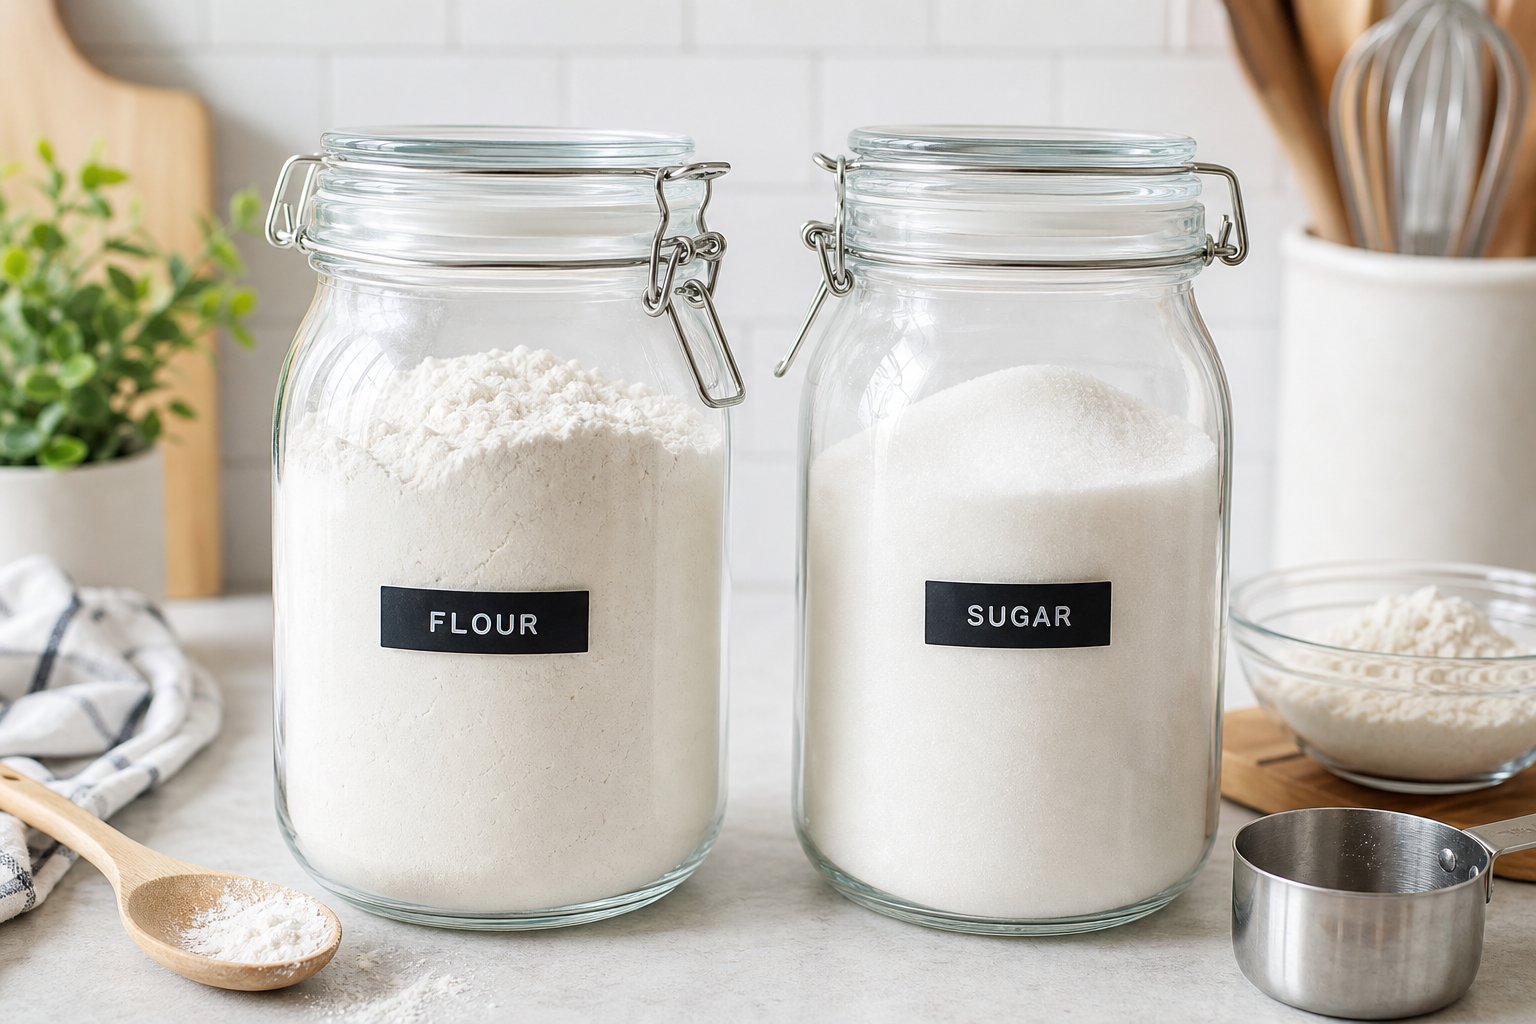
Check out our latest glass jars collection!
Fresh flour and free-flowing sugar start with one simple step: keeping moisture out. Large glass jars can protect pantry staples from humidity, odors, and pests, but only when the jars are completely dry and the lids form a reliable airtight seal.
The best setup combines food-grade glass, secure gaskets, clean and dry scoops, clear labels, and a cool storage location. Flour also needs attention to shelf life, especially whole grain and nut flours, while brown sugar needs enough retained moisture to stay soft.
This guide explains how to choose, prepare, fill, seal, label, and maintain large glass jars so your flour and sugar stay fresh, easy to use, and protected from clumping.
Key Takeaways
- Pick glass jars with silicone gaskets or rubber seals, and toss in food-grade desiccant packets to keep out moisture and stop clumping
- Store jars in cool, dry spots away from temperature swings, and make sure they’re bone-dry before you fill them
- Check seals now and then, rotate your stash every few months, and keep an eye out for clumps or weird smells
Choosing the Best Glass Jars for Bulk Flour and Sugar
The right glass jar keeps your flour and sugar safe from humidity, bugs, and clumping, while making your pantry look organized. I usually focus on three things: jar size, glass quality, and how well the seal actually works.
Why Jar Size and Shape Matter
Jar size decides if you can fit a whole bag of flour or sugar, or if you’re left with awkward leftovers. A 1-gallon jar fits about 4 to 5 pounds of all-purpose flour or granulated sugar, which is pretty much a full standard bag.
Square jars stack better than round ones and squeeze into tight pantries without wasting space. If you’re short on shelf depth, go with squares. Round jars look great on open shelves, especially if you want to show off your baking supplies.
Wide mouths make scooping and measuring so much easier. I’d go for a 4-inch opening or bigger, so you can dip a measuring cup in without making a mess. Narrow jars look sleek but can be a pain when you’re in a rush.
Check your shelf height before you buy jars. There’s nothing more annoying than finding out your new jars are too tall for your pantry.
Evaluating Food-Grade Glass
Borosilicate glass handles temperature changes better than regular glass. That matters if you ever chill sugar after storing it at room temp, or if you wash jars in hot water right after use.
Food-grade jars should be BPA-free and lead-free, for obvious reasons. Clear glass helps you see what’s inside and how much you have left, so you don’t run out mid-recipe.
Thicker glass feels sturdier, but it’s heavy when full. If you move jars around a lot, think about whether you want to lug heavy containers. Thin glass is lighter but cracks more easily if you bump it.
I like dishwasher-safe glass for easy cleaning, but keep in mind some pretty lids need to be hand washed.
Airtight Versus Non-Airtight Seal Options
Airtight jars with silicone gaskets and clamp lids keep moisture out and flour dry. These are a must in humid places or if you want to store ingredients for more than a few weeks.
Wooden lids with rubber seals look nice and still keep things airtight. Metal clips give a good seal, but sometimes need a little tightening after a while.
Glass lids that just sit on top don’t really keep humidity out. They’re fine if you go through flour and sugar quickly and your kitchen stays dry.
Sugar jars need airtight seals even more than flour, since sugar soaks up moisture in no time and hardens. If you only buy one airtight jar, use it for your sugar.
How to Prepare Jars and Ingredients for Safe Storage
Getting your jars and ingredients ready is the real secret to keeping flour and sugar fresh. A little cleaning, some pest-prevention, and careful handling go a long way to stop clumping and spoilage.
Cleaning and Drying Techniques
I always wash glass jars in hot, soapy water, especially the lids and seals where gunk can hide. Even new jars need a good cleaning because manufacturing dust and warehouse grime are sneakier than you think.
Drying is more important than most people realize. I leave jars upside down on a clean towel for at least 12 hours, until they’re totally dry. If I’m in a hurry, I’ll pop them in a 100°C oven for 10 minutes, then let them cool before filling.
Check the rubber seals for cracks or warping. If the seal looks tired, swap it out. A leaky seal lets in humidity and ruins your efforts. I usually replace seals once a year on jars I use a lot. It is better to be safe than sorry.
Pre-Freezing for Pest Prevention
Freezing flour for 48 hours before pouring it into jars kills off any sneaky pest eggs. I keep the flour sealed during this step, so it doesn’t pick up freezer moisture.
After freezing, I let the flour come back to room temperature in the original bag. This avoids condensation inside the jar, which is a step you really shouldn’t skip.
Sugar doesn’t need freezing; bugs don’t care for it. I just pour it straight into clean, dry jars.
Avoiding Cross-Contamination
I keep dedicated jars for each ingredient. Flour in a jar that once held sugar can pick up weird flavors, and mixing flour types can get messy.
Label the jar and the lid with what’s inside and when you filled it. That way, you won’t mix up your flours or sugars, especially if you keep several types around.
Use clean, dry scoops every time. Even a little moisture from a wet spoon can cause clumping. I keep a scoop in each jar because it makes life easier.
Practical Steps to Fill and Seal Large Jars Without Moisture or Clumping
When you fill your jars, a few simple tricks make a big difference in keeping things fresh. Using the right tools, not overfilling, and setting up a rotation system can save you from a lot of frustration.
Using Funnels and Scoops for Mess-Free Filling
A wide-mouth funnel is a lifesaver for pouring flour or sugar into jars. I like ones with at least a 10 cm opening because they keep things neat and stop you from spilling all over the place.
If you spill around the rim, you’ll have trouble sealing the jar tight, and leftover bits can attract moisture or even mold. Not worth the risk.
Scoops give you better control than dumping straight from the bag. I stick with metal or food-grade plastic scoops because they don’t hold onto smells.
After you fill a jar, wipe the rim and threads with a dry cloth. Even a little leftover flour or sugar can mess with the seal. If you spot any moisture inside, dry it out before sealing.
Leaving Proper Headspace in Jars
Always leave about 2.5 cm of space between the top of your flour or sugar and the lid. This gives you a good seal and prevents the contents from getting squished.
Too much space means extra air, which isn’t great for freshness. Too little, and you’ll have trouble closing the jar or might compact the flour, which just creates dust and mess.
If you’re vacuum-sealing, headspace is even more important because the vacuum needs room to work. Most jar sealers do best with 2.5 to 5 cm of space.
Don’t bang or shake jars to settle the contents because flour gets staticky and sugar can start to clump. Just fill and call it good.
Labelling for Easy Rotation
Every jar needs a label with what’s inside and when you filled it. I use masking tape and a permanent marker, or stick-on labels right on the glass.
Write down the type (all-purpose flour, cane sugar, etc.) and the month and year. This helps you use up old stuff first and keeps anything from going stale or weird.
What to put on your label:
- Product name and type
- Fill date (month and year)
- Expiry date if you want
- Any storage notes (like “refrigerate after opening”)
Stick labels right where you can see them. If you’re stacking jars, add a label to the lid too so you can spot what’s what from above.
Design Strategies for Moisture-Proof and Clump-Free Storage
Keeping moisture out is a mix of using the right jars, picking smart storage spots, and sometimes adding extra moisture control. Materials, location, and little tricks all work together to keep your flour and sugar in perfect shape.
The Role of Desiccants and Moisture Absorbers
Silica gel packets are my go-to for fighting moisture in flour and sugar jars. Drop one or two food-safe packets at the bottom before filling, especially if you live somewhere humid. They suck up extra moisture without messing with taste.
Oxygen absorbers help with whole grain flours by keeping them from going rancid, but I don’t use them with sugar because those work best for foods with fats.
Some people toss a few grains of rice into sugar jars. It helps a bit, but honestly, silica gel packets do a much better job. If you’re serious about moisture control, stick to the real thing.
Swap out desiccant packets every 6 to 12 months, or sooner if they change color.
Benefits of Opaque Versus Transparent Containers
Clear glass jars make it easy to see what’s inside, so you don’t run out unexpectedly. You can spot clumps or bugs without opening the jar, which is super handy.
Opaque jars block light, which is better for whole grain flours with oils that can go off if exposed too much. But for regular white flour and sugar, clear jars are usually fine because most pantries aren’t super bright anyway.
For most home bakers, clear jars are just more convenient. If you store specialty flours, maybe tuck them in a dark cupboard instead of buying opaque jars.
Where to Store Jars: Pantry, Cabinet, or Countertop
Cool, dry spots away from heat keep flour and sugar fresh longest. I stash my jars in the pantry or a lower cabinet, never right next to ovens, dishwashers, or sunny windows. Even airtight jars can get condensation inside if the temperature swings.
Countertop storage works if your kitchen stays cool and dry. I keep my all-purpose flour handy on the counter, but only in a jar with a real airtight lid.
Lower cabinets stay cooler and more stable than upper ones. Heat rises, so the top shelves near the ceiling get warm and can mess with your ingredients. Floor-level shelves are usually best.
Don’t store jars in basements or garages unless the space is climate-controlled. Too much humidity will sneak in, no matter how good your seal is.
Understanding the Differences Among Types of Sugar and Flour
Different types of sugar and flour all need slightly different storage, depending on their moisture and oil content or how they’re processed. Knowing what you’re working with helps you pick the right jar and storage spot for each one.
Granulated, Brown, and Powdered Sugar Considerations
Granulated white sugar is the easiest to keep fresh. It’s basically bone dry, so if you stash it in an airtight glass jar, it’ll last forever. The only real problem? Humidity sneaking in and making it clump.
Brown sugar’s a bit trickier. Since it’s got molasses, there’s about 2-3% moisture in there. That’s what keeps it soft and scoopable, but it also means it’ll turn into a brick if the jar isn’t sealed tight. I’d throw in a terra cotta disc or even a chunk of bread to help keep things just right in your jar.
Powdered sugar (or icing sugar, if you like) sits somewhere in the middle. It has a little cornstarch to stop it from caking, but it still soaks up moisture and clumps if you’re not careful. That ultra-fine texture means any humidity gets to it fast. Use a totally dry jar with a good seal, and don’t use scoops or spoons that are even a little damp.
Flour Types and Their Shelf Life
Refined flours like all-purpose or cake flour stick around the longest. Since producers remove the bran and germ, these flours can hang out in the pantry for about a year. Just keep them in airtight glass jars at 10-21°C.
Whole grain flours are a different story. They keep the wheat germ (and its natural oils), which makes them healthier but also more likely to go bad. Whole wheat flour usually lasts three to six months at room temp. If it starts to smell like Play-Doh, those oils have turned.
Nut flours, like almond or coconut, have even more fat. They can go off in a matter of weeks if you leave them at room temperature. I always stash these in the freezer unless I know I’ll use them up fast.
Why Brown Sugar and Whole Wheat Flours Need Special Care
Brown sugar and whole wheat flour just don’t do well with standard storage. Brown sugar needs to keep its moisture to stay soft, while whole wheat flour needs protection from air and heat to avoid going rancid.
With brown sugar, you want to lock in that molasses moisture. Make sure your jar seals up tight. Some bakers even tuck their brown sugar jars in cooler spots to slow down moisture loss.
Whole wheat flour’s the opposite. The wheat germ oils break down with heat and oxygen, so even a sealed jar in a warm pantry won’t save it for long. If you bake with it a lot, buy smaller bags and use them up quickly.
Maintaining Freshness: Monitoring, Cleaning, and Rotation
If you want your flour and sugar to stay fresh in big glass jars, you’ve got to keep an eye on things. Check for moisture, clean out jars between refills, and rotate your stock so nothing lingers too long.
How to Check for Spoilage or Moisture Buildup
Check your airtight containers at least once a week for the first month, then monthly. Look for condensation on the inside of the jar or lid. If you see it, moisture’s gotten in.
Give the jar a tilt; flour should pour smoothly. If it clumps or smells musty, it’s probably damp. Watch for webbing or bugs, especially around the lid. If you spot anything off, just toss it.
Sugar needs a similar check. White sugar should stay dry and loose. Brown sugar will clump, but it shouldn’t feel wet or smell weird. Open the jar and take a sniff. Fresh sugar just smells sweet or neutral, never sour.
Keep an eye out for color changes too. Flour can develop gray or yellow spots if it’s gone bad, and white sugar might yellow if it’s picked up moisture. Use a marker to jot down the storage date on each jar because it helps track how long things have been sitting.
Cleaning Jars Between Refills
Always empty jars all the way before refilling them, even if there’s just a bit left. Old flour or sugar can hang onto moisture or even bugs, and that messes up the new stuff.
Wash your jars with hot, soapy water and rinse them really well. Dry them with a clean towel, then let them air out upside down for several hours. Don’t rush this step. Any leftover moisture is just asking for clumps or mold.
Check the lid seal while you’re at it. If the gasket is cracked or worn out, swap it for a new one. A tight seal keeps all your effort from going to waste.
Rotating Stock for the Best Flavour and Quality
When you bring home new flour or sugar, stick it behind what you already have so you use the older stuff first. Label every jar with the date using masking tape or a label maker.
All-purpose flour stays at its best for 6-8 months if you store it right, while whole wheat flour is good for 3-4 months because of those oils. White sugar lasts basically forever if you keep it dry, but brown sugar is best if you use it up within 4-6 months.
It helps to keep a simple list on your phone or taped inside your pantry. Note when you opened each jar and set a reminder to check or swap things out. This way, you’re always baking with the freshest ingredients.
Frequently Asked Questions
These quick answers cover the most common questions about keeping flour and sugar fresh in large glass jars.
What's the best way to prep and dry glass jars so pantry staples stay crisp and clump-free?
Wash the jars, lids, and seals with hot, soapy water, rinse well, and let every part dry completely. Check the rim, threads, and gasket for hidden moisture before filling.
Do I need airtight lids, or are clamp lids and silicone gaskets enough for long-term pantry storage?
Clamp lids with intact silicone gaskets are suitable if they create a fully airtight seal. Replace any gasket that is cracked, loose, or warped.
Should I store flour and sugar with oxygen absorbers, silica packs, or nothing at all?
Food-safe silica packets can help in humid kitchens. Oxygen absorbers are better suited to sealed, long-term flour storage and should not be used with sugar.
How can I prevent brown sugar from turning into a brick in a jar without making it too soft?
Use an airtight jar and add a brown sugar saver or lightly moistened terra cotta disc according to its instructions. Avoid adding too much moisture.
Where should pantry jars live in the kitchen to avoid heat and humidity that cause clumping?
Keep jars in a cool, dry pantry or interior cabinet away from sunlight, ovens, dishwashers, sinks, and other sources of heat or moisture.
How often should I clean or rotate jarred baking staples to keep them fresh and bug-free?
Inspect jars monthly and use older ingredients first. Empty, wash, and fully dry each jar before adding a fresh batch.
Share:
How to Choose Glass Jar Sizes for Flour, Rice, Pasta, Cereal, and Coffee
Are Wooden-Lid Glass Jars Airtight Enough for Everyday Dry Goods?