

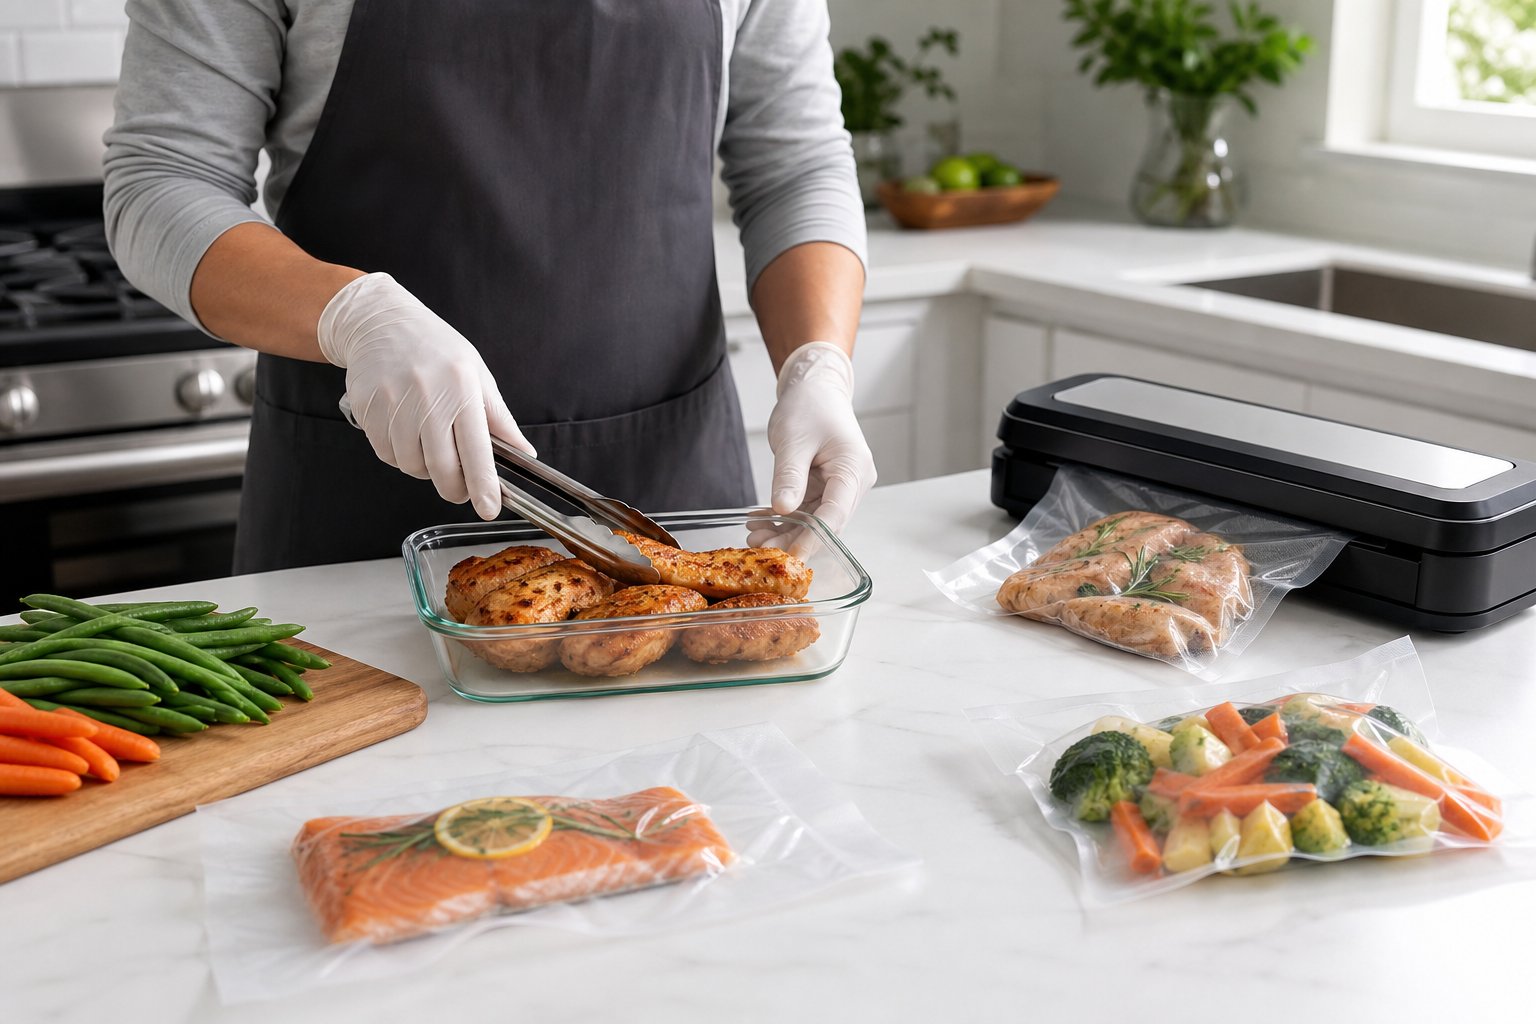
Check out our latest collection of compact vacuum sealer for food!
Freezer burn can turn a great cut of meat into a dry, disappointing meal, but the right vacuum sealing method helps prevent it.
You can vacuum seal meat before or after freezing, although sealing it while fresh or slightly firm usually creates the tightest seal and helps limit ice crystal formation. Already frozen meat can also be sealed successfully when you remove surface frost, keep the bag opening dry, and work quickly.
Whether you are stocking up during a sale, preparing meals, or storing wild game, timing and technique affect freshness, texture, and storage life. This guide explains when to seal meat, how to prepare different cuts, which bags and equipment to use, and how to thaw and store each package safely.
Key Takeaways
- Sealing before freezing gives you the tightest seal and best ice crystal prevention, but you can still seal already-frozen meat with good technique
- Sucking out the air from packaging makes frozen meat last much longer and stops freezer burn, no matter when you seal
- Using the right bags and proper thawing keeps meat safe and tasty in storage
Benefits of Vacuum Sealing for Frozen Meat
Vacuum sealing changes the way we store meat by removing oxygen from the package. That’s the main reason meat loses quality. Freezer burn, weird flavors, and bacteria all love oxygen. By sealing it up tight, you keep meat tasting fresh for way longer than just tossing it in a bag or wrapping it in foil. Plus, you get way more out of those bulk deals.
Preserving Flavour and Texture
Oxygen ruins frozen meat. When you use regular freezer bags or foil, oxygen sneaks in, reacts with the meat, and things go downhill. Flavors fade, and sometimes you get that odd taste.
Vacuum-sealed meat keeps its original flavor for months, in our experience, since the sealer pulls out almost all the air. This really matters for things like fish or chicken, which go bad faster than beef. The tight seal also holds in moisture, so you don’t end up with dry, tough meat from ice crystals forming on exposed spots.
If you skip vacuum sealing, freezer burn can show up in just a few weeks. Sealing cuts off that dehydration by blocking air and trapping moisture inside. The end result? Meat that looks, cooks, and tastes almost like you just bought it, even after months in the freezer.
Extending Shelf Life and Preventing Freezer Burn
Regular freezer storage keeps meat safe for maybe 2-6 months, depending on the cut. Vacuum sealing pushes that timeline out a lot farther.
We’ve seen beef and pork last 2-3 years with a good seal, compared to maybe 6 months in standard wrap. Chicken goes from 6 months to up to 2 years, and even fish can last a year or more instead of just a couple months.
Typical Shelf Life Comparison:
| Meat Type | Traditional Storage | Vacuum Sealed |
|---|---|---|
| Beef/Pork | 4-6 months | 2-3 years |
| Poultry | 6-9 months | 1-2 years |
| Fish | 2-3 months | 1-2 years |
| Ground Meat | 3-4 months | 1 year |
This extra time comes from keeping oxygen away, which slows down bacteria and stops freezer burn in its tracks. Less oxygen also means most bacteria just can’t grow, even if your freezer temperature fluctuates a bit.
Reducing Food Waste and Saving Money
Buying meat in bulk can save you a lot, but only if you actually use it before it goes bad. Vacuum sealing makes it possible to buy big packs without worrying about waste.
When you portion out big packages into meal-sized servings before sealing, you don’t have to thaw more than you need. That alone cuts down on waste from meat that gets refrozen or forgotten in the fridge. You can buy those family packs, split them up right away, and pull out exactly what you need months later.
The money savings are real. A decent vacuum sealer costs $50-200, but it pays for itself fast when you see how much cheaper bulk meat is compared to buying small packs. Plus, you toss out less meat that’s gone off or looks gross.
If you’re a hunter or buy meat by the quarter, vacuum sealing is pretty much required if you want that investment to last all year.
When to Seal: Before Freezing or After?
Whether you vacuum seal meat before or after freezing changes how well it works, how the meat holds up, and how much work you’ll have to do. Sealing fresh meat before freezing is the easiest and gives you the longest shelf life. If you’re dealing with already-frozen meat, you can still seal it, but you’ll need to be a bit more careful.
Pros and Cons of Sealing Fresh Meat Before Freezing
Sealing fresh meat before freezing gives you the longest freezer life. Raw, vacuum-sealed meat can last 2-3 years, while regular packaging might only get you a few months. It’s also less work since you only handle the meat once.
The main headache? Liquid. Fresh meat leaks juices that can get sucked into your sealer, sometimes messing up the seal or making a mess inside the machine. We usually pre-freeze meat for an hour or two before sealing. That firms it up and keeps the juices from running everywhere.
If you’re in a hurry and can’t pre-freeze, try putting a folded paper towel between the meat and the top of the bag (just below where you’ll seal it). That soaks up extra liquid and usually solves the problem. For ground beef, burger patties, or really juicy cuts, that quick pre-freeze makes sealing way easier.
Advantages and Risks of Sealing Already Frozen Meat
You can definitely vacuum seal meat that’s already frozen. This is perfect if you bought a bunch of meat on sale, or you just didn’t get around to sealing it before freezing.
The nice part is that frozen meat doesn’t leak juices, so you get a clean, solid seal every time. No worries about gunk getting into your machine.
The catch is that you have to work fast. Frozen meat starts thawing as soon as it’s out, and condensation can mess with the seal. Wipe off any ice or frost, make sure the bag edges are dry, and seal while the meat is still rock solid.
Choosing the Right Equipment and Bags
Your choice of vacuum sealer and bags matters a lot for keeping meat safe in the freezer. Most home cooks use external sealers, but chamber models exist if you’re sealing a ton of meat.
Types of Vacuum Sealers: External vs. Chamber Models
External vacuum sealers are what most people have at home. They suck air out through the open end of the bag and seal it shut. These work great for frozen meat since it’s already solid and won’t get sucked into the machine.
They’re affordable, don’t take up much space, and handle the usual kitchen jobs.
Chamber vacuum sealers pull the air out of the whole chamber, not just the bag. That means liquids stay put, so you don’t get juice sucked into the machine. They’re pricier, but faster and create super strong seals.
For frozen meat, external sealers are usually all you need because the meat is solid, so you don’t have to worry about liquid.
Selecting Quality Vacuum Seal Bags
Not all vacuum bags are created equal. Thicker bags (at least 3 mil) hold up better, especially if you’re sealing cuts with bones or sharp edges.
Stick with bags made for your sealer model. Sometimes generic bags don’t fit or seal quite right.
Embossed or channeled bags are a must for external sealers. The texture lets air escape while sealing. Smooth bags don’t work with most home models because they just collapse and trap air.
You can buy pre-cut bags for convenience, or rolls if you want to cut your own sizes. Rolls help you waste less when sealing smaller pieces.
Step-by-Step Guide: Vacuum Sealing Frozen Meat
Vacuum sealing frozen meat isn’t hard, but you do need to prep, control moisture, and use the right technique to get a tight seal. The best approach depends on the cut, whether there are bones, and how much ice is on the surface.
Prepping and Portioning Meat for Sealing
Portion your frozen meat into meal-sized chunks before you start sealing. If you have a big frozen roast or bulk pack, let it thaw just enough to cut through, then refreeze the pieces on a tray for about half an hour.
Label each portion as soon as you seal it. Write the contents, weight, and date. Trust us, frozen chicken and pork all look the same in those bags after a while.
Keep your workspace cold and work quickly so the meat stays frozen. A chilled cutting board or tray helps keep everything cold as you work.
Minimizing Ice Crystals and Protecting the Seal
Ice crystals are the main challenge here. Brush off any frost or loose ice before bagging the meat. If you leave it on, it can get sucked into the vacuum channel and ruin the seal.
The upside of sealing frozen meat? No messy juices to deal with, so you usually get a stronger seal compared to sealing fresh, wet cuts.
If there’s a lot of ice, gently wipe the meat with a paper towel. Place the meat at the bottom of the bag, leaving a few inches between the meat and the open end for a solid seal.
Sealing Techniques for Different Cuts and Bones
Sharp bones can poke through bags, so wrap bone ends in paper towel or butcher paper before sealing, or use extra-thick bags.
For steaks and boneless cuts, regular bags work well. If your sealer has a gentle setting, use it for frozen foods so you don’t crush things.
Odd shapes, such as chicken legs or T-bones, seal better if you lay them flat. Put bones in the centre and flatten the meat as much as you can. For ground meat, freeze it flat so it stacks easily and thaws faster.
Storage, Thawing, and Food Safety Tips
Labelling and storing vacuum-sealed meat right keeps things organized and safe, and picking the right thawing method makes sure you don’t lose quality or risk food safety.
Labelling, Organizing, and Storing Sealed Meat
Always label each vacuum-sealed package with what’s inside, the weight, and the date before freezing. It saves you a ton of time later and helps rotate your stock.
Stack vacuum-sealed meat flat on shelves or in bins. Don’t just toss them in a pile. Flat packs save space and make it easy to grab what you need. We like to keep similar things together: ground beef in one spot, chicken in another, big roasts on the bottom.
Quick storage tips:
- Keep the freezer at -18°C (0°F) or colder
- Lay bags flat until they’re frozen solid
- Don’t overload the freezer because air needs to circulate
- Put newer packages behind the older ones
Check your seals now and then. If you see frost inside or the bag looks loose, use that meat soon or re-seal it.
Safe and Effective Thawing Methods
The safest way to thaw vacuum-sealed meat is in the fridge. Put the package in a container on the bottom shelf to catch drips. It takes a while, about 24 hours for every 2.5 kg (5 lbs), but you don’t risk bacteria.
If you’re in a rush, use cold water. Put the sealed package in a clean sink or container, fill with cold tap water, and change the water every 30 minutes. The vacuum seal keeps water out, so this works well.
Don’t use the microwave unless you remove the vacuum bag first. The sealed, airless environment can let bad bacteria grow if the meat only partly thaws. Take the meat out, put it in a microwave-safe dish, and use the defrost setting. Cook it right away.
Never thaw meat on the counter at room temperature. Once it’s thawed, cook it soon. Don’t refreeze unless there are still ice crystals on the surface.
Common Mistakes and Expert Solutions
When you vacuum seal frozen meat, two big problems tend to pop up: bags get punctured, letting air sneak in, and moisture messes with the sealing process. Either way, you risk ending up with freezer-burned meat, and no one wants that.
Protecting Bags from Punctures
Sharp bones and jagged edges are notorious for tearing vacuum sealer bags. I can't count how many times rib bones or an awkward cut have poked right through, ruining all that effort.
Honestly, the fix is straightforward, but people often skip it. Just wrap any sharp edges or bones with a bit of plastic wrap or parchment paper before sliding the meat into the bag. That thin layer makes a world of difference.
You could also go for thicker, commercial-grade bags if you're sealing bone-in cuts. They cost a bit more, but they’re way tougher and hold up better when you’re freezing and moving things around. I also like to lay already-frozen bone-in pieces flat in the freezer at first, instead of stacking, so there’s less pressure on the bags while everything sets.
Avoiding Moisture and Air Leaks
Moisture really ruins a good seal. If any liquid gets sucked into the sealing area, the bag just won’t close right, and air will find its way back in.
For fresh or partially thawed meat, grab some paper towels and pat the surface dry before you bag it. If you’ve got especially juicy cuts, tuck a folded paper towel near the opening of the bag to catch drips before they reach the seal. Another trick: pop the meat in the freezer for an hour or two first. That firms it up and keeps the juices in check.
To fight off freezer burn, leave about 3 to 5 centimeters between the meat and the seal line. That little bit of space helps you get a good, airtight seal that keeps oxygen out for months.
Frequently Asked Questions
Here are clear answers to common questions about vacuum sealing frozen meat.
Does it matter if meat is partially frozen when you vacuum seal it, or should it be rock-solid first?
Partially frozen meat works well because it stays firm and releases less liquid. Freezing it for 1 to 2 hours before sealing usually makes the process cleaner and easier.
How do you vacuum seal meat without the juices getting pulled into the machine and breaking the seal?
Pre-freeze the meat until firm, pat it dry, and keep the bag opening clean. You can also place a folded paper towel below the seal area or use the pulse setting to control suction.
What bag thickness and size works best for vacuum sealing frozen steaks, chicken breasts, and ground meat?
Use 3-mil bags for most frozen meat and 4-mil bags for sharp bones or longer storage. An 8-by-12-inch bag suits smaller portions, while larger cuts may need an 11-by-16-inch bag.
Can you vacuum seal meat in its original store packaging, or do you need to repackage it first?
Repackage the meat in vacuum sealer bags. Store trays and plastic wrap can trap air, weaken the seal, and offer less protection from freezer burn.
How long will vacuum-sealed meat keep in the freezer, and what are the real signs of freezer burn?
For best quality, vacuum-sealed beef may last 2 to 3 years, while pork, lamb, and poultry may last 1 to 2 years at -18°C (0°F) or colder. Freezer burn appears as dry, discoloured patches or excess ice crystals inside the bag.
What is the best way to label and organise vacuum-sealed meat so it is easy to find on a busy weeknight?
Write the meat type, portion size, and sealing date on each bag. Freeze packages flat, group them by type, and place older packages where they are easiest to use first.
Share:
Should You Cool Food Before Vacuum Sealing It? How to Avoid Condensation and Weak Seals
How to Dry Reusable Vacuum Sealer Bags Completely Before Storing Them