

Check out our latest collection of compact vacuum sealer for food!
Mini vacuum sealers are game-changers for food preservation, but honestly, they can be a little stubborn sometimes. Maybe yours won’t vacuum, makes a weird noise, or just seems to have a mind of its own. These compact gadgets are handy, but they come with their own quirks that can leave you muttering at the kitchen counter.
Most mini vacuum sealer problems boil down to things like bad bag placement, dirty sealing strips, power hiccups, or moisture sneaking in—and almost all of them have simple fixes. Who hasn’t had that moment where you’re ready to stash away a big grocery haul, and the sealer decides today’s not the day?
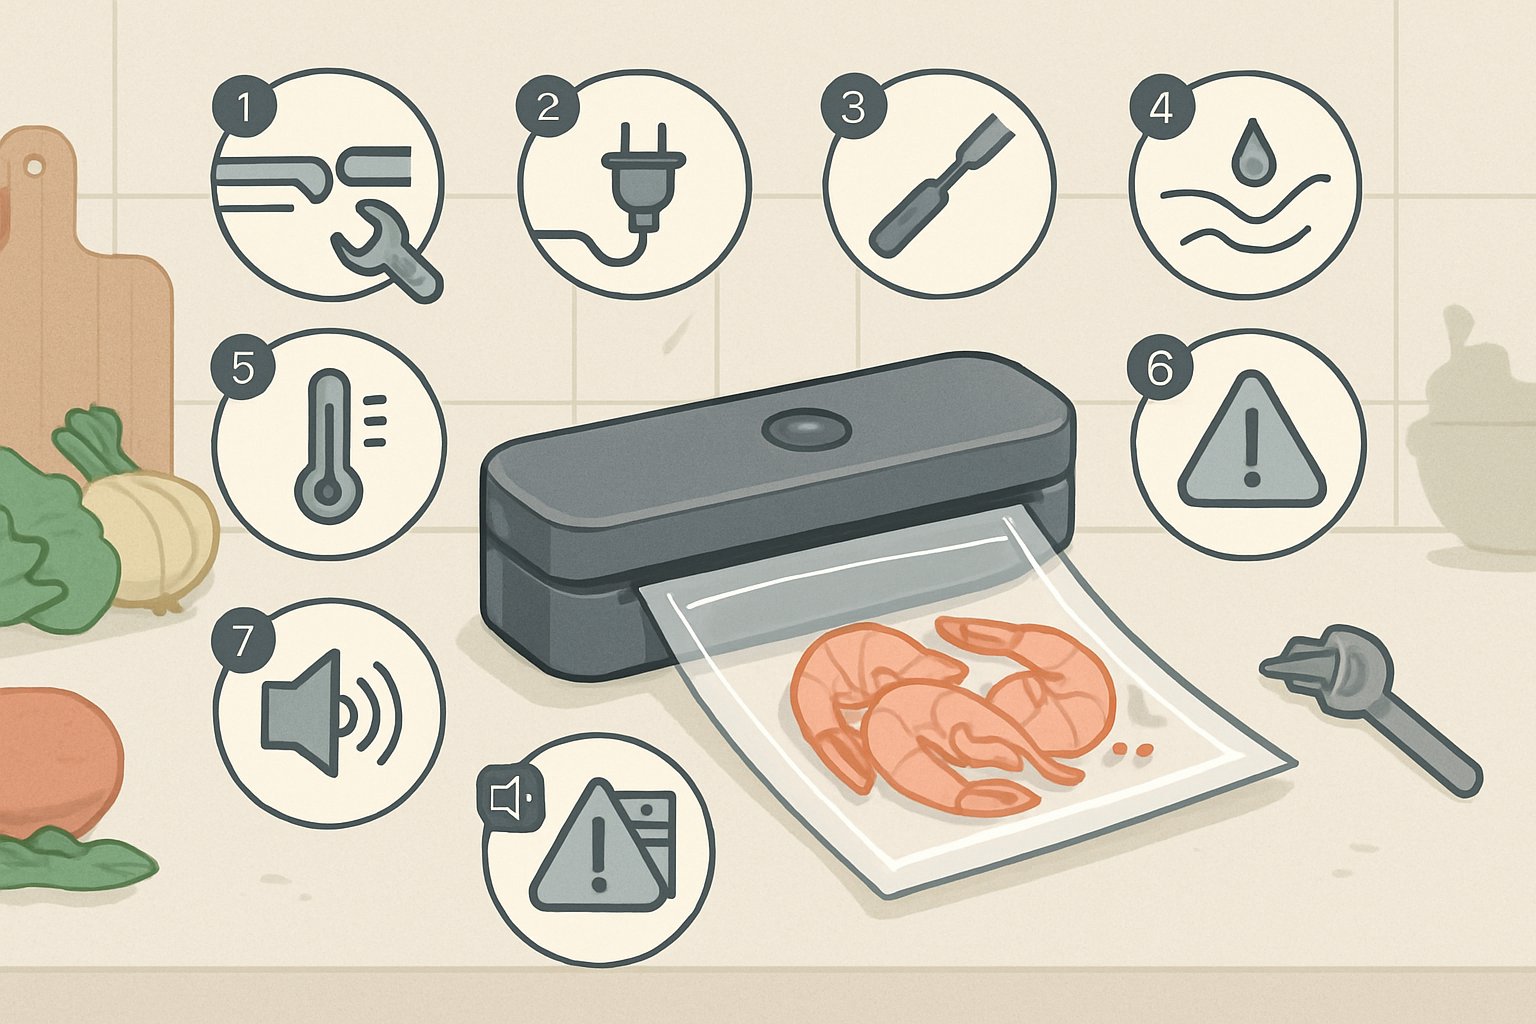
Here’s a rundown of nine common issues you’ll probably run into with mini vacuum sealers, from vacuum fails and sealing headaches to electrical gremlins and forgotten maintenance. Let’s get your food-saving routine back on track without the guesswork.
Key Takeaways
- Most vacuum sealer fails come from dirty parts, bags in the wrong spot, or moisture that’s easy to fix
- Cleaning sealing strips and lining up bags right solves a lot of sealing headaches
- A little regular maintenance and knowing your sealer’s power needs keeps it running longer
Why Your Mini Vacuum Sealer Isn't Vacuuming
If your mini vacuum sealer suddenly stops sucking air from bags, it’s usually one of three things: a clogged vacuum port, a tired pump, or a worn-out gasket. Any of these can mess up the vacuum and turn food prep into a hassle.
Blocked or Dirty Vacuum Port
The vacuum port is where all the action happens—and it’s also a magnet for food bits and grease. When stuff builds up here, suction goes out the window.
How to spot a clogged port:
- Weak or no vacuum
- Odd whistling noises
- Visible gunk in the port
Unplug your sealer, grab a flashlight, and take a look inside. A soft brush or cotton swab usually does the trick for surface debris. For stubborn grime, a damp cloth helps.
Heads up: Dry and clean bags before sealing. Wet bags not only clog things up but can mess with the sealing strip over time.
A quick clean after every few uses keeps the vacuum port clear. It’s a tiny habit that prevents most vacuum problems.
Vacuum Pump and Motor Issues
The vacuum pump is the heart of your sealer. When it’s struggling or failing, vacuum sealing just isn’t happening. Mini sealers use compact pumps that don’t always love heavy use.
Signs your pump’s in trouble:
- Grinding or clicking noises
- Motor runs but there’s no suction
- Motor won’t start at all
Usually, you’ll notice a drop in suction before the pump gives out completely. Heat can make things worse, so avoid running your sealer in sweltering conditions.
Try this:
- Double-check the power cord and plug
- Listen for the motor when you turn it on
- Test with an empty bag
If the motor runs but you’re not getting vacuum, the pump may be worn out. Sadly, fixing pumps on these little guys often costs more than just replacing the unit. If you’re under warranty, reach out to the manufacturer.
Gasket and Lid Problems
Gaskets are those rubbery strips that make the airtight seal possible. If they’re cracked, dried out, or out of place, forget about vacuum sealing.
What to look for:
- Cracks or tears in the gasket
- Gasket isn’t sitting straight
- Feels stiff instead of flexible
Wipe the gasket with a damp cloth now and then to keep food oils and crumbs from building up. Skip harsh cleaners—they’ll ruin the rubber.
A crooked or warped lid is another trouble spot. If the lid doesn’t close right, even a perfect gasket won’t save you.
Swap out gaskets when they’re brittle or visibly damaged. Most brands sell replacement kits for their mini sealers.
Troubleshooting Bag Placement and Bag Issues
Let’s be real—most sealing fails come from how we toss the bag into the machine or the bag itself. Getting the bag in the right spot and using bags that aren’t damaged makes a world of difference.
Improper Bag Placement
It’s easy to just throw a bag in and hit the button, but that’s a recipe for weak seals or no seal at all. Proper bag placement is key.
The bag’s opening has to sit fully inside the vacuum channel. If it’s crooked or hanging out, the machine can’t do its thing.
Check these basics:
- Line up the bag with the sealing strip
- Keep it flat—no wrinkles or folds at the edge
- Don’t let the bag sit at an angle
Wipe off any food or moisture near the sealing area before you start. It really does matter.
Many mini sealers have little guide marks—use them! They’re there for a reason.
Damaged or Overfilled Bags
Even with perfect placement, a bad bag will ruin your seal. Overstuffed bags bulge and won’t seal right. Torn or poked bags let air in no matter what.
Red flags:
- Tears or pinholes
- Food jammed up to the opening
- Sharp edges poking through
- Bag looks stretched or wrinkled
Give yourself 3–4 inches of empty space at the top of the bag. That way, the sealer has room to work.
Hold the bag up to the light to check for holes. Even the tiniest one spells trouble.
If you’re sealing something wet, freeze it first or stick a paper towel near the seal to soak up moisture.
Fixing Sealing Strip and Seal Bar Problems
The sealing strip and seal bar are what make the airtight magic happen. If either one is dirty or worn, expect weak seals or leaks.
Dirty or Worn Sealing Strip
If your sealer suddenly can’t close a bag tight, odds are the sealing strip’s dirty or shot.
How to tell:
- Bags lose vacuum fast
- Gaps along the sealed edge
- Melted plastic stuck to the strip
- Strip feels cracked or rough
Wipe the strip with rubbing alcohol and a soft cloth. Scrape off any melted bits with a plastic tool.
Run your finger along the strip—if it’s rough, cracked, or has deep grooves, swap it out. Most replacements are cheap and snap right in.
If your model lets you, sometimes rotating the strip gives you a bit more life.
Seal Bar Alignment and Function
The seal bar needs to heat evenly and touch the sealing strip all the way across. Any gap or cold spot ruins seals.
Watch out for:
- Uneven heat
- Bar not sitting flush
- Loose bolts
- Burned-out heating element
Set your seal time to at least 1.5 seconds—shorter times often cause weak seals.
Tighten any loose bolts and make sure the bar sits flat. Clean it with alcohol to get rid of residue.
If it’s not heating evenly, the heating element’s probably done for. You’ll likely need a pro or the manufacturer for that one.
Electrical and Power Complications
Power problems can turn your mini vacuum sealer into a useless box. Usually, it’s a busted cord, a bad outlet, or something inside that’s tripped a safety shutoff.
Unit Not Powering On
If your sealer won’t turn on, start with the basics. The power cord is often the culprit.
What to do:
- Check the cord for cuts or fraying—replace if you see any damage
- Plug something else into the outlet to make sure it works
- Try a different outlet just in case
If the outside looks fine, crack the unit open (if you’re comfortable) and check for loose wires or burned spots on the board. You’ll usually smell something burnt if there’s a problem.
Some sealers have a reset button near the cord. Hold it down for 10–15 seconds to reset things.
Overheating and Auto-Shutoff
Mini sealers get hot fast, and most have a safety shutoff if they overheat.
Keep in mind:
- Let the unit cool for 15–20 seconds between seals
- Clean the heat strip so residue doesn’t trap extra heat
- Make sure vents aren’t blocked—leave a few inches of space around the machine
If it shuts off mid-seal, give it 15 minutes to cool down before trying again.
Dealing With Moisture and Leaks
Moisture and air leaks are the main troublemakers for vacuum sealing. They’ll make your bags puff up and ruin all your hard work. Let’s talk about keeping air out and handling messy foods.
Preventing Air Leaks in Bags
Air leaks turn a good seal into a disappointment. Most of the time, it’s because the sealing strip’s worn or the bar’s dirty.
Clean the sealing bar with a damp cloth. Even tiny crumbs can cause leaks.
Check the sealing strip for cracks or hard spots—replace it if needed.
After sealing, squeeze the bag gently. If you hear a hiss or see it puff up, you’ve got a leak.
For thick bags, bump up the seal time a bit.
Make sure bags are lined up flat in the channel, not wrinkled or off-center.
Handling Moist or Liquid Foods
Wet foods are a pain to seal. Moisture messes with the seal and can even gunk up your machine.
Try this:
- Freeze wet foods for an hour or two before sealing
- Use the pulse mode for delicate or moist stuff so you don’t suck up liquid
- Leave a few extra inches at the top of bags when sealing anything juicy
Some bags are made for liquids—they have barriers to keep moisture away from the seal.
For really wet foods, stick a paper towel in the bag to catch extra moisture before sealing.
Maintenance and Preventive Tips for Longevity
A bit of regular care keeps your mini vacuum sealer humming along for years. Cleaning stops gunk from building up, and swapping out worn parts early can save you a headache.
Regular Cleaning and Care
Honestly, cleaning your sealer every few uses makes a huge difference. Food crumbs and moisture love to hide in the vacuum chamber and around the sealing strip.
Unplug the sealer and wipe down the outside with a damp cloth. Pay attention to the vacuum chamber—crumbs here can mess with the pump.
Use a soft brush or cotton swab to get around the sealing strip. Oils and debris build up fast. Skip harsh cleaners; warm, soapy water is all you need.
Quick cleaning tips:
- Wipe the outside after each use
- Clean the vacuum chamber weekly
- Clear crumbs from the sealing area
- Check air vents for dust or blockages
- Store the sealer somewhere dry
Keep the air intake clear so the pump doesn’t overheat. Blocked vents make the motor work overtime.
Let the unit dry completely before you put it away. Any leftover moisture can cause mold or damage the electronics.
Replacing Worn Components
It's a good idea to check your mini vacuum sealer about once a month for signs of wear. The sealing strip really takes a beating, so expect to swap it out every 6-12 months—depends how much you use the thing.
Keep an eye out for cracks, tears, or deep dents in the sealing strip. If you spot any, air can sneak back in and your food won't stay fresh for long.
Signs it's time to replace parts:
- Sealing strip looks damaged
- Bags aren't sealing all the way
- Vacuum pump suddenly sounds louder
- The unit overheats more than usual
- Gaskets feel brittle or have cracks
Most brands offer replacement kits with sealing strips and gaskets. Having spares on hand is a lifesaver—nobody wants to discover a busted sealer right when you need it.
Vacuum pumps in mini units almost never need swapping out. But if yours starts making weird grinding noises or just can't pull a vacuum anymore, it might be smarter (and less hassle) to get it professionally repaired instead of hunting for parts.
Don't wait too long to replace worn bits. Spending a few bucks on a new sealing strip is way better than tossing out spoiled food.
Frequently Asked Questions
Here are some troubleshooting tips for vacuum sealer problems—everything from total vacuum failure to heating element headaches.
How can I fix a vacuum sealer that's stopped vacuuming the air out of bags?
First, check if the vacuum pump is getting power. Loose plugs or damaged cords can kill the connection.
Give the vacuum chamber a good clean. Gunk and moisture love to block air flow and mess with suction.
Take a look at the lid and sealing area gaskets. If they're worn or cracked, air leaks in and the vacuum just won't happen.
Make sure you're using bags that actually work with your sealer. Some off-brand bags are too thick or slick for the machine to grip.
If the motor sounds like it's running but there's no suction at all, the pump itself might be shot. At that point, it's usually a job for a repair shop or a replacement.
What could be the issue if my vacuum sealer's sealing strip won't heat up?
The heating element could be burnt out—these strips only last so long, especially with heavy use.
Check if you're letting the machine cool down between seals. Some models have thermal protection that shuts things down if they get too hot.
Peek at the wires connected to the sealing bar. Loose or corroded contacts can stop power from reaching the heater.
A dirty sealing strip can also cause trouble. Wipe it with a damp cloth once it's cooled off.
Some machines let you adjust seal time. If the strip gets warm but not hot, try bumping up the seal duration a bit.
Is there a DIY approach to replace a gasket on vacuum sealers?
Definitely, most gaskets pull out of their grooves around the vacuum chamber.
Order the right gasket—wrong size, and you'll end up with leaks and more headaches.
Gently pull out the old gasket. Clean out any crumbs or gunk from the groove before you pop the new one in.
Press the new gasket in all the way, making sure there aren't any gaps or overlaps at the corners.
Test it by running an empty bag through a cycle. You should notice way better suction and sealing if all went well.
Why might a handheld vacuum sealer fail to operate, and how can I fix it?
Dead batteries are usually the culprit. Give it a full charge before digging deeper.
Make sure the handheld unit lines up with the bag valve. If it's off, the vacuum won't even start.
Clean both the vacuum port and the bag valve. Even a little debris can block the connection and ruin suction.
Stick to quality bags or containers. Off-brand ones often don't play nice with handheld models.
If the motor runs but you get zero suction, the internal pump's probably done for. Most times, that means replacing the whole handheld unit.
Share:
Are Vacuum‑Sealed Meals Safe? USDA Storage Rules Every Cook Should Know
Bulk‑Buy Like a Pro: Saving $1,000 a Year With a Compact Food Vacuum Sealer