

Check out our latest home & kitchen collection!
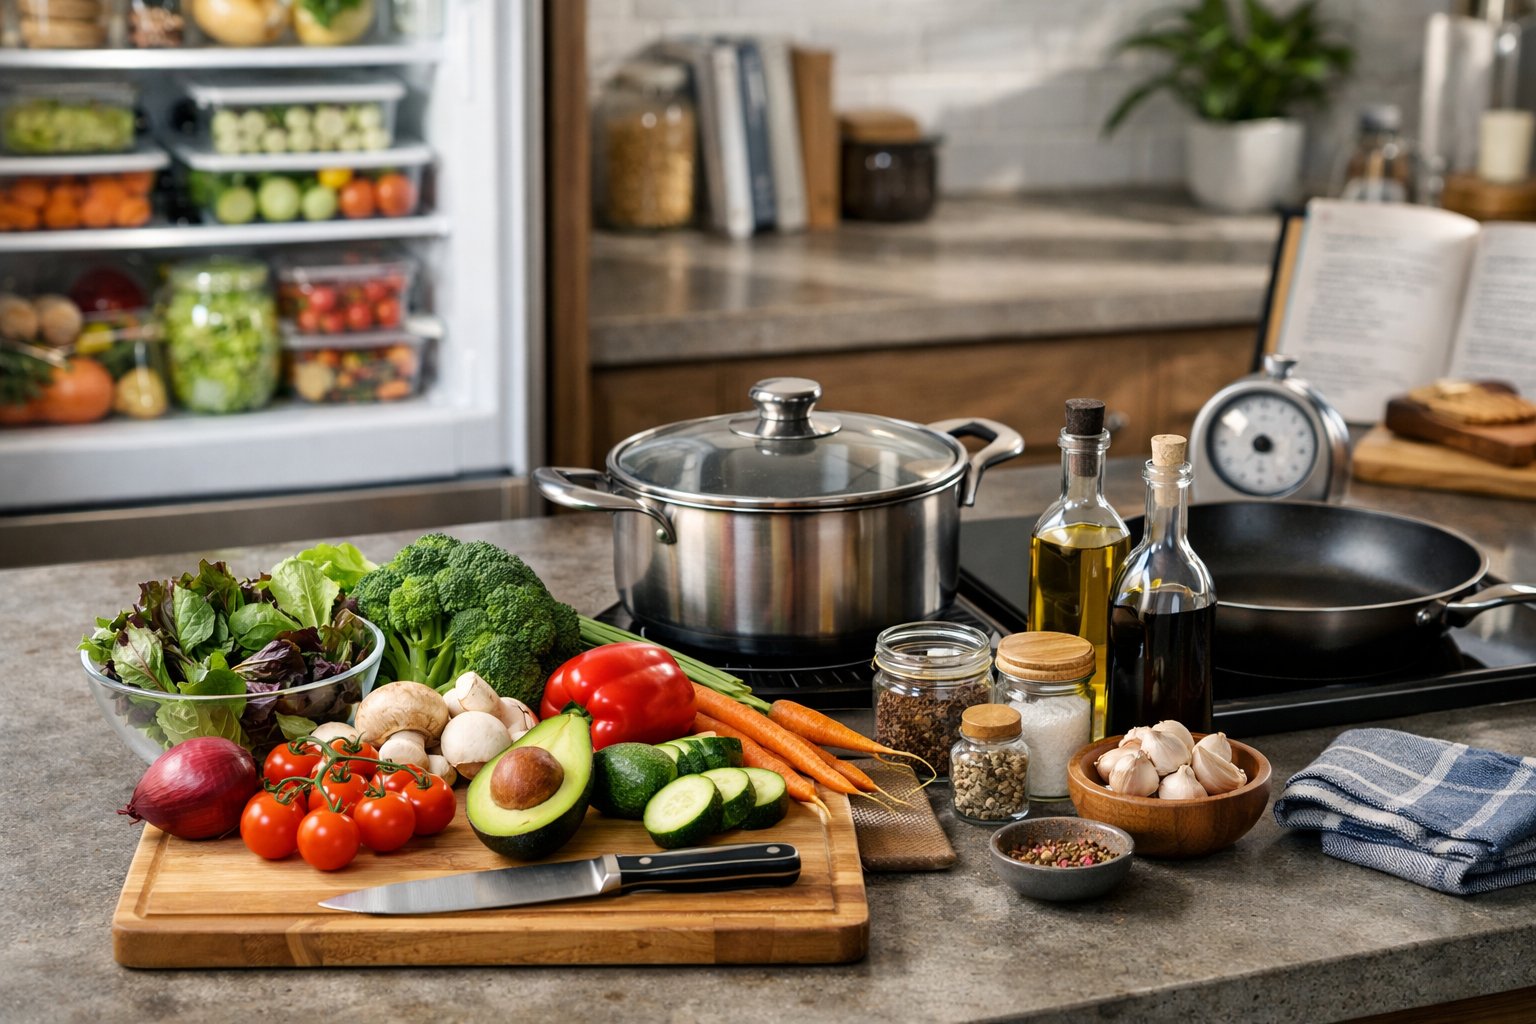
That stretch between your fridge and your stove? It’s more than just a few steps. It’s where food starts to change, sometimes for the better, sometimes not so much. We talk a lot about picking fresh stuff or nailing the perfect sear, but honestly, what happens while food sits in storage can make or break your meal.
Knowing how food shifts during storage, and how to handle that moment when it leaves the fridge or pantry, is huge for better cooking, less waste, and safer meals.
Temperature swings, moisture loss, enzyme action, and even sneaky microbes are all at play while ingredients hang out in your kitchen. These factors can mean you’ll need to tweak cook times, change up your prep, or, yeah, sometimes just toss something that’s past its prime.
If you get the basics, making smart choices about what to buy, how to stash it, and when to use it gets a whole lot easier. Let’s get into the science of storage, the preservation tricks that actually matter, and some real-world tips for moving food from storage to stove without losing quality (or your appetite).
Key Takeaways
- Storage changes food in ways that directly affect how it cooks and tastes
- Good storage habits and knowing your preservation methods keep food better, longer, and cut down on waste
- Safe handling during the move from storage to cooking means paying attention to temps, timing, and prep
Defining the Transition From Storage to Cooking
When you pull food from storage and start prepping, you’re entering a phase where preservation ends and cooking begins. It’s a make-or-break moment for texture, flavor, and safety. If you know how storage conditions have changed your ingredients, you can adjust on the fly and get better results.
How Food Storage Influences Cooking Results
The way you store food changes it—sometimes subtly, sometimes in ways you’ll notice right away. Cold, dry fridges pull moisture out of veggies, so carrots or celery can end up tough after cooking. Freeze proteins and you’ll get ice crystals that mess with texture, making meats leak juices and dry out.
Storage-Related Changes That Impact Cooking:
- Moisture migration – Dry storage zaps water from produce, concentrating flavor but often making it take longer to soften up
- Enzymatic activity – Leave stuff at room temp and enzymes start breaking down starches and proteins faster than you’d think
- Fat oxidation – Store oils or fatty meats wrong and you’ll get weird flavors that only get stronger with heat
How long you store something matters. Fresh herbs kept right stay bright and fragrant, but old ones just taste bitter. Beans that have been sitting for a year? Good luck getting them soft without an all-day simmer.
Why Managing the Transition Matters
Getting food safely from storage to prep is a big deal. Bacteria love the temperature “danger zone” between 40°F and 140°F. Set chicken on the counter to “warm up” and you’re basically rolling out the red carpet for germs.
Cold-from-the-fridge ingredients cook unevenly. Ever burned the outside of a steak while the middle’s still raw? That’s why letting proteins sit at room temp for half an hour or so helps a ton—you get more even cooking and save time.
And don’t forget: storage containers can transfer weird fridge smells to food. Butter or cheese, especially, pick up odors that only get funkier when heated.
Common Kitchen Myths and Mistakes
People love the “nose test”—if it smells fine, it’s fine, right? Not really. Some bacteria don’t stink at all, so we can’t trust our noses alone. We stick to best-by dates, visual cues, and common sense.
Freezing doesn’t kill bacteria; it just puts them on pause. Thaw food wrong (like on the counter), and you risk the outside hitting unsafe temps while the inside’s still icy.
Washing produce before storage actually shortens shelf life because moisture speeds up spoilage. It’s better to wash veggies right before you cook. And if you don’t rinse rice before cooking, you’ll get gummy results because storage concentrates surface starches.
Common Transition Errors:
- Cooking eggs straight from the fridge (they cook unevenly)
- Forgetting that some produce keeps ripening after you pull it out
- Not sanitizing your cutting board between raw meat and veggies
- Ignoring condensation on containers, which can breed bacteria
Kitchen Science: What Really Happens to Food During Storage
Food changes in storage—no surprise there. Vitamins fade, textures shift, and sometimes things just get weird. Water-soluble vitamins drop off fast, starches and proteins toughen up, and fats can go rancid if you’re not careful.
Nutritional Value Changes Over Time
Vitamin C and B vitamins are the first to go. Leafy greens can lose half their vitamin C in just a week in the fridge. Fat-soluble vitamins stick around longer, but air and light still chip away at them.
Minerals don’t break down, but fats in nuts and seeds can turn rancid, giving off-flavors and possibly even some health risks. Freezing is better than refrigerating for keeping nutrients, since low temps slow down enzymes that break things down.
Texture and Quality: From Fresh to Shelf-Stable
Moisture loss is the big culprit for texture changes. Bread goes stale through starch retrogradation—starches reorganize and the loaf gets dry and tough, especially in the fridge.
Veggies wilt as cell walls break down and water evaporates. Pectin, which holds plant cells together, weakens over time, so you get limp lettuce or floppy celery. Proteins can also denature in the cold, messing with texture before you even start cooking.
Dry goods like crackers do the opposite—they soak up moisture from the air and get soft. That’s why packaging matters so much for shelf life and texture.
The Hardening Phenomenon in Pulses
Old beans and lentils sometimes just won’t soften. That’s the “hard-to-cook” defect. Calcium and magnesium in the beans bind with pectin, making the cell walls tough and water-resistant.
This gets worse with:
- High humidity over 65% and warm temps
- Fluctuating storage temperatures
- Long storage (over a year)
Ever had beans that stay rock-hard no matter how long you boil them? That’s why. Adding salt or acid early in cooking just locks in the toughness. A little baking soda in the soak helps by breaking down pectin bonds.
Cool, dry, stable storage helps, but after a year or two, some hardening is pretty much unavoidable.
Best Practices for Safe and Effective Food Storage
Good storage is about more than just shoving stuff in the fridge. You’ve got to pay attention to temps, organize things smartly, and actually read those labels (yeah, I know). It’s not glamorous, but it keeps you safe.
Storage Conditions and Appliance Thermometers
Don’t just trust your fridge’s “cold” setting—use a thermometer. Your fridge should be 40°F or below, freezer at 0°F or less. It’s surprising how many fridges run warm, especially old ones or those with wonky seals.
Store raw meat on the bottom shelf to keep juices from dripping onto other foods. Canned tomatoes (high-acid) last about 12-18 months unopened, while low-acid canned veggies can go 2-5 years if kept cool and dry.
Optimizing Refrigeration and Freezing
Timing matters. Get perishable stuff in the fridge within 2 hours (or 1 hour if it’s hot out). That rotisserie chicken in your car while you run errands? It’s not as safe as you’d hope.
Different foods have different fridge lives. Fresh poultry, fish, and ground meat: 1-2 days. Beef steaks and pork chops: 3-5 days. Cooked leftovers: 3-4 days.
For freezing, double-wrap meats—even if they’re already packaged—to prevent freezer burn. Ground meat keeps 3-4 months frozen, whole poultry up to a year. Use shallow containers so food cools fast and bacteria don’t get a chance to multiply.
Food Product Dating and Food Packaging
“Use-by” dates are about quality, not safety (for most foods). If something looks and smells fine and you’ve stored it right, you can usually eat it a bit past the date—just don’t expect peak flavor.
Check packaging. Don’t buy meat or poultry with torn or leaky wraps. Vacuum-sealed stuff lasts longer—unopened lunch meat, for example, keeps two weeks, but only a few days once opened.
Canned goods: toss anything dented, leaking, bulging, or rusted, no matter what the date says. That’s a hard rule—don’t risk it.
Preservation Methods and Their Impact on Cooking
Preservation changes how you cook. Canned, dried, smoked, or pickled foods all need different handling, and each brings something unique to the table.
Canning, Drying, and Smoking Essentials
Canned foods are already cooked—so you’re reheating, not actually cooking. That’s why canned beans are soft and canned tomatoes break down fast. Add them later in recipes to avoid mush.
Dried ingredients need to soak up water before they’re ready. Dried mushrooms need a good 20-30 minutes in warm water, sun-dried tomatoes rehydrate quicker in hot liquid. Don’t toss the soaking liquid—it’s packed with flavor.
Smoking brings deep flavor but can overpower if you’re not careful. Smoked meats usually need less seasoning. Cook smoked stuff low and slow to avoid bitterness. Cold-smoked foods still need full cooking, but hot-smoked ones are ready to eat or just need a warm-up.
Pickling and Root Cellaring Explained
Pickled foods are tangy and bright—great for cutting through rich dishes. Quick pickles are good as fresh toppings, while fermented ones add complexity and probiotics. Drain them before using in hot dishes to keep salt and vinegar levels in check.
Pickle brine isn’t just for pouring down the drain—use it in dressings or for deglazing pans. Just know that fermented pickles lose their probiotic benefits if you cook them, so add them last or serve cold.
Root cellaring keeps veggies fresh longer without changing how they cook. Potatoes, carrots, onions from the cellar cook just like fresh—just trim any sprouts or soft spots.
Modern Versus Traditional Preservation Tricks
Old-school methods like salting and air-drying pack in flavor. Salted foods need soaking or blanching to dial down the saltiness. Taste as you go and adjust seasonings.
Modern freezing keeps food closest to fresh, but texture can take a hit from ice crystals. Blanching veggies before freezing helps preserve flavor and color. Cook frozen veggies straight from the freezer for best results—don’t thaw first.
Vacuum sealing is a game-changer for freezer life and quality. It works perfectly for sous vide and lets you freeze pre-seasoned portions for easy, no-fuss meals later.
From Pantry to Pot: Preparing Stored Foods for Cooking
Getting ingredients from storage to the stove isn’t just about following a recipe—it’s about knowing how time changes food and what prep tricks actually matter. The way you thaw and soak things can make or break both safety and flavor. And, honestly, learning to spot when something’s past its prime saves a lot of hassle.
Thawing and Soaking: Techniques That Matter
Thawing and soaking needs a bit of planning. For frozen proteins, the fridge is your safest bet—figure on 24 hours for every 5 pounds of meat. If you’re in a hurry, cold water works, but you’ve got to swap the water every 30 minutes.
Soaking dry beans depends on how much time you’ve got. The quick soak: boil 2 cups of beans in 10 cups of water for 2-3 minutes, then cover and let them sit for at least an hour. If you want them easier to digest, let them soak for up to 4 hours. The overnight method? Just toss them in cold water in the fridge for 8-12 hours.
Lentils and split peas don’t need soaking. You can cook them straight from the bag—huge time saver on busy nights. After soaking any beans, rinse and drain them well. That step helps with texture and, let’s be honest, your stomach will thank you later.
Dealing With Hardened Pulses and Loss of Viability
Old beans can be a nightmare. Ever had chickpeas that just won’t soften, no matter how long you cook? That’s the “hard-to-cook” thing—temperature swings and humidity mess with their structure.
Beans lose their mojo after a couple of years, especially if they haven’t been stored right. You’ll notice cracked skins, faded color, and a weird chalky bite that doesn’t go away. Salt or tomatoes added too early? Makes it worse. They toughen the skins even more.
If you want to avoid this, buy beans from stores that move their stock quickly, and stash them in airtight containers away from heat and dampness. For stubborn old beans, a pinch of baking soda in the cooking water can help, but it might mess with the flavor a bit.
Understanding Texture, Soaking, and Cooking Methods
Your end goal matters. For salads and grain bowls, you want beans with some bite. For hummus or refried beans, cook them down until they’re super soft.
Cooking times vary. Stovetop simmering takes 1-2 hours for most beans, while a pressure cooker can knock it out in 20-30 minutes. Grains have their own rules: white rice is a 1:2 ratio, brown rice needs 1:2.5, barley likes 1:3.
| Food Type | Soak Required | Cooking Time | Water Ratio |
|---|---|---|---|
| Lentils | No | 20-30 min | 1:2.5 |
| Black beans | Yes | 60-90 min | 1:3 |
| Brown rice | No | 45 min | 1:2.5 |
| Barley | No | 40-50 min | 1:3 |
Taste as you go—the inside should be creamy, not gritty or chalky.
Keeping It Safe: Food Handling and Cooking Temperatures
Handling food safely comes down to habits: washing hands, checking temps, and keeping an eye out for recalls. Knowing the right internal temps and how to handle a recall isn’t just for pros—it’s basic kitchen survival.
Preventing Foodborne Illness in Your Kitchen
You can’t see or smell the stuff that makes you sick, so you’ve got to trust the process. Always wash your hands for 20 seconds with soap and warm water before and after handling food.
Cross-contamination is sneaky. Use separate cutting boards for raw meat and everything else, and clean up right after. Store raw meat, poultry, and seafood in sealed containers below 40°F.
Keep cold foods cold, hot foods hot, and never let things hang around between 40°F and 140°F. Thaw frozen foods in the fridge, cold water, or microwave—not on the counter.
Using Internal Temperature Charts
A food thermometer is your best friend here. Color and texture can fool you, but a thermometer won’t.
Here’s the breakdown:
- Poultry (chicken, turkey, duck): 165°F
- Ground meats (beef, pork, lamb): 160°F
- Whole cuts of beef, pork, lamb: 145°F with a 3-minute rest
- Fish and seafood: 145°F
- Egg dishes and casseroles: 160°F
Stick the thermometer into the thickest part, avoiding bone or fat. For thin foods like burgers, go in sideways for a better read.
Food Recalls: What Every Cook Should Know
Recalls happen—sometimes it’s bacteria, sometimes mislabeling. Stay in the loop by checking FDA and USDA sites or signing up for alerts.
If something in your kitchen gets recalled, don’t risk it. Return it or toss it so no one else eats it. Glancing over your pantry and freezer against a recall list only takes a minute and can spare you a lot of trouble.
Jotting down purchase dates and lot numbers on packages can make checking recalls faster. No need for spreadsheets—just a sticky note or marker does the trick.
Toward Sustainability and Reducing Food Waste
How you store food affects more than your dinner—it’s tied to waste and the bigger food system. Using what you have and making smart choices, especially with pulses, can cut waste and even help with food security.
Sustainable Food Systems in Your Kitchen
Sustainability isn’t just for farms or big policy talks. It starts at home. Every time something spoils, all the resources behind it—water, energy, labor—go to waste.
Take stock before you cook. Use up the stuff that’s about to expire first. That’s the “first-in, first-out” rule restaurants swear by.
Root cellars are old-school but effective. Most of us don’t have one, but a cool, dark spot in the basement or pantry works for potatoes, onions, and squashes.
Choosing beans, lentils, and other pulses helps too. They last for ages, need little processing, and pack a nutritional punch, especially when paired with grains.
Reducing Food Waste Through Smart Storage
Even with good storage, things slip through the cracks. Who hasn’t found a slimy cucumber or freezer-burned chicken hiding in the back?
Clear containers make a difference. Glass jars are great for dry goods, and see-through fridge bins keep produce visible. Label everything with the date—it takes seconds and saves you from “mystery meals.”
The back of the fridge is coldest—good for dairy and eggs. Door shelves? Not so much. Use those for condiments and foods you’ll eat soon.
Don’t toss imperfect ingredients. Wilted greens work in soup, overripe bananas in bread, and stale bread in croutons. Turning “almost trash” into dinner feels pretty satisfying.
| Storage Challenge | Cooking Solution |
|---|---|
| Wilted herbs | Blend into pesto or chimichurri |
| Soft vegetables | Roast or puree into soup |
| Stale grains | Toast and use as crunchy toppings |
| Aging citrus | Zest before discarding |
Pulse-Derived Products and Functional Ingredients
Pulses—chickpeas, lentils, peas, beans—are storage champs. Keep them cool and dry, and they’ll last almost forever.
They’re cheap, filling, and versatile. A bag of lentils is a fraction of the cost of meat and still brings the protein, fiber, and minerals.
Pulse-based products like chickpea flour, lentil pasta, and pea protein powder are worth a look. They store well and can be real time-savers when you don’t want to soak and cook from scratch.
Batch cooking makes pulses even easier. Cook up a big batch, freeze in small portions, and you’ve got the convenience of canned beans without the mushy texture or price tag.
Frequently Asked Questions
Let’s be real—keeping food fresh, your pantry in order, and meals on track isn’t always easy. Here are some answers to the most common frustrations and questions about bridging the gap between storage and cooking.
How do you keep your ingredients fresh between store and stove?
Raw meats go on the bottom fridge shelf, always. It’s saved us from more than a few disasters.
We rinse produce before storing, even if we’ll peel it later. The fridge stays at 40°F (4°C) or lower—worth checking with a thermometer now and then.
Ground meats, poultry, and seafood get used within a day or two or go straight to the freezer. We’ve learned not to trust looks alone; even fresh-looking meat can turn quickly.
Leftovers go into shallow containers within two hours. They cool faster, so bacteria don’t have a chance.
What are the top organization hacks for a clutter-free pantry?
Group similar stuff together and use clear containers so you don’t buy the same thing twice. No more “surprise” bags of rice hiding in the back.
Label with purchase dates and rotate older stuff to the front. Keep go-to items at eye level, and stash rarely used things up high.
Don’t overpack the fridge. Air needs to circulate, or nothing stays cold enough. A little space means food lasts longer.
Raw meats on the bottom, sealed up. Everything else gets sorted by how soon you’ll use it, with the oldest stuff up front.
Can you walk us through the art of meal prepping like a pro chef?
Read the recipe before you start. Saves you from missing a step or scrambling for a pan at the last minute.
Handwashing for 20 seconds with soap and warm water is a must. Clean surfaces and utensils between tasks, too.
Use separate boards for raw meat and veggies. It’s a pain, but it keeps bacteria from spreading.
For batch cooking, split big pots into smaller containers right away. They cool faster and make reheating a breeze.
What's the best way to transition groceries to gourmet goodies?
Bag raw meats separately at the store so juices don’t touch anything else. This habit starts at checkout, not just at home.
Get perishables in the fridge within two hours—one hour if it’s hot outside. Food left in a warm car can spoil fast.
Store eggs in their original carton in the coldest part of the fridge, not the door. They’ll last 3-5 weeks that way.
Rinse produce before it goes in the fridge, and keep it away from raw meats. When it’s time to cook, you’re already set.
How do you ensure your kitchen setup saves you time and hassle during meal prep?
Keep a food thermometer handy. It’s the only way to know for sure if meat is safe—color and texture can’t tell you.
Store utensils where you use them most. Daily tools go up front; specialty stuff can hide in the back.
Thaw frozen foods in the fridge overnight. It’s safer and less stressful than watching a bowl of cold water.
Hot food goes into shallow containers before hitting the fridge. They cool down faster, keeping you out of the food safety danger zone.
Could you give us a rundown on the essentials for a well-organized kitchen workflow?
We stick to the four USDA food safety steps: Clean, Separate, Cook, and Chill. Those basics shape pretty much everything we do, from prep all the way to storage.
We don't just wash surfaces with soap and water—we make a point to sanitize them regularly, especially right after handling raw meat or poultry.
All leftovers get reheated to 165°F before we eat them, no matter how fresh they seem. If it's soup, sauce, or gravy, we let it hit a rolling boil to make sure any lurking bacteria are gone.
Leftovers hang out in the fridge for 3-4 days max, or else they head to the freezer. We slap a date on every container so there's no guessing game about when to use or toss them.
If we're ever on the fence about whether something's safe, we just pitch it. No meal's worth getting sick over, honestly. That "when in doubt, toss it out" mantra has saved us more than once.
Share:
When Better Storage Leads to Better Cooking Results
When Better Storage Leads to Better Cooking Results