

Check out our latest collection of compact vacuum sealer for food!
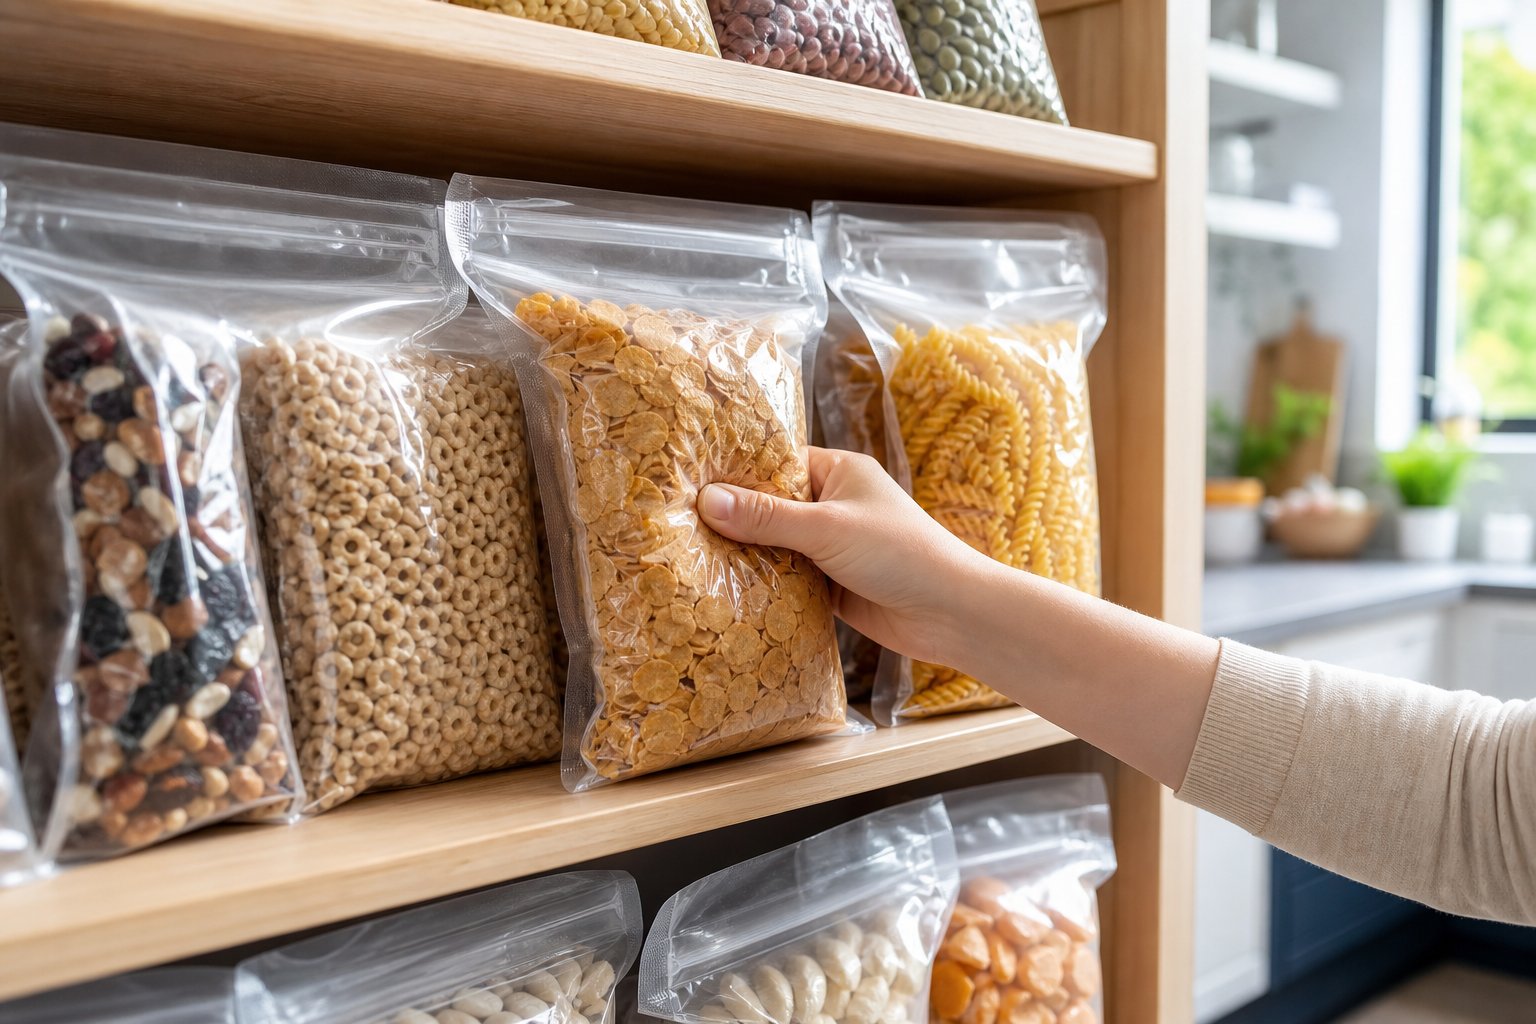
Opened pantry packs can turn a tidy shelf into clutter fast. A half-used cereal box, a loose bag of flour, or an opened sleeve of crackers can take up space, invite staleness, and make it harder to see what you already have.
Vacuum storage gives opened dry goods a cleaner, smarter place to go. By removing excess air and creating a tighter seal, it helps slow staleness, protect against moisture, reduce pantry clutter, and make snacks, baking staples, coffee, cereals, and grains easier to store. In this guide, you will learn how vacuum storage works, which foods benefit most, and how to use it for a fresher, more organized pantry.
Key Takeaways
- Vacuum sealing pulls air out of opened pantry packs, keeping food fresh and fighting staleness
- Vacuum-sealed items save space and stack neatly, way better than random bags and boxes
- Storing vacuum-sealed dry goods in cool, dark spots keeps them fresh for months or even years
The Science Behind Vacuum Sealing for Pantry Storage
Vacuum sealing works by sucking air out of the package and then heat-sealing it shut. That means way less oxygen inside, which slows down the chemical and biological stuff that makes food go bad. Plus, it helps keep moisture and pests out.
How Vacuum Sealers Remove Air and Lock in Freshness
Vacuum sealers use a pump to pull air out of special bags before sealing them with heat. Chamber vacuum sealers put the whole bag inside a chamber, remove air from both the chamber and the bag, and then seal it once the pressure matches. This method handles liquids and fragile foods really well.
Handheld sealers and external models work a bit differently. They hook up to valve-equipped bags or canisters and suck the air out through the valve. These are smaller and easier to store, but don’t pull out quite as much air as chamber types.
A good vacuum sealer can drop the pressure inside the bag to about 5-10 torr (compared to normal air pressure of 760 torr). Anything below 50 torr (around 93% vacuum) slows down oxidation and most microbes enough for pantry storage. There’s still a little oxygen left, but not enough to cause problems fast.
Impact on Oxygen, Moisture Content, and Food Safety
When you remove oxygen, you stop most bacteria, molds, and yeasts from growing. These organisms need air to multiply, so vacuum sealing pantry goods like flour, nuts, coffee, and dried foods keeps them from spoiling as quickly.
Oxygen also causes fats in food to go rancid. That’s why nuts and coffee start to taste off after a while. By vacuum sealing, you slow down that process and keep those foods tasting good for a lot longer.
Sealing the bag keeps outside moisture out, so dry foods stay crispy and things like brown sugar or powdered ingredients don’t clump up. For foods that already have some moisture, vacuum sealing helps lock it in instead of letting them dry out.
What Makes an Airtight Seal Essential
You need a solid heat seal after removing the air. Even tiny leaks let oxygen sneak back in, ruining the whole point. The best vacuum bags use layers of stuff like polyethylene, polyamide, or EVOH to block oxygen and seal tight.
To get a good seal, use the right temperature and give it enough time. Always check the seam, no wrinkles or gaps. Bags with low oxygen transmission rates (under 15 cm³/m²/day) work best for long-term storage. Thicker, multi-layer bags do a better job than regular plastic, even if the seal holds.
Extending Shelf Life and Preserving Flavor
Vacuum storage pulls oxygen out of the bag, slowing down the stuff that makes food stale or bland. You also get a barrier against moisture and air, so foods keep their flavor and texture way longer than if you just use a clip or a regular container.
How Vacuum Storage Extends Pantry Staples' Shelf Life
Oxygen is the main reason opened pantry food goes bad fast. When you vacuum seal flour, rice, nuts, or dried fruits, you take away the air bacteria and mold need to grow.
Rice in its regular package might last six months, but vacuum sealed? It can go for years. Brown rice, which has more oil, usually spoils in half a year but lasts much longer when vacuum sealed.
Nuts are super sensitive to air. Their oils turn rancid and taste weird if left out. Vacuum sealing keeps those oils fresh, so nuts stay good for over a year instead of just a few months.
Typical shelf life boosts:
- Flour: from 6-8 months to 1-2 years
- Grains and rice: 6 months to 2+ years
- Nuts and seeds: 3-6 months to 12+ months
- Dried pasta: 1-2 years to 3+ years
- Coffee beans: 3-5 months to 6-9 months
Flavor Retention and Preventing Staleness
Vacuum sealing slows down oxidation, the process that kills flavor in food. That’s a big deal for things like coffee, tea, spices, and dried herbs.
Coffee beans lose their oils and aroma when exposed to air. When we vacuum seal them, they keep their flavor for six to nine months instead of just three to five. They won’t taste as fresh as day one, but you’ll definitely notice the difference.
Spices and herbs lose their punch as their oils evaporate. Vacuum storage traps those flavors inside.
Chips, crackers, and other snacks lose their crunch because of moisture and fat oxidation. Vacuum sealing helps keep them crispy and tasty, though some foods hold up better than others.
Controlling Moisture to Prevent Spoilage
Moisture is a breeding ground for mold and bacteria. Vacuum bags keep humidity out, which is a lifesaver in damp climates or for foods in a steamy pantry.
Sugar, salt, and baking powder stay loose instead of clumping. Dried fruits keep their chewy texture instead of getting sticky or moldy.
It’s important to make sure foods are totally dry before sealing. Any leftover moisture inside the bag can cause condensation and spoilage. If you’re sealing homemade granola or dehydrated foods, let them cool and dry all the way first.
Vacuum sealing works even better if you also store bags in a cool, dark place. Heat and light can still mess with food, even without oxygen.
Types of Vacuum Storage Solutions
Not all vacuum storage tools are created equal. The right one depends on what you’re sealing and how often you’ll use it. Trust me, knowing the differences between bag types, sealer styles, and what works for certain foods can save you money and hassle.
Vacuum Sealer Bags Versus Other Storage Bags
There are two main kinds of vacuum sealer bags: embossed and smooth chamber bags. Embossed bags have a textured surface so air can escape during sealing. They work with most external vacuum sealers and come as pre-cut bags or rolls you cut yourself.
Smooth chamber bags are just flat plastic pouches, no texture. They only fit chamber vacuum sealers, but if you’re sealing a lot, they’re cheaper per bag. We usually pick chamber bags for bulk pantry projects.
Regular zip-top bags can’t hold a vacuum seal. Some handheld systems use valve bags that let you suck out air through a one-way valve. These are okay for short-term storage, but don’t keep food fresh as long as heat-sealed vacuum bags.
Chamber Versus Handheld Vacuum Sealers
Chamber vacuum sealers put the whole bag inside a chamber, suck out all the air, and seal the bag before letting the pressure back in. They work with liquids and moist foods and use cheaper bags, but they’re bigger and cost more.
Handheld vacuum sealers are small gadgets that work with special valve bags or containers. You press them against the valve, pull out the air, and the valve closes after. These are great for things like flour, rice, nuts, or cereal you want to open and reseal a lot.
External vacuum sealers (the ones most people buy) clamp the bag outside the machine, suck out the air, and then heat-seal it. They’re affordable, handle most dry foods, but don’t do well with liquids. For most pantry needs, these get the job done.
Choosing the Right Bags for Specific Foods
Dry goods like flour, sugar, pasta, and grains work with any vacuum bag. For stuff with sharp edges, like pasta or granola, I go with thicker bags (3-4 mil) to avoid punctures.
Nuts, coffee beans, and spices last longer in bags with higher oxygen barriers. If you want to go the extra mile, use light-blocking bags for coffee and some spices to protect against light damage.
If you’re resealing the same package over and over, reusable vacuum containers or valve bags make more sense than heat-sealed bags. Cutting and resealing traditional vacuum bags wastes material and shrinks the bag each time.
For moist foods (like not-fully-dried fruit), be careful. External sealers might suck moisture into the machine, so freezing these items for a bit or using a chamber sealer helps.
Best Practices for Sealing Opened Pantry Packs
Getting the most out of vacuum sealing means paying attention to moisture, portion sizes, and labeling. A few extra steps up front really pay off in fresher pantry staples and less waste.
Pre-Freezing and Portioning Techniques
Pre-freezing helps with moist foods before vacuum sealing. If you’re sealing dried fruits or semi-moist items, spread them on a tray and freeze for an hour or two so they don’t get squished.
Portioning saves time and keeps food from going bad. Divide bulk items like rice, flour, or pasta into recipe-sized amounts. For example, split a 2-pound bag of flour into four smaller portions that actually fit your pantry.
With chips or crackers, sealing snack-sized portions means you’re not opening the whole bag at once, so nothing gets stale before you can eat it.
Tips to Avoid Common Mistakes and Seal Failures
For a good heat seal, the bag edge needs to be clean and dry. Wipe the inside top with a paper towel, especially after sealing flour or powdery stuff.
Moisture ruins seals. If your food’s a bit damp, use your sealer’s moist setting if it has one. Don’t rush, bags that unseal after a few days are usually the result of skipping this step.
Leave a few inches between the food and the seal line. Overfilled bags don’t seal well. I like to fold the top of the bag over before filling to keep crumbs out of the sealing area.
After sealing, gently tug both sides of the seam to check it. If it pulls apart, reseal it right away.
Labeling and Organization for Quick Access
We always label every sealed bag with the contents and the date using a permanent marker. Trust me, after three months, you just can’t tell the difference between all-purpose flour and bread flour without a label.
Try creating zones in your pantry for different food categories. We keep all baking supplies together, grains in another area, and snacks in a third spot. This little system helps us avoid buying duplicates.
Our labeling system covers:
- Item name
- Date sealed
- Quantity or weight
- Expiration date (if it matters)
We rotate stock by putting newly sealed items behind the older ones. Our simple first-in, first-out method keeps things from getting lost in the back. Since vacuum-sealed bags are clear, it’s easy to see what’s inside without digging around.
Comparing Vacuum Sealing With Oxygen Absorbers
Vacuum sealing pulls out air mechanically and seals the bag, while oxygen absorbers use a chemical reaction to remove oxygen after you close the bag. Both cut down on oxidation, but each works best in different situations depending on how long you plan to store your food and what kind of packaging you’re using.
Pros and Cons for Long-Term Versus Short-Term Storage
For short-term storage of opened pantry packs, vacuum sealing gives quick results and keeps food fresh for weeks or months. The machine removes about 99% of the air, which slows down staleness and keeps most bacteria from multiplying. You can see exactly what’s inside, and the bags hug everything tightly to save drawer space.
But here’s the catch: Oxygen seeps back through the plastic over time. So, for long-term storage, beyond a year or two, vacuum sealing just isn’t as reliable. If you’re dealing with opened crackers, cereal, or pasta you’ll finish in a few months, vacuum sealing works great.
Oxygen absorbers with mylar bags are king for long-term storage. They pull oxygen levels down below 0.01% and keep dry goods fresh for 25+ years. The difference is huge. But they’re single-use, the bags don’t compress as tightly, and honestly, there’s a learning curve to sealing them right. For everyday pantry items, that’s usually way more than you need.
Combining Techniques for Maximum Protection
Sometimes, we use both methods together for extra protection. We’ll vacuum seal first to compress the food and remove most of the air, then toss a small oxygen absorber inside to catch whatever oxygen the vacuum missed. This combo really helps with foods that have odd shapes and trap air pockets.
You can also vacuum seal foods in regular plastic bags for short-term use, then stash those inside a larger mylar bag with oxygen absorbers for moisture control and longer shelf life. Just keep in mind, oxygen absorbers only work safely with dry foods under 10% moisture. For moist items, stick with vacuum sealing alone to avoid botulism risks in oxygen-free environments.
Vacuum Storage in Real-World Kitchens
Vacuum storage changes how we handle pantry staples, freezer storage, and bulk buys. It keeps food fresh longer and makes organizing easy, even in tiny spaces.
Organizing Small Pantries and Avoiding Food Waste
Small pantries can be a headache when you’re trying to fit everything and still see what you’ve got. We’ve noticed vacuum storage containers and bags help by compressing things into stackable, visible portions instead of those awkward, bulky packages.
When we move opened crackers, cereal, or chips into vacuum-sealed containers, they stay crisp for weeks, not just days. You end up tossing less, and there’s less guilt about waste. Plus, since you can see everything, you’re less likely to buy duplicates or forget what’s hiding in the back.
For pantry staples like flour, sugar, and rice, vacuum sealing keeps out humidity and pests while stretching shelf life. We like to portion bulk buys into smaller vacuum-sealed bags that fit neatly on narrow shelves. Even the tiniest spaces suddenly feel more manageable.
Bulk Buying and Freezer Storage Tips
Buying in bulk saves money, if you can actually use everything before it spoils. We suggest dividing up bulk meats, cheeses, and veggies into meal-sized portions and vacuum sealing them as soon as you get home.
Freezer Storage Best Practices:
- Label each bag with contents and date before freezing
- Lay bags flat while sealing to save freezer space
- Stack sealed bags vertically like files for easy access
- Blanch veggies before vacuum sealing to keep color and texture
Vacuum-sealed meats last 2-3 years in the freezer, compared to just 6 months with regular storage. Hard cheeses stay fresh for 4-8 months, and veggies keep their quality for 2-3 years. You can stock up during sales without worrying about freezer burn or losing quality.
Everyday Scenarios: From Snacks to Baking Supplies
We use vacuum storage daily for stuff that loses freshness fast. Opened bags of tortilla chips, pretzels, and cookies go straight into vacuum containers after the first use. Even after two weeks, they’re noticeably crisper compared to using a clip or rubber band.
Baking supplies love vacuum storage. Brown sugar stays soft instead of turning into a brick, nuts don’t go rancid, and chocolate chips keep their flavor without picking up weird smells. Coffee and tea also keep their aroma and taste when vacuum sealed, which is great if you’re picky about your beans or loose-leaf tea.
For families with kids, portioning snacks into individual vacuum-sealed bags makes grab-and-go easy and keeps everything fresh. Trail mix, dried fruit, and granola all last longer when you keep the air out.
Frequently Asked Questions
Vacuum sealing opened pantry items is simple once you know which foods work best, how to avoid crushing, and which accessories make daily use easier.
What are the biggest downsides of vacuum sealing dry pantry staples like chips, cereal, and crackers?
The biggest downside is crushing. Delicate foods like chips, crackers, and cereal flakes can break if the suction is too strong. It can also be less convenient for foods you open every day because bags must be cut and resealed.
How do you vacuum seal an opened snack or pantry bag without crushing the contents?
Use the pulse setting if your sealer has one, and stop suction before the food compresses. For fragile snacks, vacuum canisters are often a better choice because they remove air without squeezing the contents tightly.
How long do common pantry foods stay fresh once vacuum sealed after opening?
Most snacks stay fresh for a few extra weeks, while dry staples like flour, rice, pasta, and sugar can last much longer when sealed properly and stored in a cool, dry place.
Can you vacuum seal powders, coffee, or flour without making a mess inside the sealer?
Yes. Place powdery foods in a paper bag or use a coffee filter near the opening before sealing. Leave extra space at the top of the bag so fine particles do not get pulled into the machine.
What is the easiest way to reseal vacuum bags when you do not have a vacuum sealer handy?
For short-term storage, use a tight bag clip, zipper-style vacuum bag, or impulse sealer. These options will not remove as much air as a vacuum sealer, but they can help keep pantry items contained and fresher for longer.
Which vacuum bag sizes and accessories work best for keeping half-used pantry items organized in cabinets and drawers?
Quart bags work well for small snacks and baking ingredients. Gallon bags are better for bulk staples. Roll bags are useful when you want custom sizes, while vacuum canisters are best for foods you open often, like coffee, sugar, cereal, or crackers.
Teilen:
How to Build a Pantry System Using Vacuum Bags for Backstock and Canisters for Daily Use
Which Vacuum Bag Features Matter Most for Daily Reuse, Cleaning, and Storage?