

Check out our latest collection of compact vacuum sealer for food!
Meal prepping on a budget doesn't have to mean bland leftovers. A small vacuum sealing machine can keep your meal prep fresh up to five times longer than basic containers, so you waste less and can buy in bulk without worry. These handy gadgets pull out the air and create an airtight seal, which keeps nutrients in and freezer burn out.
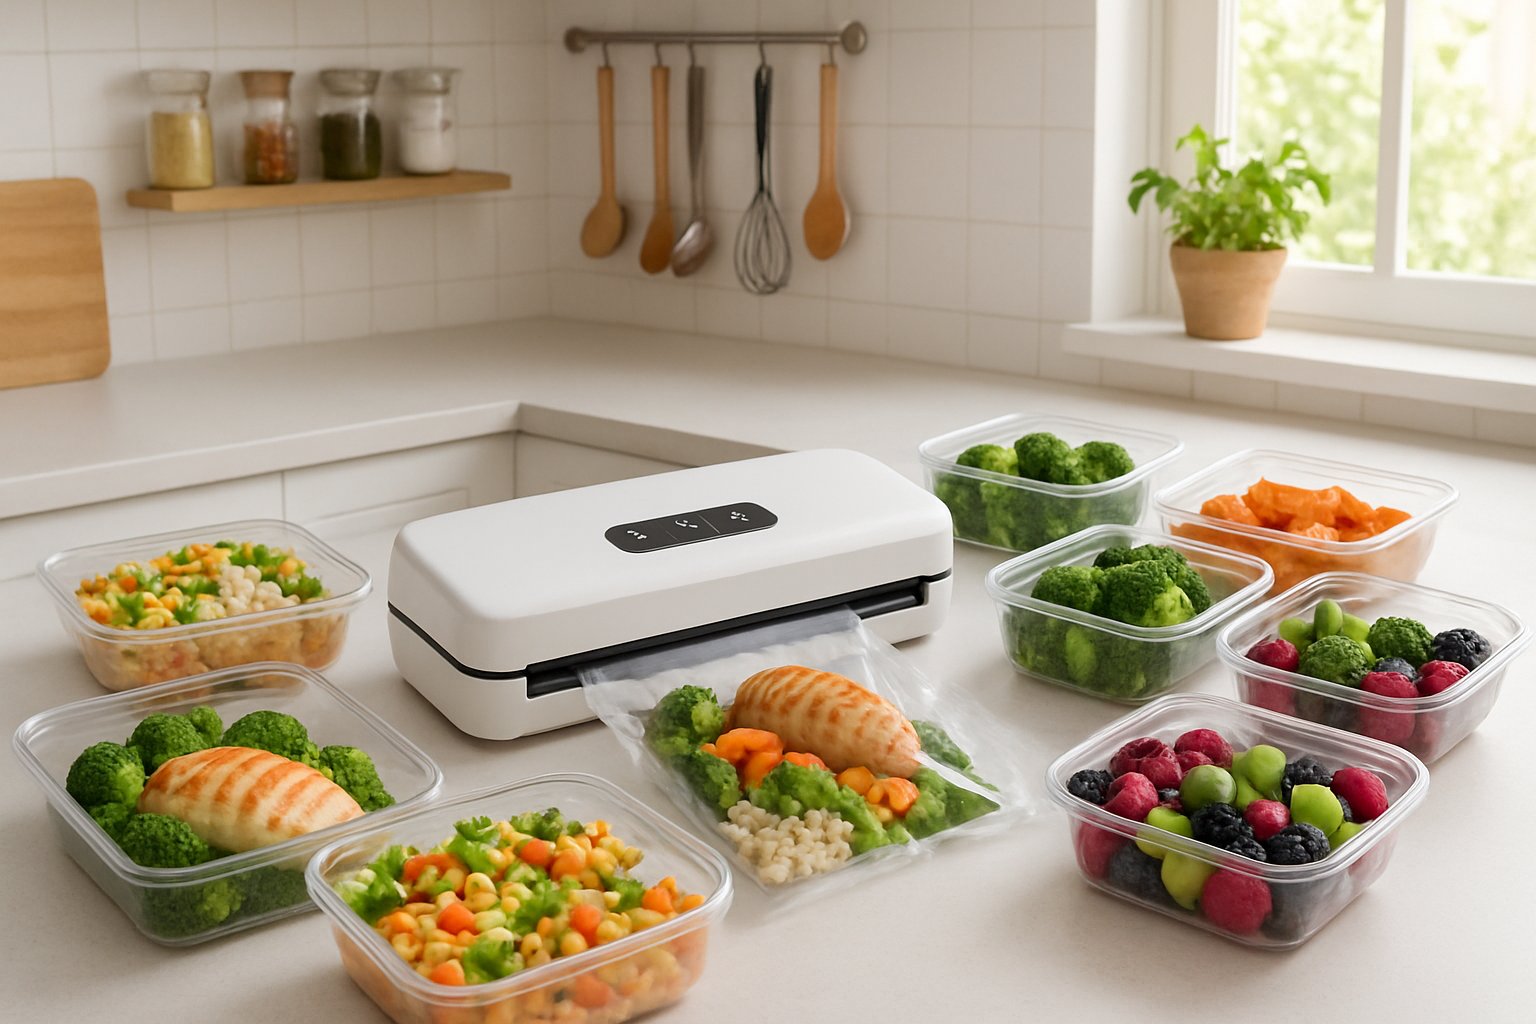
We've all spent a Sunday prepping meals, only to find them soggy or questionable by midweek. Small vacuum sealers fix that, and they don't hog all your counter space. They're good for portioning, marinating, and storing everything from chopped veggies to whole meals.
Let's walk through some practical ways to use your vacuum sealer, seven meal ideas that still taste great after a week, and a few tips for reheating sealed meals. This little tool can make meal prep way less of a chore—and keep your grocery bills from ballooning.
Key Takeaways
- Small vacuum sealers keep food fresh way longer than regular containers
- Buying in bulk and portioning with vacuum sealing cuts down on food costs
- Pre-sealed meals hold up better in the fridge and reheat more evenly
Why Use a Small Vacuum Sealing Machine for Meal Prep
A small vacuum sealing machine can totally change the meal prep game by keeping food fresh much longer and making portioning easy.
Maximizing Freshness and Shelf Life
When you vacuum seal, you kick out the air—the main reason food spoils. That means your meals stay fresh way longer than if you just tossed them in a plastic tub.
Fresh vs. Vacuum Sealed Storage Times:
- Cooked chicken: 3-4 days vs. 2-3 weeks
- Pre-chopped veggies: 2-3 days vs. 1-2 weeks
- Cooked grains: 4-6 days vs. 2-4 weeks
Vacuum sealing really locks in flavors. Marinated meats soak up more seasoning, and smoothie packs with fruit and veggies keep their color and texture for weeks in the freezer. No more sad, mushy berries ruining breakfast.
Preventing Food Waste and Saving Money
Vacuum sealing helps you stop tossing out spoiled food. You can buy big packs of stuff on sale and not worry about it going bad before you use it.
Bulk meats become manageable when you portion and seal them. Buy a family pack of chicken, season it, and store meal-sized portions for months.
Money-Saving Benefits:
- Stock up on sales
- Cut food waste by nearly half
- Make pricey herbs and spices last
- Skip last-minute takeout
Batch-cook soups and sauces, seal them flat, and stack them in the freezer. You’ll always have a meal ready to go, so you’re less likely to cave and order delivery.
Portion Control Made Simple
Vacuum sealers make it easy to portion meals. You can control servings, which helps with both your budget and your waistline.
Pre-pack snacks like nuts or granola so you’re not tempted to overdo it or buy expensive pre-packed versions. Label single-serving meals with dates and contents, and just grab what you need—no need to thaw a huge batch.
Portion Control Advantages:
- Individual meals: Heat-and-eat servings
- Snacks: Controlled portions
- Ingredient prep: Pre-measured for recipes
Seal up cooked grains or beans in cup-sized bags. Toss them into salads or bowls without wasting any.
Essential Tips for Budget-Friendly Meal Prepping
Choosing the right ingredients, cooking in batches, and storing everything the right way are the keys to meal prepping on a budget. These habits stretch your grocery budget and keep your food tasting good all week.
Choosing Cost-Effective Ingredients
Building meals around cheap staples like rice, pasta, beans, and lentils can seriously shrink your grocery bill. Plant-based proteins are a steal—one bag of dried beans goes a long way, while meat costs way more for less food.
Buying produce in season keeps things interesting and affordable. Check store flyers for deals and plan meals around what’s cheap that week. Summer berries, winter squash, spring greens—they’re all cheaper and better when in season.
Bulk buys work best for non-perishables:
- Dried grains and beans
- Frozen veggies and fruit
- Canned goods
- Oils and vinegar
- Spices
Swap pricier ingredients for budget options. Chicken thighs over breasts, canned veggies instead of fresh, and store brands over name brands—no one will notice.
Batch Cooking on a Budget
Batch cooking stretches your dollar. Buy more when it’s on sale, cook a bunch at once, and turn it into different meals.
One whole chicken can become soup, taco filling, and roasted pieces for grain bowls. Cook a big batch of rice and use it all week in stir-fries, bowls, and stuffed peppers.
Go-to batch-cooking ideas:
- Soups and stews
- Grain salads
- Roasted veggies
- Slow cooker meals
- Overnight oats
Make versatile base ingredients. Beans can be chili, salad toppings, or burrito filling. Roasted veggies work in bowls, pasta, or wraps.
Stick to similar flavors to avoid waste. If you’re doing a Mexican week, use peppers, onions, and cilantro in several dishes. Mediterranean week? Tomatoes, herbs, and olive oil.
Storing and Labeling for Long-Term Success
Good storage is what keeps your meal prep from ending up in the trash. Use airtight containers and vacuum-sealed bags to keep everything fresh and avoid freezer burn.
Container hacks:
- Glass for reheating
- Plastic for dry goods
- Vacuum bags for the freezer
- Mason jars for soups and sauces
Label everything with what’s inside and the date. Trust me, you’ll forget what’s what once it’s frozen.
Freezer-friendly recipes like soups, casseroles, and burritos last up to three months when sealed right. Double up on recipes and freeze half for later.
Keep older stuff up front in the fridge or freezer. First in, first out—use older meals first so nothing gets lost in the back.
How to Use a Small Vacuum Sealing Machine for Meal Prep
Getting the most out of your vacuum sealer means prepping ingredients the right way and following a few safety basics. These habits keep food fresh and your machine working.
Prepping Ingredients for Sealing
Let all cooked foods cool completely before sealing—hot food creates steam, which messes up the seal and can damage the machine.
For liquids like soup or sauce, freeze them in containers first, then pop the frozen blocks into vacuum bags. That way, nothing gets sucked into the machine.
Pat fresh produce dry before sealing. Too much moisture can prevent a good seal and lead to spoilage. For watery veggies like tomatoes or cucumbers, toss in a paper towel to soak up extra moisture.
Portion everything before sealing. Smaller servings thaw faster and you won’t waste food by opening a big bag.
Delicate stuff like berries or soft veggies? Freeze them for half an hour first so they don’t get squished.
Vacuum Sealing Safety and Best Practices
Don’t seal raw meat with anything else—cross-contamination is a real risk.
Leave about 3-4 inches of space at the top of each bag for a good seal.
Label every bag right away with what’s inside and the date. Once it’s frozen, everything looks the same.
Lay bags flat in the freezer until they’re solid, then stack to save space. Keep vacuum-sealed food in the fridge for a week or two, or in the freezer for a couple of years, depending on what it is.
Wipe down your machine after each use to keep it running strong.
7 Budget-Friendly Meal-Prep Ideas Using a Vacuum Sealer
These meal prep ideas use cheap ingredients and vacuum sealing to keep meals tasty and fresh. Black beans, brown rice, and seasonal veggies are the backbone of these budget meals, and they’ll hold up for weeks if sealed right.
Black Bean and Rice Burritos
This combo is a classic—cheap, filling, and packed with protein. A can of black beans is under a buck and makes enough for several burritos.
Ingredients for 8 burritos:
- 2 cups cooked brown rice ($0.50)
- 2 cans black beans, drained ($1.80)
- 8 flour tortillas ($2.00)
- 1 cup shredded cheese ($1.50)
- 1 bell pepper, diced ($1.00)
Let the rice cool. Mix beans with cumin, garlic powder, and a little salt. Sauté bell pepper until soft.
Fill each tortilla with rice, beans, pepper, and cheese. Roll up tight and vacuum seal each one. Toss them in the freezer—they’ll keep for months.
Cost per burrito: $0.85
Chickpea and Veggie Mediterranean Bowls
Chickpeas are super cheap and loaded with protein. Roast them with olive oil, oregano, and paprika. Add cucumber, cherry tomatoes, and red onion for crunch.
Bowl parts:
- Base: Quinoa or bulgur wheat
- Protein: Roasted chickpeas
- Veggies: Cucumber, tomatoes, red onion
- Flavor: Lemon juice and olive oil
Seal each part separately. Chickpeas stay crisp and veggies don’t get soggy—good for up to five days in the fridge.
Mix it all when you’re ready to eat. If you’ve got room in your budget, add a spoonful of Greek yogurt.
Cost per bowl: $1.25
Teriyaki Chicken and Brown Rice Packs
Chicken thighs are cheaper and, honestly, taste better when vacuum sealed. Buy family packs on sale and prep a bunch at once.
Shopping tips:
- Look for thighs at $1.99/lb or less
- Use store-brand teriyaki sauce
- Make brown rice in bulk
Marinate 2 lbs chicken thighs in teriyaki sauce for half an hour. Grill or bake, then slice.
Cook brown rice. Steam frozen mixed veggies—no need for fresh.
To assemble:
Layer cooled rice, chicken, and veggies in vacuum bags. Press out air gently to avoid smashing the rice.
These reheat well in the microwave. Sealing keeps the chicken juicy and prevents freezer burn for months.
Cost per pack: $2.10
More Budget Meal Prep Inspirations with a Vacuum Sealer
Here are a few more cheap meal ideas that work great with a vacuum sealer. Each one turns basic ingredients into something that actually holds up in the fridge or freezer.
Freezer-Friendly Sweet Potato Hash
Sweet potatoes are cheap and make a filling breakfast. Dice them, toss with onions, bell peppers, and any frozen veggies you have.
Season with paprika, garlic powder, salt, and a splash of olive oil. Roast at 425°F for 25-30 minutes until caramelized.
Cost per serving:
- Sweet potato (1 cup): $0.50
- Mixed veggies: $0.30
- Seasonings: $0.10
- Total: $0.90
Let everything cool, then seal in single servings. Freeze for up to 4 months. Reheat in a skillet with a splash of water.
Top with a fried egg for extra protein if you want—still budget-friendly.
Crispy Sesame Tofu and Zucchini Noodle Kits
Extra-firm tofu gives you a solid protein punch for just a couple bucks per block, making enough for 4 to 6 servings of this Asian-inspired dish. Press out excess water, cube it up, and toss the tofu in soy sauce, sesame oil, garlic, and a splash of maple syrup.
Pan-fry those cubes until they’re golden and crisp on every side. While that’s happening, spiralize some zucchini into noodles—or just slice ribbons with a veggie peeler if that’s easier.
What’s cool about this kit? Keeping everything separate in the vacuum-sealed bag. Stash the crispy tofu in one corner, zucchini noodles in the other.
Pro tip: Toss in a little container of sesame seeds and red pepper flakes for a flavor boost that costs next to nothing.
When it’s time to eat, the zucchini cooks up fast and the tofu just needs a quick reheat. The combo’s got crunch and bold flavors, and you’re looking at less than $1.50 a serving.
Cottage Cheese Tuna Salad Packs
Stretch pricey tuna with humble cottage cheese for a protein-packed lunch. Mix a can of tuna with half a cup of cottage cheese, some diced celery, and a squeeze of lemon.
Cottage cheese brings creaminess and extra protein for pennies. Add dried dill, black pepper, and a pinch of garlic powder.
Seal individual portions up with some whole grain crackers or cut veggies on the side. The vacuum keeps everything fresh and the crackers crisp.
Each pack runs about $1.25 and delivers over 25 grams of protein. Stick them in the fridge and they’ll keep for up to a week.
Make-Ahead Shrimp Taco Bowls
Grab frozen shrimp in bulk when it’s on sale—sometimes you’ll find 2-pound bags for $8-10. Thaw, then season with cumin, chili powder, and lime juice before a quick sauté.
Layer the shrimp with black beans, corn, diced tomatoes, and cooked rice in your vacuum bags. Keep avocado or sour cream separate for topping later.
Vacuum sealing keeps freezer burn away and the shrimp stays tender. These bowls last up to 2 months in the freezer and cost around $2.50 per hearty serving.
Heat straight from frozen in the microwave, or thaw overnight and reheat on the stove.
Storage, Reheating, and Serving Suggestions
If you want your vacuum-sealed meals to last, storage matters. Safe reheating keeps things tasty, and a little creativity with serving makes basic meal prep way less boring.
Best Practices for Freezing and Thawing
Get meals into the freezer within two hours of cooking for the best results. Always label bags with the contents and date—use a permanent marker so it doesn’t rub off.
Freeze bags flat to save space and help everything freeze evenly. Once solid, stack them to maximize your freezer space.
Freezer Storage Times:
- Cooked meats: 2-3 months
- Soups and stews: 3-4 months
- Vegetables: 8-12 months
- Casseroles: 2-3 months
Thaw meals in the fridge overnight if possible. If you’re in a hurry, set the sealed bag in cold water and swap out the water every half hour.
Don’t thaw vacuum-sealed meals on the counter—bacteria can multiply fast that way.
Rotate your frozen meals using the first-in, first-out rule to avoid forgotten science experiments in the back of the freezer.
Reheating Vacuum-Sealed Meals
You can reheat meals right in the bag using sous vide or a hot water bath. Just drop the sealed bag into water heated to 140-165°F for about 15-20 minutes.
If you’re using a microwave or oven, take the food out of the bag first. Use a microwave-safe dish and cover with a damp paper towel so things don’t dry out.
Reheating Temperature Guidelines:
- Chicken and turkey: 165°F
- Beef and pork: 145°F
- Soups and sauces: 165°F
For the stovetop, add a splash of water or broth so nothing sticks. Cover and heat on medium-low, stirring now and then.
Try not to reheat the same meal more than once. It just gets worse each time, and it’s not great for food safety.
Creative Ways to Serve Prepped Meals
Switch up your vacuum-sealed proteins by changing what you serve them with. Chicken over rice one day, stuffed in a wrap the next, or tossed on a salad after that.
Set up a build-your-own meal bar with prepped proteins, grains, and veggies so everyone can make their own plate.
Leftovers can get a second life:
- Shred chicken for quesadillas or soup
- Dice roasted veggies for omelets or grain bowls
- Use cooked grains to stuff bell peppers
Throw in fresh touches like herbs, citrus, or something crunchy. It makes a big difference in flavor and texture.
Batch-cook flexible basics like plain rice—one day it’s fried rice, another day it’s risotto, or maybe it’s filling for stuffed peppers. It all depends on what you add.
Frequently Asked Questions
Vacuum sealing really opens up your options for meal prep, but it does come with a few questions. What freezes well? How do you get the most out of your machine? Here’s some real-world advice to help you out.
What are your top picks for budget-friendly meals that freeze well after vacuum sealing?
Slow cooker meals always come out on top for freezing and vacuum sealing. Chili, beef stew, chicken curry—they all freeze well and stay under $2 per serving.
Rice dishes like carnitas with Mexican rice or chicken stir-fry hold up great. The vacuum seal keeps freezer burn away and the rice stays nice.
Big batches of soup—think lentil curry or bean chili—are perfect. They actually taste better after freezing and reheating.
Sheet pan meals with chicken and roasted veggies are easy to portion into vacuum bags. They reheat evenly and don’t turn mushy.
Got any insider tricks on making meal prepping easier with a vacuum sealer?
If you’re sealing something liquidy, freeze it for a couple hours first so the liquid doesn’t get sucked up into the machine. Saves a mess, honestly.
Leave an extra 3-4 inches at the top of each bag. That way, if you only use part of it, you can reseal the rest.
Always label your bags with what’s inside and the date. Otherwise, frozen meals all look the same after a while.
Portion out meals before sealing—single servings or family size. It makes meal planning way less of a headache.
How sturdy are vacuum seal containers when it comes to freezing and reheating meal preps?
Vacuum bags are tough in the freezer, handling temps down to -10°F without cracking. We’ve never had one fail if it’s sealed right.
For reheating, you can drop sealed bags into simmering water or cut them open for the microwave. The bags won’t melt in boiling water.
Rigid vacuum containers work well for soups or stews you reheat often. They stack neatly and go in the dishwasher.
Just watch out for sharp stuff like chicken bones or chips—they can poke holes in the bags.
What foods should I definitely skip vacuum sealing because they just don't handle it well?
Soft fruits—bananas, berries—just turn to mush. We ruined a whole batch of strawberries that way.
Raw mushrooms get slimy when vacuum sealed. Better to cook them first or skip sealing.
Crusty bread loses its texture and gets squished. Soft sandwich bread is fine, but fancy loaves don’t bounce back.
Sharp or pointy foods like chips, crackers, or whole chicken wings can poke through the bag and wreck the seal.
Could you share some fail-proof meals perfect for vacuum sealing and taking along on a camping trip?
Chili is our camping MVP. Drop the sealed bag in boiling water for 10 minutes and you’ve got a hot, filling meal.
Marinated chicken or beef portions seal up nicely and go straight from the cooler to the campfire grill. The flavor stays locked in.
Breakfast burritos with eggs, sausage, and potatoes freeze solid and reheat well over a camp stove. We always make a bunch before heading out.
Soup packets are super convenient—just heat and eat. Lentil or bean soups are especially good for camping.
What's the real deal on the shelf-life extension when vacuum sealing cooked meals for later use?
Vacuum-sealed cooked meals can hang out in the freezer for 2-3 years, while regular containers barely make it 6-8 months. Honestly, I've pulled out a bag of vacuum-sealed chili after more than a year, and it was still totally fine.
In the fridge, leftovers sealed this way stick around for 1-2 weeks, which beats the usual sad 3-4 days. That little boost can seriously cut down on food waste.
But here's the thing: you need to cool your food properly first. Let it hit room temp, then toss it in the fridge for about an hour before sealing it up.
When you vacuum seal, you’re sucking out almost all the air—like 99%. That keeps oxidation and freezer burn at bay. Meals really do keep their flavor, almost like you just made them.
Share:
The Ultimate Guide to Sous Vide Cooking With a Compact Vacuum Sealer
Compact Vacuum Sealer Maintenance: Cleaning, Gasket Care & Odor Control