

Check out our latest collection of compact vacuum sealer for food!
Monthly meal prep feels so much easier when you mix clean eating with vacuum sealing. Instead of slogging through the kitchen every week, you can knock out a whole month’s worth of good-for-you meals in one go—and they’ll actually stay fresh for weeks in the freezer.
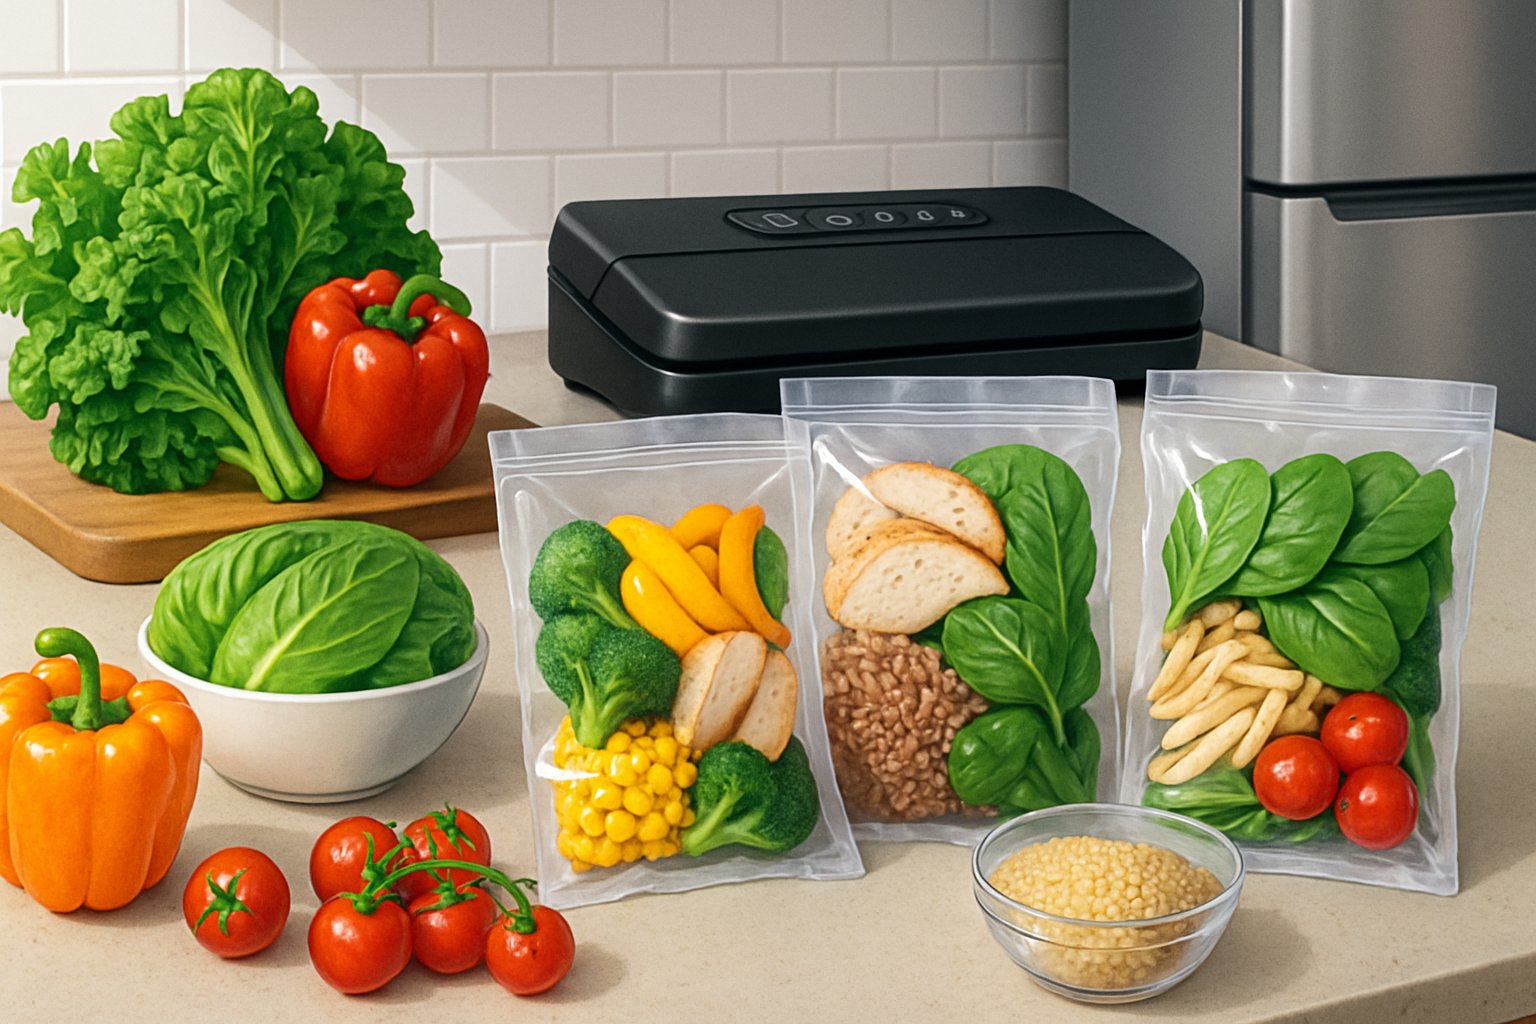
Vacuum sealing lets you prep a month of clean-eating meals ahead of time, locking in nutrients, flavor, and texture way better than tossing stuff in containers. Honestly, this method takes the daily “what’s for dinner?” stress off your plate and makes it way easier to stick with healthy habits.
Let’s dig into how to pick the right recipes, get the hang of vacuum sealing, and build a system that fits your real life. You’ll figure out which dishes actually freeze well, how to avoid typical storage slip-ups, and maybe even start to enjoy the whole meal-prep process.
Key Takeaways
- Clean eating means choosing whole, unprocessed foods for better nutrition and energy
- Vacuum sealing keeps meals fresh up to five times longer than regular freezing
- Smart planning and good storage make prepping a month in advance totally doable (and tasty)
What Is Clean Eating and Why Does It Matter?
Clean eating is all about whole, minimally processed foods—skipping artificial junk and unnecessary additives. Pairing clean eating with meal prep and vacuum sealing gives you a sustainable way to eat well all month long.
Defining Clean Eating
At its core, clean eating means picking foods that are as close to nature as possible. Think fresh veggies, fruits, whole grains, lean meats, and healthy fats—nothing too processed or loaded with weird ingredients.
We’re making meals from scratch instead of grabbing stuff with ingredient lists that read like a chemistry set.
A few main ideas:
- Choose whole foods, skip the processed stuff
- Actually read those ingredient labels
- Dodge added sugars and fake sweeteners
- Go organic when you can
- Cook at home
Clean eating isn’t about being perfect or following strict rules. It’s more of a mindset—nourishing your body and having a healthier relationship with food.
Benefits of Clean Eating Meal Prep
Prepping clean meals ahead of time saves hours during the week and keeps you on track. When you’ve got meals ready to go, you’re way less likely to cave and order takeout.
Money-wise, you waste less and spend less per serving. Buying in bulk for meal prep nearly always beats picking up individual meals day after day.
Health-wise, you’ll notice the difference fast. More vitamins, more fiber, more real nutrition—and less sodium, sugar, and unhealthy fats.
Having meals pre-portioned and waiting in the freezer is a lifesaver. You skip the decision fatigue and avoid the “I’m too tired to cook” trap.
How Vacuum Sealing Complements Clean Eating
Vacuum sealing seriously extends the life of your meal prep. Stuff that would go bad in a few days can last weeks or months, still tasting great.
By keeping air out, you avoid freezer burn and preserve the texture and flavor you worked for. Veggies stay crisp, proteins don’t dry out, and your seasonings don’t fade away.
You can also fit way more in your freezer—vacuum-sealed bags stack and store like a dream.
And hey, your berry smoothie packs won’t smell like last night’s garlic chicken. That’s a small but very real win.
The Basics of Vacuum Sealing for Meal Prep
Vacuum sealing pulls air out of special bags and heat-seals them shut, locking your food in an airtight environment. This keeps meals fresher for longer and helps your month-ahead meal plan actually work.
How Vacuum Sealing Works
With a vacuum sealer, you put your food in a bag, and the machine sucks out the air before sealing it tight with heat.
No oxygen means bacteria and oxidation—the main things that spoil food—can’t do their thing.
There are two main types:
- External suction sealers: Pull air out through the bag’s opening
- Chamber sealers: The whole bag goes inside the machine for a more even seal
Vacuum-sealed foods can last three to five times longer in the fridge and two to three times longer in the freezer compared to regular storage.
Use bags made for vacuum sealing—regular plastic bags are too thin and can break.
Best Practices for Food Preservation
If you’re sealing soups or anything saucy, freeze them for an hour or two first so you don’t suck liquid into the machine.
Let cooked food cool down before sealing. Hot food causes steam, which messes with the seal and can hurt your machine.
Leave a few inches of space at the top of each bag. It makes sealing easier and handling less messy.
Label everything with the contents and the date. Trust me, you won’t remember what’s in that mystery bag three weeks from now.
| Food Type | Refrigerator Storage | Freezer Storage |
|---|---|---|
| Cooked meals | 1-2 weeks | 6-12 months |
| Raw proteins | 3-5 days | 12-18 months |
| Vegetables | 2-3 weeks | 8-12 months |
For things with sharp edges (like bones or pasta), double-seal the bags. It helps avoid punctures that ruin the seal.
Safety Tips When Using Vacuum Sealers
Don’t vacuum seal raw mushrooms, garlic in oil, or soft cheeses at room temp. These can develop some nasty bacteria with no oxygen around.
Wipe down the sealing bar every time you use it. Little bits of food can keep bags from sealing and grow bacteria.
Never seal hot food or microwave sealed bags while they’re closed. Steam can cause them to burst.
Always get your vacuum-sealed food into the fridge or freezer within two hours. Room temperature isn’t safe, even if the bag is airtight.
If the sealing strip looks worn out, swap it for a new one. Otherwise, you risk a bad seal.
Use the gentle setting for delicate foods like bread or berries—too much suction will crush them.
It’s smart to have a backup plan. If your sealer quits, you’ll need another way to store what you’ve prepped.
Designing a Month-Long Clean-Eating Meal Plan
A month of clean eating takes some planning. You want recipes that freeze and reheat well, a good mix of flavors, and a plan that fits your needs without being a pain to prep.
Choosing the Right Recipes for Make-Ahead Meals
Not every clean recipe handles freezing well, so stick with meals that keep their texture and flavor after vacuum sealing. Soups, stews, and braised proteins are usually safe bets.
Grain bowls—quinoa, brown rice, etc.—work great. The grains soak up flavor and freeze beautifully.
Skip these:
- High-water veggies (cucumber, lettuce)
- Cream sauces that separate
- Fried foods—they get soggy
Go for:
- Chili and bean dishes
- Roasted veggie mixes
- Lean proteins with marinades
- Overnight oats for breakfast
Test recipes in small batches first. Sometimes you’ll need to tweak things—maybe more herbs, since freezing can dull flavors.
Casseroles are great when you portion them before sealing, so you can just grab and go.
Building a Balanced Meal Rotation
You’ll need about 90 meals for a month, so rotate proteins, cooking styles, and flavors to keep things interesting.
Weekly protein plan:
- Week 1: Chicken and legumes
- Week 2: Fish and turkey
- Week 3: Plant-based proteins
- Week 4: Lean beef and pork
Mix up your breakfasts, lunches, and dinners—three kinds of breakfast, four lunch types, five dinner styles. It keeps things fresh without making prep overwhelming.
Color matters, too. Try to eat the rainbow—red, green, orange, purple foods each week for a nutrient boost.
Flavor variety:
- Mediterranean (olive oil, herbs)
- Asian-inspired (ginger, garlic)
- Mexican (cumin, peppers)
- American comfort (herbs, root veggies)
That way, you won’t get bored, and you’ll cover your nutritional bases.
Customizing Plans for Dietary Preferences
You can easily adjust for different diets, and most restrictions work fine with vacuum sealing.
Gluten-free: Swap in quinoa, rice, or potatoes for wheat grains. They freeze well and sometimes taste even better after thawing.
Dairy-free: Most clean recipes are already dairy-free, but try coconut milk or cashew cream if you want something creamy.
Plant-based: Lean on legumes, nuts, and seeds for protein. Some tofu dishes freeze better than others, so test those first.
Low-carb: Focus on veggies and proteins, cut back on grains. Cauliflower rice and zucchini noodles actually seal and freeze well.
Keep a simple swap chart handy for each diet—makes it easier to change things up without reworking the whole recipe.
Top Clean-Eating Recipes for Vacuum Sealing
Vacuum sealing totally changes the meal prep game. You keep nutrients and flavor locked in, and meals last way longer than with regular containers. Here are some go-to recipes that hold up well in the freezer.
Breakfast Ideas You Can Prep Ahead
Overnight oats are perfect for vacuum sealing—just portion them in bags. Rolled oats, chia seeds, almond milk, berries. Easy and filling.
Egg breakfast burritos freeze great. Scrambled eggs, spinach, peppers, avocado, all wrapped in a whole grain tortilla.
Smoothie packs make mornings a breeze. Portion out frozen fruit, greens, protein powder into bags. Dump in a blender, add liquid, done.
Steel-cut oats—batch cook, add cinnamon, apples, a little maple syrup, seal into servings. They reheat well.
Lunch Options for Busy Days
Mason jar salads can be vacuum sealed (just skip the dressing). Layer kale, roasted chickpeas, tomatoes, cucumber. Stays crisp.
Soup portions are ideal for sealing and reheating. Chickpea and spinach stew is a favorite—it keeps its texture after thawing.
Grain bowls—quinoa, roasted veggies, lean protein—seal the grains and veggies together, add fresh bits after reheating.
Stuffed peppers with brown rice, ground turkey, veggies. Partially cook before sealing for even reheating.
Dinner Meals That Freeze and Reheat Well
Chicken fajita strips with peppers and onions—marinate, seal, and freeze. Tastes like restaurant quality when reheated.
Vegetable curry with coconut milk and lentils—portion into family-sized bags. The flavor stays rich.
Beef stir-fry—seal beef and veggies separately from sauce. Quick to cook, and the texture holds up.
Fish fillets like salmon or cod—add herbs, olive oil, lemon, dill before sealing. You can cook them straight from frozen.
Step-By-Step Guide to Prepping and Storing Meals
The real magic of month-ahead meal prep comes from batching, organizing your freezer, and using storage tricks that keep meals tasting fresh. When you nail these steps, your vacuum-sealed meals won’t feel like leftovers—they’ll taste like you just made them.
Batch Cooking Like a Pro
Start by cooking similar ingredients together to save time. Pick a weekend day and knock out proteins, grains, and veggies in big batches.
Braise meats, make stews, or bake chicken—these methods freeze best. Skip frying or crispy stuff since they lose their texture.
Timing matters. Cook grains like quinoa and brown rice first—they take the longest. While those are going, roast veggies and prep sauces.
| Food Type | Best Cooking Method | Prep Time |
|---|---|---|
| Proteins | Braising, slow cooking | 2-4 hours |
| Grains | Boiling, steaming | 30-45 minutes |
| Vegetables | Roasting, steaming | 20-40 minutes |
Let everything cool all the way before vacuum sealing. Warm food makes steam, which can mess up the seal and cause freezer burn.
Labeling and Organizing in Your Freezer
We label each vacuum-sealed bag with the meal name, date, and quick reheating notes. Grab a permanent marker or freezer label—just make sure it sticks.
Divide your freezer into zones for different meals. Breakfast stuff goes in one spot, lunches in another, and dinners have their own corner.
Stack those flat bags smartly—lay 'em down till they're frozen, then stand them up like file folders. It saves so much space.
Keep a freezer inventory list taped to the door. Cross off meals as you use them, or you'll find mystery bags hiding in the back months later.
Rotate your stock: new meals behind the old ones. This first-in, first-out habit keeps things fresh and cuts down on waste.
Maximizing Freshness and Nutrition
We vacuum seal meals within a couple hours of cooking—locks in nutrients and keeps bacteria away. Pulling out the air slows down spoilage.
Blanch veggies for a minute or two before sealing. It keeps colors bright, texture snappy, and nutrients intact. That quick steam stops enzymes from wrecking things.
Hold off on delicate herbs and seasonings until after reheating. Freezing intensifies flavors, so we go easy on the salt and spices at first.
Double-wrap juicy foods like tomato sauce—vacuum seal, then pop the bag in a freezer bag. It's a little extra work, but it saves you from freezer burn.
Keep your meals at 0°F or below. We use a freezer thermometer, honestly, because temperature swings can wreck your food faster than you'd think.
Tips for Success and Troubleshooting Common Pitfalls
Vacuum sealing stretches out the life of our meal preps, but you need the right approach to keep food tasting good. The main headaches? Keeping things fresh and bold-flavored over weeks in the freezer.
Avoiding Freezer Burn and Texture Changes
You want to get rid of every bit of air—press out pockets before sealing, especially at the edges where moisture sneaks in.
Pre-freeze fragile stuff like berries or chopped herbs for half an hour on a tray. It stops them from turning mushy.
Some foods just don't cooperate with vacuum sealing. We usually:
- Blanch veggies for a minute or two before sealing—they stay colorful and crisp
- Cool food down before sealing to dodge condensation
- Double-wrap liquids: freezer-safe container first, then vacuum seal
Leafy greens get weird and mushy. We wilt them a bit first or use the gentle setting on our sealer.
Adjusting Spices and Sauces for Best Flavor
Time does weird things to flavors. Salt gets stronger, herbs fade, garlic can even turn bitter after a while.
We've started to under-season now, finish later. Fresh herbs go in after reheating, not before freezing. Garlic and onion powder keep their punch better than fresh.
Sauces separate—especially dairy or oily ones. We portion sauces in their own little bags and mix them in when reheating.
| Ingredient | Before Sealing | After Reheating |
|---|---|---|
| Fresh herbs | Use 50% less | Add what's left |
| Salt | Cut by 25% | Adjust to taste |
| Citrus juice | Skip | Add fresh |
| Hot sauce | Go easy | Boost as needed |
Tomato sauces, on the other hand, just get tastier. They're our favorite for prepping a month ahead.
Frequently Asked Questions
Vacuum-sealed meal prep brings up a lot of questions—how long things last, which gear to use, and what foods work best. Here are the answers to the most common ones.
What are the best recipes for meal prep that can last a month with vacuum sealing?
Protein-heavy meals like grilled chicken with veggies, beef stew, and turkey meatballs hold up great for a month. Soups, casseroles, and stir-fries also freeze well if you vacuum seal them.
Skip recipes with watery veggies like lettuce or cucumber—they just get soggy.
Grain bowls with roasted veggies work nicely too. Cook grains a little under so they don't go mushy when reheated.
Can you give me the skinny on the top containers for vacuum-sealed meal prep?
For soups and liquids, mason jars with vacuum attachments work well. Just leave some space at the top so they don't crack.
For delicate stuff like muffins or cookies, use vacuum canisters. They're reusable and stack well in the freezer.
Which foods are the MVPs when it comes to vacuum sealing and freezing for the long haul?
Lean meats like chicken breast, turkey, and fish keep their quality for up to six months. Ground meats in sauce freeze beautifully too.
Root veggies—carrots, sweet potatoes, beets—are solid choices. Just blanch them first.
Berries and chopped fruit freeze perfectly in vacuum-sealed bags. Pre-portioned smoothie packs? Game changer.
How long can I expect my vacuum-sealed meal prep to stay fresh in the freezer?
Most cooked meals stay top-notch for 2-3 months. They're safe after that, but flavor and texture might dip.
Soups and stews can go 4 months since the liquid protects everything. Raw proteins sealed before cooking can last 6-12 months.
Always date your bags. Seriously, that mystery meal from last spring? Probably not worth the risk.
Just how far ahead can I prep my meals without sacrificing flavor or nutrition?
About a month seems to be the sweet spot if you want to keep both nutrition and taste intact. Most vitamins hang around just fine in frozen, vacuum-sealed meals for that long.
Protein holds up well for a couple of months—maybe even three—so you can stash away main courses without much worry. But veggies? They start to lose a bit of their punch after a month or so.
Honestly, a rotating system feels easiest. If you prep two weeks’ worth every other weekend, you’ll usually have meals that taste good and don’t skimp on nutrients.
Share:
Fermentation Starter Packs: Vacuum‑Sealing Cultures, Slants and Grains Safely
Fermentation Starter Packs: Vacuum‑Sealing Cultures, Slants and Grains Safely