

Check out our latest collection of compact vacuum sealer for food!
Fermentation starter cultures are the microscopic workhorses that transform ordinary ingredients into extraordinary fermented foods, but keeping these delicate organisms alive and viable can be tricky. Whether you're working with liquid cultures, agar slants, or grain-based starters like kefir grains, proper storage is crucial for maintaining their potency and keeping contamination at bay
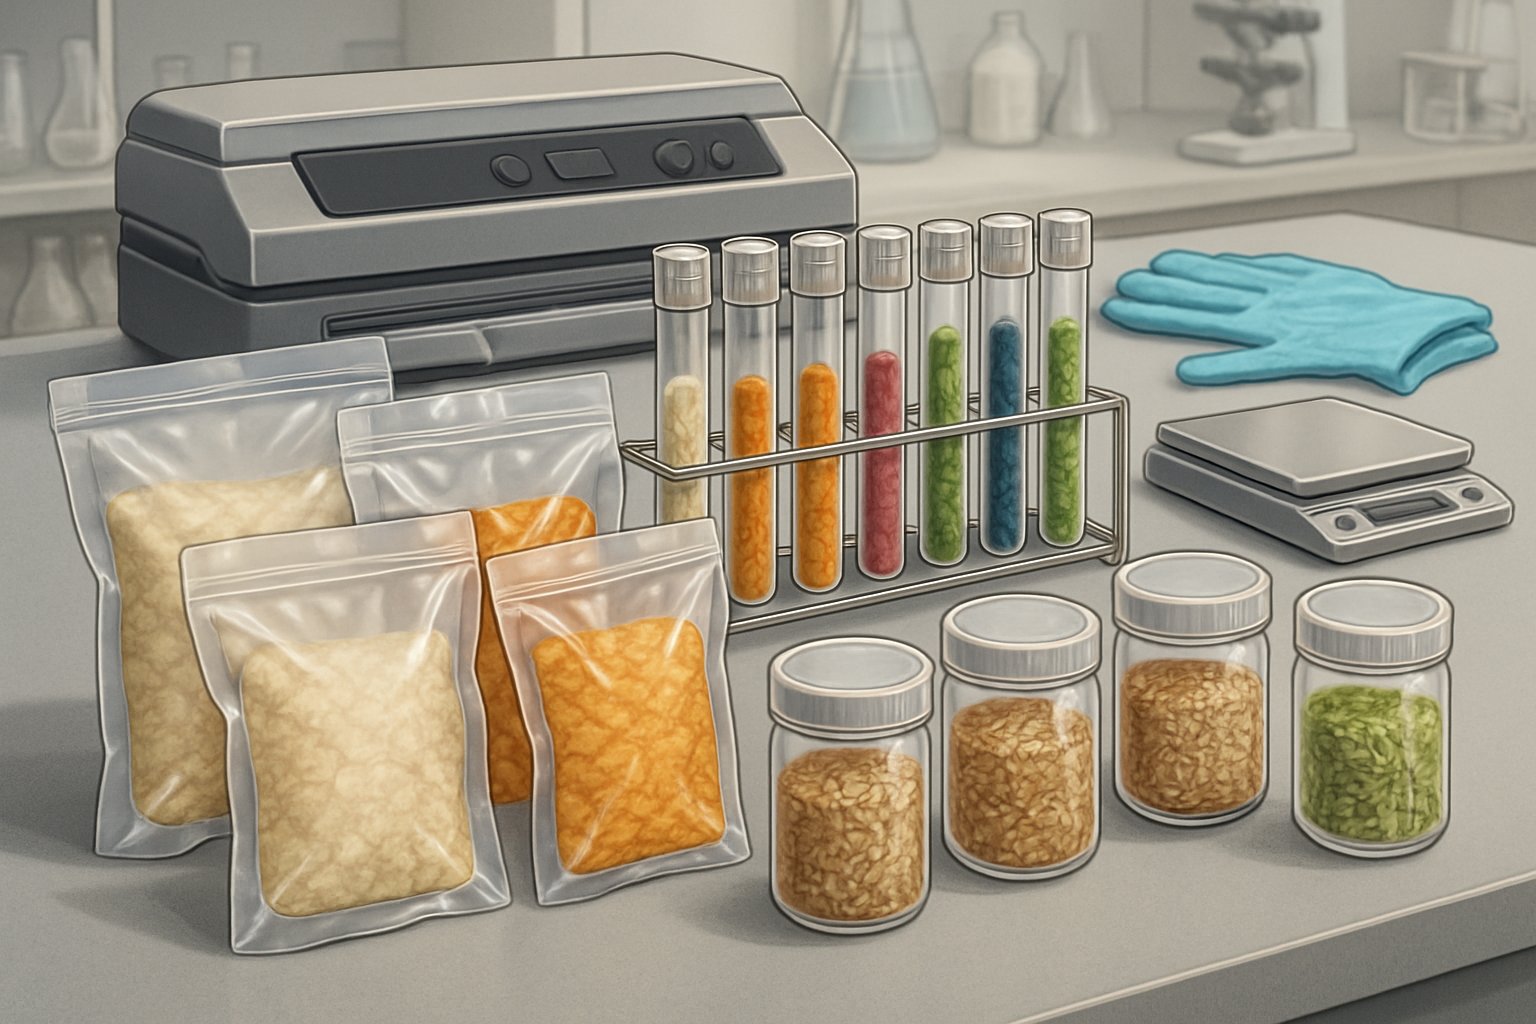
Vacuum-sealing your fermentation starter packs creates an oxygen-free environment that significantly extends shelf life while protecting cultures from moisture, contaminants, and freezer burn during long-term storage. More and more home fermenters are turning to this method to stash away reserves of their favorite cultures or share them with friends, all without stressing over viability.
Let's get into how to safely vacuum-seal different types of fermentation starters—choosing gear, mastering the process, and keeping those cultures happy. You’ll also pick up some tips and opinions straight from the fermentation community, plus a few troubleshooting notes and maintenance ideas to keep your vacuum-sealed packs reliable for the long haul.
Key Takeaways
- Vacuum-sealing fermentation cultures removes oxygen and moisture to dramatically extend their storage life and prevent contamination
- Different starter types need specific vacuum-sealing techniques and equipment for best results
- Good maintenance and troubleshooting keep vacuum-sealed starter packs viable for months or years
Essentials of Fermentation Starter Packs
Fermentation starter packs hold the basics you need to kick off a controlled ferment. Usually, these include specific bacterial or yeast cultures, grains for propagation, and slants for long-term storage.
Types of Starter Cultures
When we’re building our fermentation stash, we run into a few main types of starter cultures. Bacterial cultures dominate veggie ferments like sauerkraut and kimchi, mostly with Lactobacillus species converting sugars into lactic acid.
Yeast cultures run the show in alcoholic fermentation—think bread, beer, or wine. These single-celled powerhouses gobble up sugars and spit out alcohol, CO₂, and the flavors we crave.
Mixed cultures blend bacteria and yeast for more complex ferments. Kombucha SCOBYs come to mind—they’ve got both, and that’s how you get that classic tangy-sweet combo.
Freeze-dried cultures are super convenient. They last ages, and you just rehydrate them when you’re ready to ferment.
Fresh cultures are a bit fussier but often give a more robust flavor. They’re alive and kicking right away, but you have to handle and store them carefully.
Role of Grains and Slants in Fermentation
Kefir grains are like little living fermentation factories, packed with good bacteria and yeast. They look a bit like tiny cauliflower and multiply as they ferment, so you can keep them going or share with friends.
Water kefir grains turn sugar water into a fizzy, probiotic drink. Milk kefir grains do the same magic with dairy, making that tangy, bubbly stuff loaded with good microbes.
Agar slants are those lab-style tubes for storing pure cultures. They’re great for keeping a backup of rare or specialty strains—slants keep things stable and dormant until you’re ready to wake them up.
Grain propagation is how you keep your fermenting power going. Healthy grains tend to double every few cycles if you feed and care for them properly.
Common Ingredients Used
Salt is the backbone for most veggie ferments. Usually, it’s 2-3% by weight—enough to keep bad microbes out and let the good ones thrive.
Sugar sources fuel the fermentation. Cane sugar for water kefir, lactose in milk for dairy kefir—each culture has its favorite snack.
pH buffers help keep acidity on point. Some starter packs toss in citric acid or calcium carbonate to tweak the conditions.
Nutrient supplements give cultures a boost, especially in tough environments. Yeast nutrients with nitrogen, phosphorus, and trace minerals can help.
Preservatives sometimes show up in commercial starters—potassium sorbate or sodium benzoate, for example—to keep shelf life up without harming the good bugs.
Vacuum Sealing for Fermentation: Why and How
Vacuum sealing creates an oxygen-free zone that cultures love and keeps out contaminants during storage. The method has some clear perks, but you’ve got to use the right technique or you’ll risk damaging those fragile cultures.
Benefits of Vacuum Sealing Cultures
Vacuum sealing sucks out all the oxygen, making the anaerobic conditions that beneficial bacteria need. With no air, mold and unwanted bacteria can’t get a foothold.
The shelf life of cultures gets a serious upgrade when you vacuum seal. The sealed bags keep out moisture, temperature swings, and airborne junk that usually shortens viability.
You’ll also save space—vacuum-sealed packs take up way less room than jars or clunky containers.
It’s easy to portion out cultures in smaller sealed bags. That way, you only open what you need and keep the rest uncontaminated.
Vacuum sealing gives you consistency. Every pack gets the same oxygen-free environment, so your results are more reliable batch after batch.
Risks and Considerations
The big risk? Crushing delicate cultures. Grains like kefir or water kefir crystals can get squashed if the vacuum sealer’s suction is too strong.
You also have to watch the moisture level. Too much liquid messes up the seal and can even get sucked into the machine—bad news for your gear.
Temperature matters. If cultures get too hot or too cold during sealing, you might shock or kill them.
Choose your bag material with care. Not all plastics are created equal—some let oxygen seep in over time, which can ruin your cultures.
And don’t forget about cross-contamination. If you’re sealing different cultures, clean your sealer in between to avoid unwanted mixing.
Vacuum Sealing vs Traditional Methods
Glass jars let you see what’s going on with your cultures—changes in look, bubbles, whatever—without opening them up.
Vacuum sealing, on the other hand, takes out the guesswork about oxygen exposure. Jars with loose lids might let in air, but sealed bags keep things reliably anaerobic.
Jars are cheaper up front—you buy them once. Vacuum sealing means you’ll need bags and might have to maintain the machine.
But if you’re short on space, vacuum-sealed packs win hands-down. You can fit way more in your fridge or freezer.
Jars are easier for feeding and maintaining active cultures. Vacuum-sealed packs are better for storage, not for ongoing ferments.
Both methods keep things stable if you store them right, but vacuum-sealed bags are better for long-term freezing.
Choosing the Right Vacuum Sealer for Ferments
A good vacuum sealer makes fermentation safer and more predictable by creating the right environment. Some features really matter here, and not every model is up to the job.
Key Features to Look For
Chamber vacuum sealers are ideal for fermentation since they handle liquids without making a mess. Standard sealers struggle with brine or moist cultures.
Suction strength is more important than you might expect. If you don’t get all the air out, harmful bacteria can sneak in.
Variable speed controls are a lifesaver. Delicate grains and cultures need a gentle touch—too much suction and you’ll crush them.
Wide mouth jar attachments open up more options. Some cultures do better in glass, and these let you vacuum seal mason jars directly.
Easy-to-clean features are a must. Sticky cultures and grain slurries can get everywhere, so look for removable trays and accessible chambers.
Vacuum-Sealing Methods for Cultures, Slants, and Grains
Vacuum-sealing techniques aren’t one-size-fits-all. Cultures and slants need a gentler touch than grains. Let’s run through the basics for each.
Step-by-Step Process
For Grains: Start with dry grains—moisture is your enemy here. Pop them into vacuum bags, leaving a few inches at the top.
Set the sealer to medium suction. Too much and you’ll crush the grains; just enough and you get a nice, oxygen-free environment.
For Slants: Slants are fragile, so wrap each tube in bubble wrap or foam before sealing.
Use the gentlest vacuum setting you’ve got. Too much suction can mess up the agar or cause condensation inside.
For Liquid Cultures: Liquids are tricky. Chamber vacuum sealers are best here—external ones can suck up liquid and wreck the machine.
Freeze your liquid cultures first, then seal them while frozen to keep everything intact.
Best Practices for Safety and Longevity
Temperature Control: Make sure everything’s at room temp before sealing to avoid condensation. Cold stuff can create moisture pockets and contamination.
Store sealed packs in a cool, dark place—ideally between 50-70°F.
Contamination Prevention: Wipe down all surfaces with 70% isopropyl alcohol before handling. Keep things sterile during the whole process.
Double-bag sensitive items for extra protection against punctures or leaky seals.
Storage Guidelines:
| Material Type | Storage Duration | Temperature |
|---|---|---|
| Vacuum-sealed grains | 5-10 years | Room temp |
| Sealed slants | 6-12 months | Refrigerated |
| Liquid cultures | 3-6 months | Frozen |
Label everything with dates and what’s inside. Trust me, you don’t want to guess what’s in that mystery bag six months from now.
Community Insights: Reddit's Take on Vacuum Sealing Ferments
Reddit’s fermentation crowd has a lot to say about vacuum sealing cultures and ferments. Some swear by it, others have run into headaches.
Popular r/fermentation Discussions
On Reddit, users often debate whether vacuum sealing works well for ferments. Plenty of folks report good results with veggies and hot sauces in sealed bags.
One hot topic is using vacuum sealing as a weight replacement. Some say it keeps mold away without smashing delicate veggies like traditional weights do.
Hot sauce fermentation gets a lot of love. People share tips about vacuum-sealing chili and garlic blends, and stress leaving extra space for the mixture to expand.
Botulism comes up a lot—no surprise there. Most agree that if you use enough salt and keep an eye on pH, vacuum fermentation is safe, but you should always be careful.
Chamber vacuum sealers get praise for working with veggies that have air pockets. People say they help brine soak in better, especially with things like turnip stems.
Tips and Tricks from Home Fermenters
Reddit fermenters worry most about bag explosions. The fix? Leave extra space so you can open and reseal as needed.
The cut-and-reseal method is popular—cut open the bag to vent gas, then reseal it instead of swapping containers.
Adding a bit of starter culture from a previous batch helps kickstart fermentation in vacuum-sealed bags.
Bag sizing trips up newbies a lot. Veterans suggest cutting bags longer than you think you’ll need to make room for gas and resealing.
Double-sealing the bag edges helps prevent leaks, especially during active fermentation. It’s a small step that can save a batch.
Troubleshooting and Maintenance for Vacuum-Sealed Starter Packs
Keeping things sterile and maximizing shelf life means paying attention to your technique and environment. Temperature swings and moisture sneaking in are the main threats.
Preventing Contamination
Sterilization is critical. Wipe down all vacuum sealing equipment with 70% isopropyl alcohol before each use.
Clean the sealing chamber thoroughly between different cultures. Mixing up bacteria and yeast can lead to weird flavors.
Always check before sealing. Watch out for:
- Mold or odd colors
- Funky smells when you open a container
- Slimy or mushy textures
- Liquid separation in grain cultures
Keep cultures chilled (35-38°F) during sealing. It’s easy to overlook, but temperature really does matter.
Double-bagging is a smart move for valuable cultures. Use food-grade bags rated for freezing. If the outer seal fails, the inner one saves your batch.
Work fast, but don’t rush. The longer things sit out, the more chances contaminants have to move in.
Storage and Shelf Life Optimization
Freezer storage really boosts culture longevity. Most vacuum-sealed bacterial cultures hang in there for 12-18 months at 0°F, while yeast cultures last about 6-12 months and still work well.
We label everything—dates, culture specs, where it came from, generation number, and notes about special handling. It’s a habit that saves headaches later.
Temperature stability is more important than hitting a perfect number. If you keep freezing and thawing, you’ll trash the cell walls faster than if you just store them at a slightly higher but steady temperature.
Check your vacuum seals every month. Watch out for:
- Bags puffing up (that’s a broken seal)
- Ice crystals (moisture sneaking in)
- Packages getting weirdly stiff or soft
Rotation systems help avoid waste. We use the oldest cultures first and keep logs of how they’re holding up. Before we commit to a big batch, we test a small sample to make sure it’s still viable.
Keep different culture types apart. Acetic acid bacteria, lactic acid bacteria, and yeast all want different things for storage and can mess each other up if they mix.
Frequently Asked Questions
Vacuum-sealing fermentation cultures takes a bit of know-how—storage temperatures, moisture, and just understanding how these little microbes handle being preserved. All these details decide if your starter cultures stay strong or fade out before you even use them.
What's the best way to store starter cultures to maintain their potency?
We keep our starter cultures in the fridge at 32-38°F. That slows things down and keeps the bacteria dormant until we’re ready. Glass jars with tight lids are our go-to—they don’t let in air or smells.
For vacuum-sealed ones, we stash them somewhere cool, dry, and dark. Temperature swings do more harm than a slightly high temp, so we focus on keeping things steady.
We also feed our liquid cultures fresh ingredients from time to time. If you ignore them, they lose their punch and can get funky in a bad way.
Can you give me a rundown on preparing starter cultures without ruining my kitchen's zen?
We keep things clean but don’t go full lab mode—fermentation actually likes a bit of the environment’s good bacteria. A hot soapy wipe-down is usually enough to keep the bad stuff at bay.
Glass beats plastic for containers since plastic scratches and can hide bacteria. We use separate cutting boards for fermenting so we don’t get cross-contamination from other kitchen stuff.
Temperature control matters more than sterilizing everything. We let our cultures sit at room temp while they get going, then chill them once they’re established.
How does one tell the difference between wild fermentation and using a starter culture, without getting into a pickle?
Wild fermentation counts on whatever bacteria are hanging around. It’s slower and you never quite know what you’ll get—pH drops take their sweet time.
Starter cultures? Way more predictable. We hit safe pH in 24 hours, flavors come out consistent, and there’s way less guesswork.
Taste-wise, wild ferments go funkier and more complex. Starter cultures give you a cleaner, more reliable flavor. Depends what you’re after, honestly.
Does vacuum-sealing starter cultures extend their shelf life, or am I just sucking the air out of my fermentation dreams?
Vacuum-sealing really does help. By kicking out oxygen, you keep the cultures potent much longer. With freeze-dried and vacuum-sealed cultures, we’ve seen them last 20-25 years.
They keep about 90-95% of their nutrition, but after a year, their fermentation power starts to dip. We swap out our cultures every year if we want top results.
If you skip vacuum-sealing, expect them to go downhill faster and pick up unwanted bacteria from the air. Investing in good sealing gear pays for itself in fewer ruined batches.
What is the lowdown on the role of starter cultures in ensuring my fermented meats are safe and not playing bacterial roulette?
Starter cultures drop the pH in meat fast, making it tough for nasty bacteria to survive. Lactic acid bacteria outcompete the bad guys for food and space.
You need that pH under 4.6 to keep stuff like botulism at bay. Trusting wild fermentation for meats? That’s rolling the dice—there’s no control over how fast the acid builds up.
Commercial starter cultures for meat are tested to do the job right every time. When it comes to meat safety, we don’t take chances with homemade mixes.
Could you break down the effects of drying, freezing, and heating on my ferments – am I cooking up trouble or preserving perfection?
Freeze-drying works wonders for cultures. It pulls out the moisture that bacteria need, so they just go dormant—almost like hitting pause. When you add water back in, they usually spring right back to life, with most of their original power intact.
Regular freezing, though? That’s a bit trickier. Some bacterial cell walls don’t handle freezing well, and you might notice your culture isn’t as lively after thawing. Honestly, freeze-drying just seems to do a better job if you want to stash cultures away for a while.
Heat, on the other hand, is the enemy here. Once things get above 120°F, those beneficial bacteria are toast—literally. We always keep our cultures well away from anything warm and don’t try to rush things with heat. It’s just not worth the risk.
Share:
Clean‑Eating Meal Plans You Can Prep a Month Ahead With Vacuum Sealing
Clean‑Eating Meal Plans You Can Prep a Month Ahead With Vacuum Sealing