

Check out our latest collection of compact vacuum sealer for food!
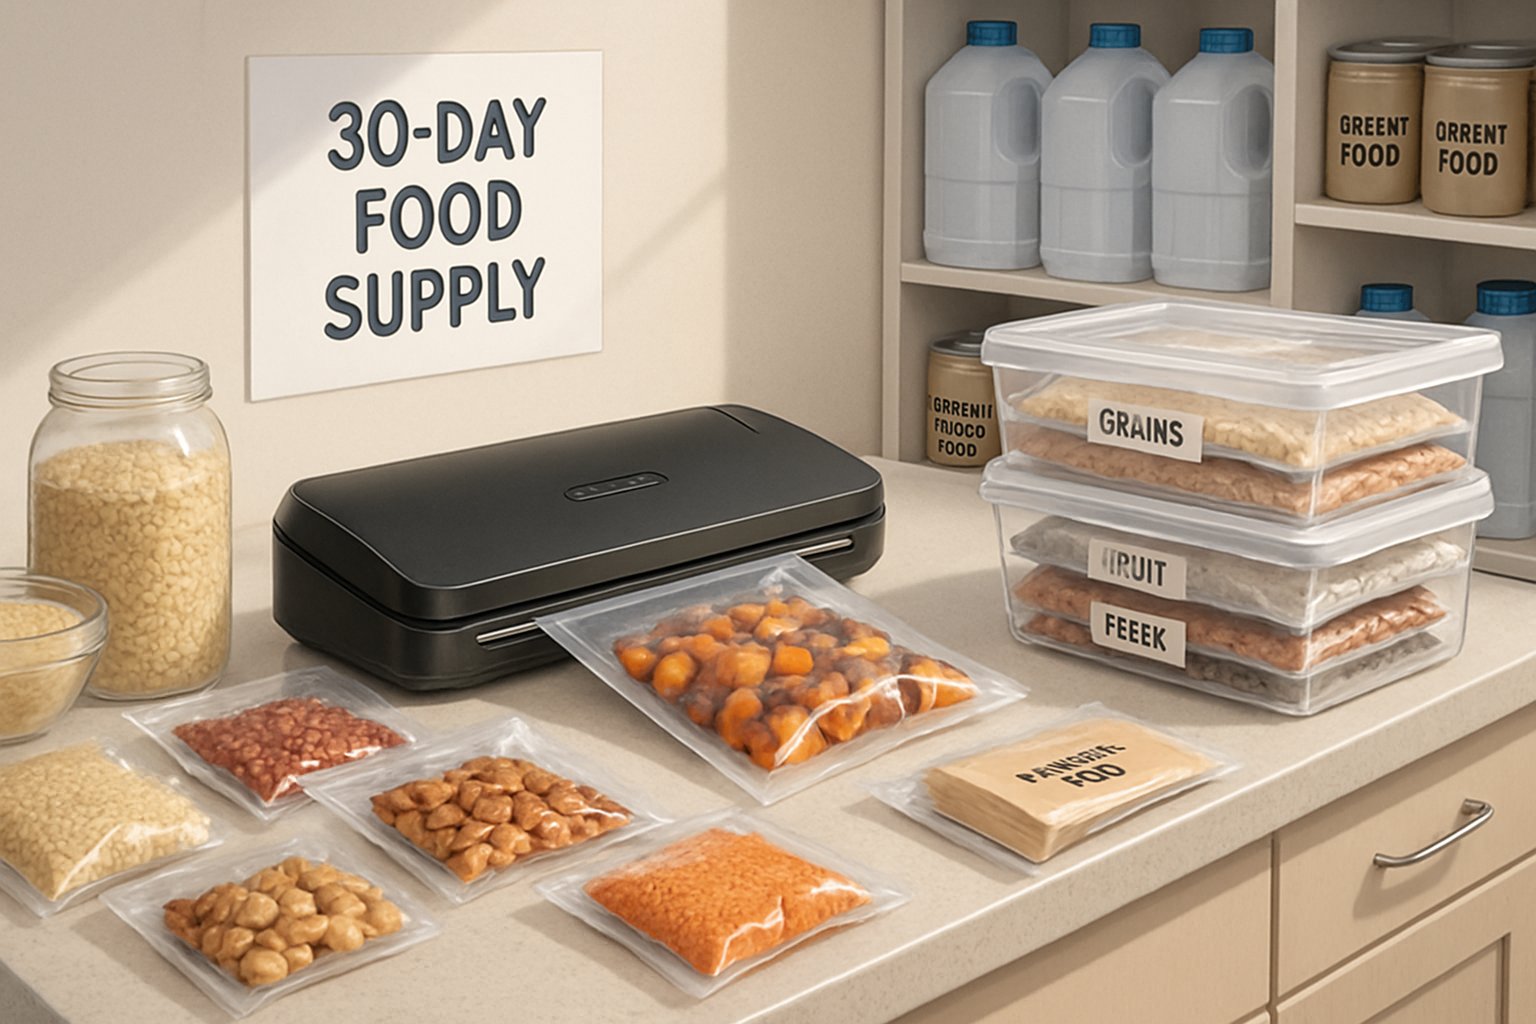
Emergency situations can catch us off guard, leaving families scrambling for basics like food and water. Building a 30-day emergency food supply with a vacuum sealer lets you stash away a compact, long-lasting reserve that doesn’t hog storage space and keeps food nutritious for years. Mixing smart food choices with modern preservation tech helps ensure your family stays fed through long emergencies.
Traditional emergency food storage can take up a ton of space and feels overwhelming, especially if you’re new to this. Compact vacuum sealers really help here—they suck the air out, which makes food last much longer and shrinks storage volume by as much as 75%. That’s huge for people living in apartments or with barely any storage.
You don’t need to spend a fortune or devote every weekend to prepping. With a little planning, you can pull together a 30-day food supply for about $100 per person, using foods your family actually likes. I’ll cover picking the best foods for vacuum sealing, coming up with meal plans that work in a crisis, and keeping your supplies ready for whenever you need them.
Key Takeaways
- Vacuum sealing makes food last way longer and slashes storage space by up to 75%
- You can build a 30-day food supply for roughly $100 per person if you plan well
- Choosing the right foods and storing them properly keeps your supplies nutritious and ready for the long haul
Why a 30-Day Food Supply Matters
Natural disasters or other disruptions can suddenly cut off access to grocery stores. Having a month’s worth of food on hand offers real peace of mind and helps you keep it together during tough times.
Common Emergencies Requiring Food Storage
Natural disasters are the obvious threat. Hurricanes can wipe out power and flood roads for weeks. Earthquakes mess up infrastructure and stop supplies from getting through.
Winter storms can trap entire neighborhoods for days or weeks. Ice storms knock down power lines, and heavy snow keeps delivery trucks away.
Economic disruptions can hit food availability in weird ways. Remember the pandemic? Supply chains broke down and shelves emptied fast. Losing a job can make groceries tough to afford, even if stores are open.
Medical emergencies can force you to stay home. Quarantines mean no quick grocery runs, and being sick makes cooking or shopping almost impossible.
When the power’s out for days, your fridge food spoils fast. If the water system fails, cooking and cleaning become a pain unless you’ve got supplies nearby.
Benefits of Being Self-Sufficient
Peace of mind is huge—you know you can feed your family no matter what’s happening outside. It’s just easier to sleep when you’re not worrying about empty shelves or closed stores.
Financial protection comes from stocking up before prices spike. Disasters send prices through the roof, and panic buying is just stressful.
Time savings matter too. You skip the desperate runs to crowded stores during emergencies. No waiting in line or fighting over the last can of beans.
Health advantages show up when you’re eating foods you know and like, not just whatever emergency rations are left. You get better nutrition and less stress.
Community support—honestly, if you’re covered, you can help others instead of scrambling for yourself. That’s a good feeling.
Getting Started With Compact Vacuum Sealers
Compact vacuum sealers pull air out of special bags and seal them tight, so food lasts longer and you don’t need much counter space. They make an airtight seal that keeps out oxygen and bacteria, which is perfect for small kitchens or apartments.
How Vacuum Sealers Preserve Food
Vacuum sealers suck the oxygen out before sealing the bag. No oxygen means less spoilage—oxidation and bacteria can’t do their thing.
If you vacuum seal dry stuff like rice or beans, you can stretch their shelf life from just months to several years. Oxygen-free bags also stop fats from going rancid and keep bugs out.
Why this works:
- Stops freezer burn on frozen food
- Blocks moisture from ruining dry goods
- Reduces light exposure that breaks down nutrients
- Keeps pests and contaminants away
Vacuum-sealed foods hold onto their nutrition way longer than stuff in regular containers. Grains, for example, can last 5-10 years instead of just 6-12 months.
You also save a ton of space—sealed food takes up about 75% of its original size. That’s a game-changer if you’re prepping a 30-day supply in a tiny spot.
Choosing the Right Vacuum Sealer for Limited Space
Most compact vacuum sealers are about 15-18 inches long and 6-8 inches wide. I’d look for one under 5 pounds that can handle bags up to 11-12 inches wide.
Look for features like:
- Manual seal—lets you stop before squishing delicate stuff
- Pulse vacuum—gives you more control
- Bag storage—keeps things organized
- Easy cleanup—removable trays and wipeable surfaces
You don’t need a super-fast sealer. What matters is that it fits standard quart and gallon bags, which are perfect for bulk foods.
Try to get a model that works with generic bags, not just the expensive brand-name ones. Flexibility saves money and avoids headaches.
Space-saving hacks:
- Go vertical if you can
- Get one with a retractable cord
- Handheld models are great for really tight spaces
- Find one that fits in a drawer
Pros and Cons of Using Compact Sealers
Compact sealers are great for emergency food storage but they do have some quirks.
Pros:
- Fit in small spaces
- Cost a lot less than big commercial models
- Plug into regular outlets
- Easy to stash away
- Handle most storage needs just fine
Cons:
- Slower than commercial units
- Can’t seal extra-wide bags or big containers
- Not ideal for marathon sealing sessions
- Need to cool down after 10-15 minutes
Honestly, they’re best for sealing small batches over time, not for prepping a year’s worth in one go. Usually, I can seal 8-10 bags before the machine needs a break.
Motor strength varies a lot. I’d aim for at least 85kPa suction if you’re sealing dense stuff like flour. Weaker models might struggle.
The size/performance trade-off is worth it for most people prepping for emergencies. You give up a little speed for easy storage and use in cramped spaces.
Selecting Foods for Long-Term Storage
Picking the right foods makes the difference between a useful emergency stash and a pile of wasted, spoiled stuff. Focus on vacuum-sealable foods that keep their nutrition and last a long time if you store them right.
Best Types of Foods to Vacuum Seal
Grains and legumes are the foundation. Rice, quinoa, oats, barley—they all vacuum seal well and last 5-10 years.
Dried beans, lentils, and chickpeas pack in the protein. They also expand when cooked, so you get a lot for your storage space.
Nuts and seeds give you healthy fats and protein. Almonds, walnuts, sunflower and pumpkin seeds all do well in vacuum bags.
Dried fruits and veggies add vitamins and some variety. Dehydrated carrots, green beans, or fruit leather can stay good for years.
Pasta and noodles are super easy to store—go for whole grain if you can, for better nutrition.
Freeze-dried meals cost more, but they’re super convenient. Just add water and you’ve got a decent meal, even years later.
Balancing Nutrition and Shelf Life
Don’t just think about calories. Protein should come from beans, nuts, and shelf-stable animal sources if you can get them.
Complex carbs give you steady energy. Brown rice and whole grain pasta are better for you than white stuff.
Healthy fats are important too—nuts, seeds, coconut oil all work well and store easily.
Vitamins and minerals are easy to forget. Dried fruits, veggie powders, or even a multivitamin can help.
Variety matters. Eating the same thing every day gets old fast, especially in a crisis. Mix in comfort foods with your staples.
Don’t skip salt, herbs, and spices. They weigh almost nothing but make a huge difference in taste.
Avoiding Common Storage Mistakes
Moisture ruins everything. Even a little bit can cause mold or spoilage inside vacuum bags.
Always make sure foods are bone dry before sealing. Double-check pasta and skip fresh items.
Temperature swings speed up spoilage. Try to keep your storage spot steady and under 70°F.
Sharp edges can poke holes in bags. Wrap pasta or anything pointy in a paper towel before sealing.
Overstuffing bags just doesn’t work. Leave enough space for the vacuum to do its job.
Don’t forget to label and rotate. Permanent markers work well for dates and shelf life.
Some foods just don’t keep. High-fat stuff like bacon bits or chocolate chips go bad quickly, even if you vacuum seal them.
Planning Your 30-Day Emergency Food Supply
Good emergency food planning starts with figuring out your family’s daily calorie needs and building meals around shelf-stable ingredients. You’ll need to balance nutrition and storage space, and keep things rotated so nothing goes to waste.
Calculating Daily Calorie Needs
Most adults need 1,800-2,400 calories a day, but emergencies can bump that up—stress, cold, and extra activity can push you to 2,500-3,000.
Rough numbers:
- Men: 2,200-2,800
- Women: 1,800-2,200
- Kids (4-8): 1,400-1,600
- Teens: 1,800-2,400
Multiply out for 30 days. A family of four probably needs 240,000-300,000 calories for the month.
If someone’s pregnant, nursing, or has a medical condition, plan for more. It’s better to have extra than to run out.
Sample Meal Planning for a Month
I like to plan around 7 core meals and rotate them. That way, you don’t get bored, and shopping is simpler.
Example meal rotation:
- Breakfast: Pancakes with syrup, peanut butter toast
- Meal 1: Rice with canned veggies and beans
- Meal 2: Pasta with tomato sauce and canned corn
- Meal 3: Bean and rice bowls with dehydrated onions
- Meal 4: Peanut butter sandwiches on homemade bread
- Meal 5: Broccoli cheddar soup (using powdered cheese)
- Meal 6: Mexican rice with black beans
Each meal should hit 600-800 calories per person. Adjust as needed, and toss in snacks like nuts or dried fruit to meet your daily goals.
Food Rotation and Inventory Tips
Treat your emergency stash like a working pantry, not a forgotten pile. Use the "first in, first out" rule to keep things fresh.
Monthly rotation:
- Check canned goods for expiration
- Swap out frozen stuff once a year
- Rotate dried goods every 2-3 years
- Update your inventory after each rotation
A simple spreadsheet helps track purchase dates, expirations, and amounts. It’s not fancy, but it works.
Label everything with the date you sealed it. Put newer stuff behind older so you use the oldest first.
Try a "practice month" once a year—eat only from your emergency stash. You’ll find out what works, what your family actually likes, and what you need to tweak.
Vacuum Sealing Process and Storage Solutions
Vacuum sealing works best with a little technique, smart portioning, and clever storage. Done right, it turns bulk foods into neat, space-saving packs that stay fresh for months.
Step-by-Step Vacuum Sealing Guide
Start by setting up your vacuum sealer, bags, and food on a clean table. Cut bags 3-4 inches longer than the food for a solid seal.
If you’re sealing liquids, pre-freeze them for an hour or two so they don’t get sucked into the machine.
Put the food in the bag, leaving some headspace. Smooth out air pockets and keep food away from the sealing edge.
Slide the bag’s open end into the machine. Most sealers have a guide for this.
Pick the right setting—use gentle pressure for delicate stuff, full power for dense foods.
Hit the vacuum and seal button. Watch the air leave, and wait for the machine to finish.
Give the seal a gentle tug. If it holds tight, you’re good to go.
Portioning and Labeling Packs
Split bulk foods into meal-sized portions instead of sealing everything together. That way, you avoid waste and make meals way easier to plan.
For a family of four, try portioning rice and pasta into 1–2 cup servings. Beans and lentils? One cup each works well. Nuts and dried fruit go nicely in ¼ to ½ cup packs.
Set up a labeling system—permanent markers or sticky labels both do the trick:
- Food name and quantity
- Pack date
- Best by date (add 2–5 years for most dry goods)
- Cooking instructions if needed
Different colored bags or labels help sort things fast. Maybe red for proteins, green for veggies, blue for grains. Not a must, but it honestly saves time when you’re stressed and digging through bins.
Check those dates every so often and rotate food using the first-in, first-out method.
Storage Ideas for Small Spaces
Vacuum-sealed packs stack up neatly in bins, drawers, or any cramped spot. They usually take up 50–75% less space than the original packaging.
Plastic bins with tight lids are great for keeping things organized by food type. Clear bins make it easy to spot what’s inside without opening everything.
Under-bed storage boxes? Super handy for using up bedroom space you’d otherwise forget about. Most vacuum-sealed packs fit into shallow bins made for under the bed.
Closet shelves work too—just add adjustable shelving so you can fit bins of different heights.
If you want a tidier pantry, ditch those bulky boxes and move stuff into sealed bags that stack easily.
Pick storage spots away from heat, sunlight, and humidity. Basements, inside closets, or even a spare room corner usually work well for long-term food storage.
Maintaining and Using Your Emergency Supplies
Keeping your vacuum-sealed food in good shape is key. A regular check-in routine and knowing when to use your stash will keep your 30-day supply ready to go.
Regularly Inspecting and Rotating Food
Every 3–4 months, take a look at your vacuum-sealed food. Catching leaks, moisture, or damaged seals early can save you from a nasty surprise later.
Make a quick checklist: check seals, expiration dates, and container condition. Mark the inspection date on each pack with a marker so you know when you last checked.
Rotation Schedule by Food Type:
- Canned goods: 2–3 years
- Vacuum-sealed grains/legumes: 5–8 years
- Freeze-dried meals: 25–30 years
- Dehydrated vegetables: 8–10 years
When something’s close to expiring, eat it as part of your regular meals and replace it. That way, your supply stays fresh and nothing goes to waste.
Keep an inspection log near your food area. Jot down any problems and note when you swap things out.
When and How to Use Your Stored Meals
Grab your emergency food during real emergencies—think power outages or disasters, not just a lazy night or a camping trip.
Start with the foods that need little or no prep if you’re stressed or short on time. Ready-to-eat meals and canned goods are lifesavers when you can’t cook.
Priority Usage Order:
- Foods closest to their expiration date
- Items that don’t need cooking or heating
- High-calorie, nutrient-dense foods
- Comfort foods for morale
Keep manual can openers and basic cooking tools with your stash. If the power’s out, electric gadgets won’t help.
Try to plan daily calories—adults usually need 2,000–2,500 a day. Portion out your meals so your 30-day supply actually lasts a month if things get tight.
Frequently Asked Questions
When you’re building a 30-day emergency food supply with vacuum sealing, a lot of practical questions come up about what to store, how much, and what gear to use. Here’s what we’ve learned along the way.
What foods are ideal for vacuum sealing for a 30-day emergency supply?
Dry goods are the go-to for vacuum sealing. Rice, beans, flour, pasta, oats—they’re the backbone of most stockpiles.
We find it’s better to store ingredients than ready-made meals. You get more flexibility and can mix things up as needed.
Nuts, seeds, and dried fruit seal up well and bring extra nutrition. Just be gentle with fragile stuff—use the right vacuum setting to avoid crushing.
Freeze-dried veggies and dehydrated onions last for years if you vacuum seal them right. They keep their nutrients, too.
Coffee, tea, powdered milk—they’re easy to seal and can be a big morale boost when things get tough.
How do you determine portion sizes when building a month-long food stockpile?
Start with the basics: 2,000–2,500 calories per person per day. For 30 days, that’s 60,000–75,000 calories per person.
Roughly, plan on 10 pounds of flour, 6 pounds of rice, and 3 pounds of beans per person. Those staples go a long way.
Think about what your family actually eats. Teenagers can out-eat adults, and picky eaters are real.
Add a 10–15% buffer for cooking losses and waste. It’s better to have a little extra than to run short.
Want to be sure? Try living off your emergency supply for a few days. You’ll quickly see what works and what doesn’t.
Can you share some tips for creating a diverse and nutritious 30-day food supply?
Balance macronutrients by including protein sources—canned beans, peanut butter, shelf-stable meats. Mix things up across food groups.
We always throw in a few spice blends. Curry powder, Italian seasoning, taco spices—they keep meals from getting boring.
Add vitamin-rich foods: canned tomatoes, dried fruits, fortified cereal. They help fill nutritional gaps.
Plan at least 7–10 meal combos you can rotate through the month. Eating the same thing every day is a fast track to food fatigue.
And don’t skip comfort foods. A little chocolate or hard candy can really lift spirits during a rough patch.
What's the most efficient way to rotate and use a vacuum-sealed emergency food supply over time?
Go with first-in, first-out. Label every pack with the packing date and a use-by date you’ll actually notice.
We pick a month each year to eat through our non-dry goods. It costs about $50 per person to restock, and you never end up with expired food.
Put newer items in the back and older ones up front. That way, you always use up the oldest stuff first.
Every 6 months, check your vacuum seals. If you spot a leaky pack, reseal it before it spoils.
Keep a simple inventory sheet. It doesn’t have to be fancy—just enough to avoid surprises when you actually need your stash.
How can I ensure my family gets a balanced diet from a vacuum-sealed 30-day emergency stash?
Plan meals that combine foods like rice and beans to get all the essential amino acids. It’s a budget-friendly way to get full protein from plants.
We include canned veggies and fruits for vitamins and minerals. Dried, vacuum-sealed veggies are great as backups.
Don’t forget healthy fats—nuts, seeds, shelf-stable oils. They help your body absorb nutrients and keep you feeling full.
Add calcium sources like powdered milk or shelf-stable cheese. Kids especially need enough calcium if you’re relying on your stash for a while.
Consider packing away some vitamin supplements as a safety net. Vacuum-sealed multivitamins keep their potency longer than loose bottles.
Could you guide me on the best vacuum sealers to use for long-term food storage?
Chamber vacuum sealers tend to give you the most dependable seals for long-term storage, especially if you’re dealing with liquids or fragile foods. They’re pricey, though.
For most home users, I usually lean toward external vacuum sealers with adjustable suction. Those double-seal options? Worth it for the peace of mind.
It’s handy if your sealer works with both pre-made bags and rolls. That way, you can control costs and cut bags to fit whatever you’re storing.
If you’re sealing a ton of stuff—maybe you’re prepping for a big family or just like to batch things—commercial-grade units hold up better under heavy use. But honestly, most home models are fine for the average household.
I’d also suggest looking for a pulse vacuum setting if you plan to seal delicate things like nuts or dried fruits. It keeps them from getting crushed while still pulling out most of the air.
Share:
Vacuum Sealing Cheese Without Crushing It: Understanding Pressure Settings
Vacuum Sealing Cheese Without Crushing It: Understanding Pressure Settings