

Check out our latest collection of compact vacuum sealer for food!
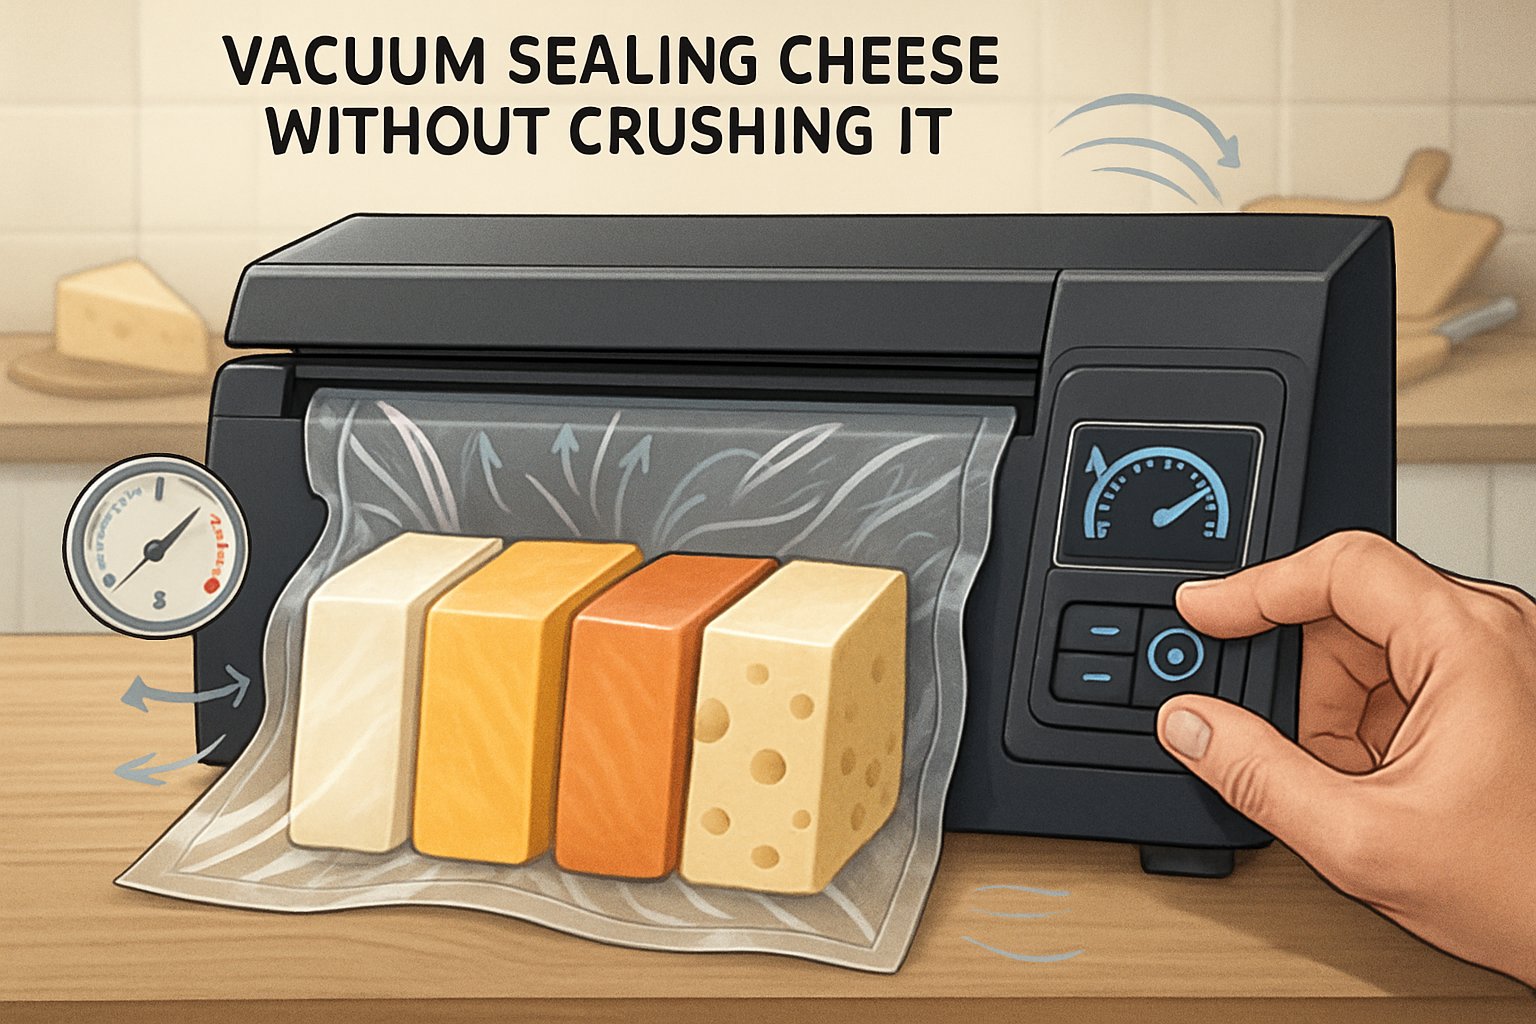
Vacuum sealing cheese can feel like a delicate balancing act—you want that perfect airtight seal, but you definitely don’t want your gorgeous block of cheddar to end up looking like it went through a trash compactor. If you’ve ever watched a vacuum sealer turn your cheese into a squished science project, you know the pain.
The real trick to sealing cheese without wrecking it? Understanding your machine’s pressure settings and matching them to the type of cheese you’re working with. Most home vacuum sealers default to “full blast,” which is fine for steaks but will absolutely flatten something like brie or fresh mozzarella.
Let’s break down how to pick the right settings and techniques for different cheeses. You’ll get practical tips to keep your cheese tasting and looking great, while also making it last a whole lot longer.
Key Takeaways
- Cheeses need different pressure settings and handling to avoid crushing when vacuum sealing
- Controlling suction and using pulse settings are crucial for delicate textures
- Proper vacuum sealing extends cheese shelf life while keeping quality intact
Why Pressure Settings Matter for Cheese
When you vacuum seal cheese, you’re basically walking a tightrope between preserving it and ruining it. Too much pressure? You’ll smash soft cheese into a dense lump. Too little? Air pockets stick around, and that’s just begging for mold.
Cheese texture is all over the map. Soft cheeses (think brie) have way more moisture and squish easily. Hard cheeses like aged cheddar? They can handle a lot more suction.
Here’s what goes wrong with the wrong pressure:
- Texture gets wrecked—Creamy cheeses turn into dense bricks
- Moisture loss—Too much pressure sucks out the good stuff
- Weird shapes—Blocks get warped and hard to slice
Adjustable pressure is your friend. Newer vacuum sealers with variable pressure let you fine-tune the process for different cheeses. Gentle for soft, strong for firm.
The goal is just enough air removal to keep things fresh, but not so much that you ruin the cheese’s texture or flavor.
Moisture content changes everything. Mozzarella needs barely any pressure because it’s basically a water balloon. Parmesan? Go wild with the suction. Knowing which is which makes all the difference.
Types of Cheese and Their Sensitivities
Cheese isn’t one-size-fits-all when it comes to vacuum sealing. Texture, moisture, and structure all play a role. If you know what you’re working with, you can pick the right pressure and avoid disaster.
Soft Cheeses: Brie, Camembert, and More
Soft cheeses are the trickiest. Brie and Camembert can lose their shape in seconds if you’re not careful.
Use the gentlest setting your sealer has. If there’s a pulse feature, it’s your best friend—take out air in little bursts so you can stop before things go sideways.
Fresh cheeses like ricotta or cottage cheese are even more sensitive. They’re so moist, the sealer might try to suck them right out of the bag.
| Cheese Type | Vacuum Pressure | Special Considerations |
|---|---|---|
| Brie/Camembert | Minimal (10-20%) | Keep the rind intact |
| Fresh Mozzarella | Low (20-30%) | Handle high moisture carefully |
| Goat Cheese | Low-Medium (30-40%) | Crumbly—be gentle |
Cream cheese and mascarpone do better if you chill them first. Cold cheese is firmer and less likely to get squished.
Semi-Hard and Hard Cheeses: Cheddar, Gouda, etc.
Semi-hard and hard cheeses are much less fussy. Cheddar, Gouda, Swiss—these can take more pressure without falling apart.
Lower moisture and a denser texture mean you can usually use regular vacuum settings.
Aged cheeses like Gruyère or aged Cheddar are even tougher. The firmer the cheese, the tighter you can seal it—less risk of air pockets, too.
Blocks work better than pre-sliced cheese. Slices are just more likely to get mangled.
Medium-firm cheeses—Monterey Jack, young Gouda—are somewhere in between. Use medium-high pressure, but keep an eye on them as you go.
Aged and Specialty Varieties
Parmesan, Romano, and other hard grating cheeses are basically indestructible in the vacuum sealer. Go ahead and use max pressure—they’ll be fine, maybe even better for it.
Blue cheeses (Roquefort, Gorgonzola) need a little more attention. The blue veins make air pockets, and too much pressure can collapse them.
Medium vacuum is best for blue cheese. You want preservation, but not at the expense of their unique texture.
Waxed cheeses are a pain. The wax can mess with the seal, so you might need to remove it or work around it.
Fresh specialty cheeses like burrata? Handle with extreme care. Their soft, liquid centers won’t survive much pressure.
Choosing the Right Vacuum Sealer for Cheese
The best vacuum sealer for cheese lets you adjust pressure and handle delicate blocks without drama. Think about whether you want hands-on control or prefer a machine that does the thinking for you.
Manual vs. Automatic Sealers
Manual sealers let you control exactly when to stop. That’s huge for soft cheeses—just hit stop before things get ugly.
Manual perks:
- You decide how strong the vacuum is
- Stop and start as needed for tricky items
- Usually cheaper
Automatic sealers use sensors and presets. They’re great for hard cheese, but they can be too aggressive for soft stuff.
Automatic perks:
- Consistent results
- Set it and walk away
- Multiple food modes
If you love cheese and have lots of different kinds, manual is probably the way to go.
Gentle or Custom Pressure Modes
Custom pressure is a must for cheese. You’ll want to dial it down for mozzarella and crank it up for cheddar.
Look for:
- Adjustable vacuum strength (anywhere from 20% to 80% is good)
- Gentle mode for delicate cheeses
- Pulse vacuum for slow, careful air removal
- Manual seal button for emergencies
Most good sealers give you at least three pressure settings. Light for the soft stuff, medium for semi-hard, full blast for aged cheese.
Pulse mode is especially handy—it lets you sneak up on just the right amount of vacuum without squishing anything.
Chamber Sealers and External Devices
Chamber sealers work differently. You put the whole bag inside, and the machine removes air from the entire chamber.
Chamber sealer upsides:
- No issues with liquids in moist cheese
- Professional-level vacuum strength
- Even pressure everywhere in the bag
- Great for big batches
External sealers are what most people have at home. They pull air out through the bag’s opening. Works for most cheeses.
External sealer upsides:
- Small and easy to store
- Cheaper
- Simple to use
- Good for single blocks or small batches
Honestly, chamber sealers are awesome for wet or crumbly cheeses, but external models are fine for most home needs and way less expensive.
Step-by-Step: Vacuum Sealing Cheese Without Crushing
Getting this right is all about prepping your cheese, dialing in the right settings, and keeping an eye on things the whole way. Here’s how to do it without ending up with a cheese pancake.
Preparation: Slicing and Wrapping
Before you even touch the vacuum sealer, get your cheese ready. Cut it into blocks—4 to 6 inches is usually a good size.
Wrap each piece in parchment paper before it goes in the bag. This keeps it from sticking to the plastic and gives a little cushion.
If you’re sealing shredded cheese, freeze it for about an hour first. That keeps it from clumping and makes sealing way easier.
Wipe off any moisture from hard cheeses with a paper towel. Too much moisture can mess with the seal.
Adjusting Pressure Settings
Most sealers these days let you control the pressure. Look for settings like “gentle,” “delicate,” or “pulse.”
Start with the lowest suction you can. If you don’t have presets, use the pulse or manual mode and do quick bursts.
For hard cheeses, aim for around 80-85% of full vacuum. Soft cheeses? Keep it in the 60-70% range.
If your machine just has on/off, you’ll need to watch closely and stop it before it goes full throttle. You’ll still get a good seal without crushing the cheese.
Monitoring the Sealing Process
Keep your eyes on the prize while sealing. You want the bag to hug the cheese, not squish it.
Stop the vacuum right away if you see the cheese starting to compress. The bag should match the cheese’s shape, not change it.
For really soft cheeses, try freezing them for 30 minutes before sealing. It makes them firmer and less likely to get flattened.
If you see air pockets around oddly shaped cheese, don’t sweat it. Better a little air than a ruined block.
Double Sealing for Extra Protection
Once you’ve got the vacuum right, make sure the seal is solid. Most sealers do this automatically, but you can add a second seal about a quarter inch from the first just in case.
Let the bag cool down before you move it. If you handle it too soon, the seal might not hold.
Check the seal by pressing gently around the edges. It should feel tight, with no leaks.
Tips for Avoiding Crushed Cheese
Keeping cheese from getting crushed is all about smart prep and using a little cushioning. Chilling and wrapping go a long way.
Using Cushioning Techniques
You can protect cheese by adding a buffer between it and the bag. Paper towels work great—just wrap the block before bagging.
Parchment paper is another good option. It’s gentle and lets the vacuum do its job without sticking.
Mesh vacuum bags are handy too. They spread out the pressure better than smooth bags.
For super soft cheese, try double-bagging:
- Put cheese plus cushion in the first bag and seal lightly
- Slip that into a second bag and do the final seal
This gives you layers of protection without sacrificing the vacuum.
Chilling Cheese Before Sealing
Freezing cheese for a couple hours before sealing really helps. You don’t want it rock hard, just firm enough to handle the pressure.
Timing matters—don’t let it freeze solid, just enough to make it less squishy. Soft cheeses benefit most from this trick.
Hard cheeses only need 30-60 minutes in the fridge. Just enough to give them some backbone.
Seal right after taking it out of the freezer. If you wait, it’ll soften up and you lose the advantage.
Testing With Practice Pieces
Test your sealer with cheap cheese or small pieces first. No sense ruining the good stuff.
Start low and go up until you find what works. Every cheese is different, so take notes.
Keep track of:
- Cheese type and brand
- Pressure setting
- How it turned out
- Any squishing or problems
A simple chart saves you headaches next time. Try different bag types too—sometimes textured bags work better for certain cheeses.
Storage and Shelf Life After Vacuum Sealing
How you store vacuum-sealed cheese matters—a lot. Hard cheeses can last 6-9 months in the fridge, but soft ones usually stay good for just 1-2 months. Watch for any funky smells, weird textures, or mold before you dig in, just to be safe.
Optimal Refrigerator and Freezer Conditions
Vacuum-sealed cheese keeps best at 32-40°F in the fridge. The crisper drawer’s a good spot—steady temps, decent humidity.
Hard cheeses like cheddar and gouda? They’ll hang in there for 6-9 months if you keep them sealed and chilled. Semi-hard types, say Swiss, last around 2-3 months. Soft cheeses? Even sealed, they really only hold up for 1-2 months.
If you’re stashing cheese in the freezer, aim for 0°F or below. Hard cheeses can make it 6-8 months frozen, but don’t be surprised if the texture turns a bit crumbly. Freezing soft cheeses is a gamble—they get watery and lose that creamy bite.
Pro tip: Slap a label on each package with the date and cheese type. Saves you from playing “guess that cheese” a few months down the line.
Signs of Degradation to Watch Out For
Visual clues say a lot. Mold growth—those fuzzy green, blue, or white patches that weren’t there before—means it’s time to toss the whole piece.
Color changes matter too. If white cheeses turn yellow or brown, that’s not good. Hard cheeses might get dark edges or start looking oily as they age out.
Smell is another dead giveaway. Good cheese smells, well, like cheese. If you catch a whiff of sourness, ammonia, or anything rotten, don’t risk it.
Texture can shift a bit after vacuum sealing, but if it suddenly gets slimy, super dry, or cracks in weird ways, that’s usually a sign it’s gone downhill.
Trust your gut—if something about your cheese seems off, it’s safer just to let it go.
Frequently Asked Questions
Here are some real-world vacuum sealing questions that come up a lot. Getting the hang of the right pressure and handling makes all the difference between cheese that’s perfect and cheese that’s, well, sad.
How do you prevent cheese from getting crushed when vacuum sealing it?
To avoid crushing cheese, skip full-auto vacuum settings and use the pulse method. You get more control this way.
Lay the cheese flat in the bag, keeping air pockets to a minimum. Give it short pulses and keep an eye on things as the air gets pulled out.
Stop before the bag hugs the cheese too tightly. You want it snug, not squished.
For the really soft stuff, lay a piece of parchment paper on top before sealing. That helps spread out the pressure so you don’t end up with a cheese pancake.
What's the best way to vacuum seal cheese for extended freshness in the fridge?
Seal cheese in meal-sized chunks instead of big blocks. Smaller pieces seal better and you won’t expose the whole lot every time you open a package.
If your sealer has a gentle or delicate mode, use it. That’ll pull out the air without crushing things.
Cut hard cheeses so they fit the bag without forcing or folding. That way, you avoid pressure spots that can crack the cheese.
Label with cheese type and date. Most vacuum-sealed cheese will stay fresh in the fridge for 4-8 weeks, depending on what you’ve got.
Can you freeze vacuum-sealed cheese without affecting its quality?
Most hard and semi-hard cheeses—think cheddar, Swiss, Gouda—freeze just fine when vacuum-sealed. The texture might change a bit, but nothing major.
Soft cheeses like brie or camembert? Freezing does them no favors. They’ll come out grainy and weird.
Slice or shred cheese before you seal and freeze it. Makes thawing and portioning way easier, and you won’t have to refreeze.
Vacuum-sealed cheese keeps its quality in the freezer for 6-8 months. Let it thaw slowly in the fridge for best results.
Does the type of cheese affect the vacuum sealing process?
Oh, absolutely—cheese type matters a lot.
Hard cheeses like parmesan can handle full vacuum pressure. No need to worry about crushing.
Semi-soft ones—Monterey jack, mild cheddar—do better with moderate pressure and pulse settings.
Soft cheeses need a gentle touch. Sometimes it’s better not to vacuum seal really soft varieties like fresh mozzarella at all.
Aged cheeses with those crunchy crystals? Go easy—light pressure helps keep that texture intact.
What's the secret to vacuum sealing shredded cheeses effectively?
Spread shredded cheese out in the bag before sealing. Thick piles just clump up.
Give the bag a gentle tap to settle the cheese into a flat, even layer. That way, air comes out evenly and you don’t crush the shreds.
Use very light vacuum pressure and short pulses. Shredded cheese compresses easily and turns into a block if you overdo it.
Try freezing shredded cheese for about 30 minutes before sealing. It firms up the pieces and helps prevent clumping.
How does the 'moist' setting on vacuum sealers change the game for cheese preservation?
The moist setting drops the vacuum pressure and shortens the sealing cycle, which works way better for foods with a lot of moisture.
Fresh cheeses—think ricotta, cream cheese, or spreads—definitely benefit here. The setting keeps liquid from getting sucked up into the sealing strip, which can otherwise get messy fast.
I usually hit the moist button for cheese spreads, cream cheese, and those really soft types that just don’t play nice with regular sealing.
Instead of yanking out nearly all the air, this setting pulls out about 80%. That’s more than enough to keep things fresh, but it doesn’t crush or mess up the cheese’s texture.
Share:
Emergency Preparedness: Building a 30‑Day Food Supply With a Compact Vacuum Sealer
Emergency Preparedness: Building a 30‑Day Food Supply With a Compact Vacuum Sealer