

Check out our latest golf collection!
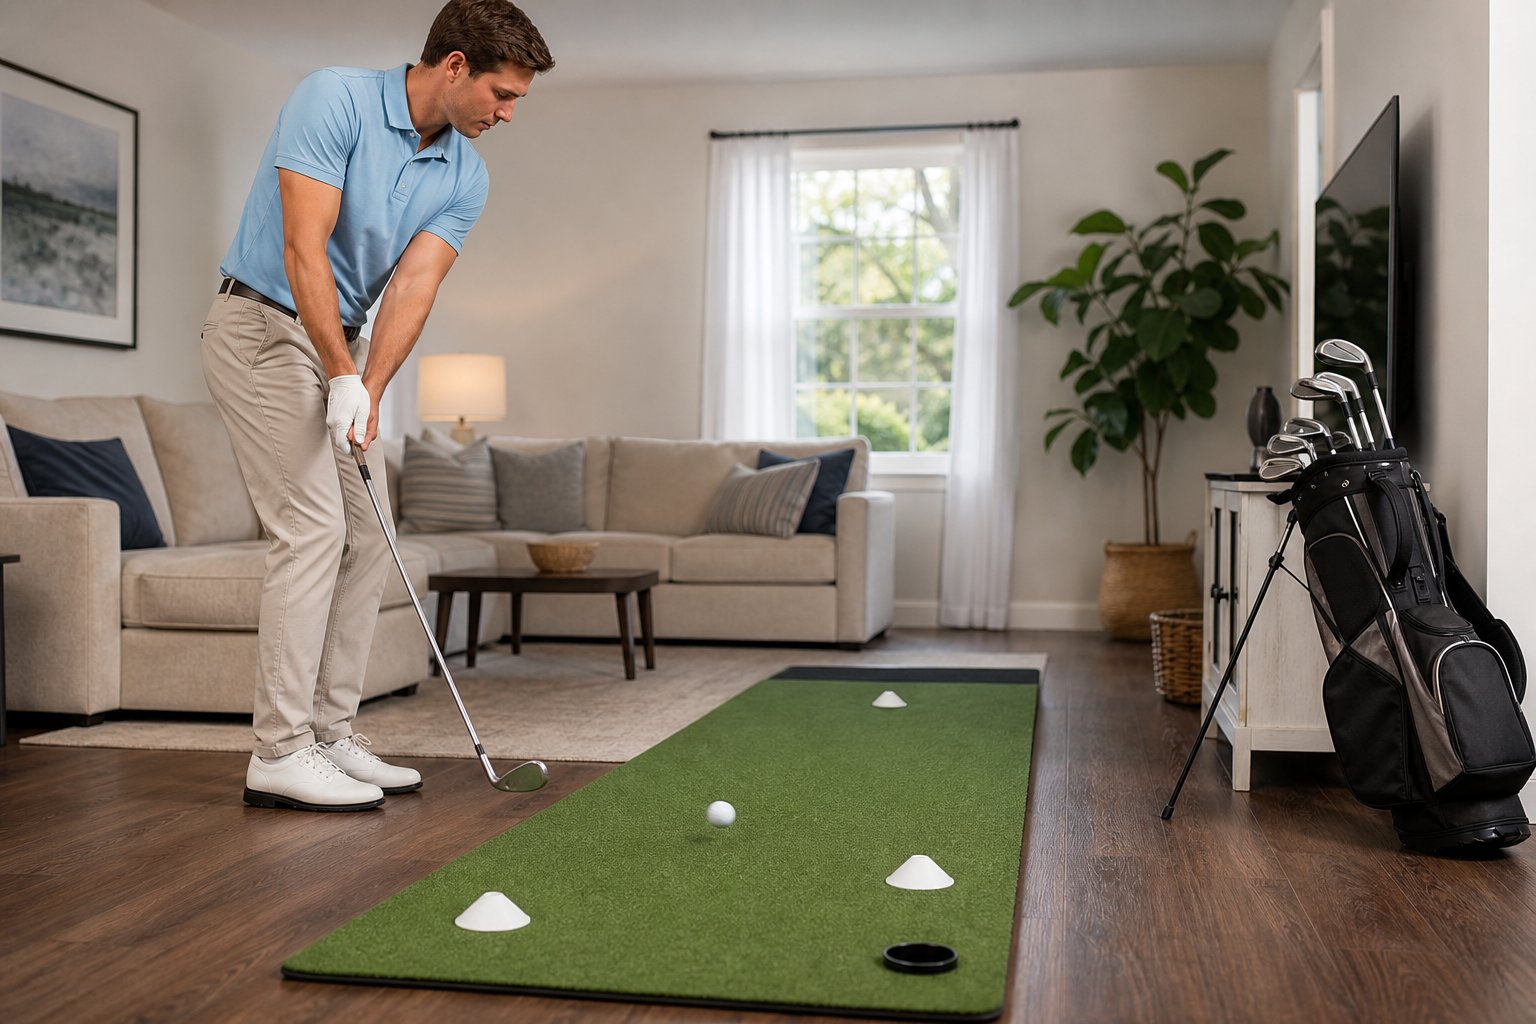
Better chipping starts long before you reach the course. With a small space, a safe target, and a few focused drills, you can build cleaner contact and better distance control right at home.
You do not need a perfect lawn, a full practice green, or expensive equipment to improve. A patio, garage, hallway, or backyard corner can become a useful short game practice area when it is set up safely and used with purpose.
In this guide, you will learn how to choose your practice space, pick helpful gear, and use simple chipping drills to improve accuracy, feel, and confidence.
Key Takeaways
- You can practice chipping accuracy in small indoor or outdoor spaces with just a bit of gear.
- Consistent, targeted drills help you make better contact and control distance while building confidence.
- A dedicated practice zone with different clubs, targets, and challenges can mimic real course situations at home.
Choosing and Setting Up Your Practice Zone
Start by looking at what space you have and how you can make it work safely for chipping practice. With a little creativity, even a garage corner or a bit of grass can become a productive spot.
Finding Indoor and Outdoor Spaces
Garages, basements, or even hallways with at least 8-10 feet of clear space work well for indoor chipping. Indoors, foam or plastic practice balls are a must to keep your home safe. Garages are probably the easiest since you can use a mat and net without worrying about ceiling height.
For outdoor chipping, try to find a flat area at least 15-20 feet long. It doesn’t need to be pretty. A rough patch of grass or even a patio does the trick. The main thing is to have enough room to chip toward a target without sending balls flying into the neighbor’s yard or smashing something.
If your outdoor area is tight, try chipping into a corner or against a fence with a net or even a blanket as a backstop. Some folks use their driveway, foam balls, and a portable net for a surface that feels a lot like a tight lie around the green.
Safety and Space Considerations
Before you start, clear away anything breakable, including garden gnomes, windows, patio chairs, you name it. Indoors, definitely remove fragile stuff and stick to foam balls.
Watch out for ceiling fans, low lights, or beams that could mess with your backswing. Most indoor spaces work for short chipping motions, but if you want to hit higher pitch shots, you’ll probably need to go outside.
Quick safety checklist:
- Use only foam balls inside
- Keep pets and kids out of the area
- Have a net or blanket behind your target
- Wear shoes with grip to avoid slipping
- Make sure your swing path is clear
If you’re chipping outside, remember that real golf balls can go farther than you think, especially if you catch one thin. A net or a marked landing area keeps things under control.
Personalising Your Practice Area
Set up your practice zone so you actually want to use it. Keep your mat, balls, and net close by so you can start practicing in just a minute or two. The easier it is to get started, the more likely you’ll stick with it.
Mark different distances with cones, towels, or hula hoops. Even just three or four landing zones (say, 5, 10, 15, and 20 feet) can add variety without needing a lot of space. You don’t need a ton of clubs. Just one or two is fine. Change targets to work on different shots.
Alignment sticks or a small mirror can help you check your setup. They don’t take up any room, but they give you instant feedback on your stance and ball position. If you want to work on trajectory, hang a towel at your target height. That’s especially handy indoors, since nets don’t always show you how high the ball is flying.
Essential Practice Gear and Training Tools
You don’t need a lot of gear for home chipping practice, but having the right stuff makes it more realistic and honestly, more fun. The right mat gives you feedback on your strike, good nets and targets give you something to aim at, and the right practice balls let you work on accuracy without worrying about breaking a window.
Chipping Mats and Hitting Mats
A decent chipping mat feels close to real turf and gives you honest feedback. Mats with a couple of surfaces, one like fairway and one like light rough, let you practice different shots without needing actual grass.
The best mats have a little give, so they absorb the hit without hurting your wrists. Thin or overly hard mats can mess with your feel and even cause soreness if you use them a lot. Look for ones with a rubber base so they stay put.
A mat around 60 cm by 90 cm is usually big enough to move your stance and ball position around. Some people like bigger mats for full swings, but that’s not necessary for chipping drills.
If you’re tight on space, grab a portable mat that rolls up. You can use it inside or outside, depending on the weather.
Chipping Nets and Targets
Chipping nets catch your shots and save your walls, furniture, and windows from stray balls. Nets with several target zones let you practice different distances and trajectories, not just hitting into a big opening.
Nets between 1.2 and 1.8 meters wide are a good range. Small nets force you to be accurate, while bigger ones are more forgiving if you’re just getting started.
Pop-up nets are super convenient. They set up in a few seconds and fold flat. They’re great for bedrooms, basements, or garages, though they can be a bit less sturdy than fixed-frame nets.
Some nets have scoring pockets for instant feedback. A few even roll the balls back to you, but that’s more of a nice-to-have than a must.
Practice Balls and Ball Types
If you’ve got the space and a good net, real golf balls give you the truest feedback on feel, spin, and trajectory. But if you miss the net or the ball bounces weird, you could end up with a broken lamp, or worse.
Foam balls only go about a third of the distance of real ones. They’re safe in tight spaces and won’t break anything, but they don’t spin or react quite like the real thing, so distance control isn’t as realistic.
Wiffle balls are a decent middle ground. They fly farther than foam but not as far as real balls, and they’re still safe for most indoor setups. If you want something that behaves a bit more like a golf ball but without the risk, these are a good pick.
Weighted practice balls are all about contact. They don’t go far at all, so they’re perfect for working on your strike in a tiny space.
Alignment Aids and Setup Tools
Alignment sticks are cheap and super useful. Put one down parallel to your target line to check your setup, or use two to make a gate for your swing path.
Try laying two sticks on the ground just wider than your clubhead. Swing through the “gate” to groove a straight path.
A small mirror or your phone’s camera can help you check your posture and ball position. Set up a mirror perpendicular to your stance to spot any setup issues before you chip.
Impact tape or a quick spritz of foot spray on the clubface shows exactly where you’re striking the ball. Hitting the center of the face means your technique is solid, while toe or heel marks point to something you might want to tweak.
Effective Chipping Drills for Accuracy
If you want to get accurate, you need practice with purpose. The drills below help you get better contact, control your landing spot, and manage distance, all without needing a massive backyard.
Ladder Drill for Distance Control
The ladder drill helps you match your swing length to different distances. Set up three to five targets (start with 5, 10, and 15 feet, or go to 20 if you’ve got the room). Use towels, hula hoops, baskets, or a net with pockets as your targets.
Hit three balls to the closest target. If you land two out of three, move to the next distance. This makes you adjust your backswing and tempo for each shot.
Focus on how your swing feels for each distance, not just where the ball lands. Notice how far you take the club back and how much speed you use. Most folks realize they need less swing than they thought for short chips.
Keep track of how many you land in each target. It’s a simple way to see your progress.
Towel Drill for Landing Spot Focus
Lay a towel 3 or 4 feet in front of you. Try to land the ball on or just past the towel, then let it roll out. This drill gets you thinking about landing spots instead of just flying the ball all the way to the hole.
You’ll know right away if your strike is off. Thin shots will skip past the towel, and fat ones won’t reach it. Good contact gives you a nice arc that lands right where you want.
If you’re inside, use foam or wiffle balls to be safe. Once you’re comfortable, add a second towel a couple feet past the first and try to land the ball in between. It’s a sneaky way to up the challenge.
Strike and Alignment Drills
Clean contact is way more important than swinging hard. Place an alignment stick or yardstick on the ground toward your target. Set up with the ball just behind the stick to make sure you’re lined up.
For the strike drill, stick a tee in the ground just behind your ball. Make swings that brush the ground where the ball sits, but miss the tee. This helps you hit down on the ball for crisper contact.
You can also use two alignment sticks as a gate just wider than your clubhead. Try to swing through without bumping the sticks. It’s great for building a consistent path.
Varied Target Practice
Scatter a few targets at different distances and angles, including mixing bowls, boxes, towels, buckets, whatever you’ve got. Assign points to each one based on how tough they are.
Hit five balls to each target, then switch it up. This keeps you from grooving just one shot and forces you to adapt, which is what you’ll face on the course.
Change your lie now and then by chipping off a mat, carpet, or grass if you’ve got it. Try different clubs, like a pitching wedge, gap wedge, or sand wedge. Each one gives you a different flight and roll, which helps you get creative around the greens.
Jot down your scores for each target. Competing with yourself, even in a small space, makes practice more interesting and helps you stay focused.
Building Short Game Skills and Developing Muscle Memory
If you want to chip it close more often, focus on three things: control your swing’s tempo and length, set up your body the same way every time, and repeat those moves until they feel automatic. When you put these together, you’ll find your consistency starts to show up where it counts right around the green.
Swing Length and Tempo Practice
Honestly, we see way too many golfers chipping with random swing lengths, and that just wrecks distance control. If your backswing and follow-through match up in length, you'll create a motion that's balanced and much easier to repeat.
Try starting with a basic 8 o'clock to 4 o'clock swing (think of your arms as clock hands). That gives you a solid reference for a standard chip. For shorter chips, shrink it down to about 7:30 and 4:30. If you need more distance, stretch out to 9 and 3.
Tempo is just as important as length, maybe even more so. Count "one" on your backswing and "two" on your follow-through, keeping the same pace every time. That rhythm helps you avoid those rushed, jerky moves that lead to fat or thin shots.
Grab some foam balls and practice in your hallway or garage. Just focus on making your swing the same length on both sides of the ball. You’ll probably notice your strike gets cleaner when your tempo stays smooth and relaxed, even in a tight space.
Mastering Body Alignment
Your body position really sets the stage for everything else in your swing. Before every practice chip, check three things: your feet, hips, and shoulders.
Set your stance a bit open (pull your left foot back if you’re right-handed), and lean about 60% of your weight onto your front foot. That little forward lean helps you hit down on the ball instead of trying to scoop it. Keep your feet close. 6 to 8 inches apart is usually plenty. This limits your lower body movement and lets your upper body control the shot.
Ball position matters more than most folks think. Put the ball just back of center in your stance, an inch or two right of your sternum if you’re right-handed. That spot encourages a downward strike for crisp contact.
Use alignment sticks or even a yardstick on the floor to check that your body lines up parallel to your target. Practicing with this visual cue at home helps you build good habits so you don’t have to overthink it on the course.
Muscle Memory and Consistent Repetition
Muscle memory comes from repeating the right movement, not just any movement. So, quality trumps quantity when it comes to short game practice.
Work in small blocks, chipping 10 to 15 balls at a time with your full focus. After each shot, step away, picture your landing spot, and reset before you go again. This makes your practice feel more like real play, not just mindless repetition.
Your brain needs about 300 to 500 good reps to start locking in a new move. That sounds like a lot, but if you chip 20 balls three times a week, you’ll get there in about two months. The main thing is quality. One focused set of 15 chips beats 50 rushed swings every single time.
Keep score to make it interesting. See how many chips out of 10 land inside a hula hoop or on a towel. Write down your best, then try to beat it next time. This gives your practice a purpose and lets you see your progress.
Between sessions, take slow-motion practice swings without a ball. This helps your body remember the right moves and builds confidence, even if you don’t have any equipment handy.
Integrating Putting and Short Game Practice
Chipping and putting really work together as one scoring system, not two separate skills. Practicing both in the same session builds rhythm and helps you see how different chip shots affect your putting distances.
Combining Chipping with Putting Routines
Try drill sequences that actually look like real golf situations. Chip to a target, then putt out from wherever your chip lands. This mimics the get-up-and-down moments you’ll face on the course.
Give the chip-and-putt challenge a shot: set three balls at different distances from your indoor target, chip each one, then putt all three. Count your total strokes for all six shots. It’s a fun way to build consistency in both chipping and putting.
Pair up your distance control drills too. Chip to three different zones, short, medium, and long, then practice lag putting from those same distances. That way, your brain connects the feel of different power levels across both skills. We’ve noticed this really helps beginners who struggle with speed control on the greens.
Using Putting Mats and Indoor Greens
A good putting mat does double duty at home. Use it as your landing zone for chip shots and let the balls roll out. You’ll see exactly how different clubs and swing speeds change your rollout.
Look for mats with multiple hole locations and some slope if you can. That lets you practice reading breaks and aiming for more than just straight putts. Alignment guides on the mat help you groove your setup for both chipping and putting.
If you can, put your green near your chipping spot so you can flow between drills without losing your rhythm. Some folks use one corner for putting and another for chipping. It’s a nice way to maximize space and keep both skills sharp in the same session.
Creating a Consistent and Motivating Home Practice Schedule
Home golf practice actually works when you show up regularly and keep track of what you’re doing. The difference between golfers who get better and those who don’t usually comes down to having a routine and a way to measure progress without getting bored.
Structuring Your Home Practice Routine
Start with 10 to 15 minutes per session, three or four times a week. That’s better than trying to cram in an hour here and there, which usually fizzles out after a while. Pick days and times that fit your life, whether it’s before work or after dinner.
Break your session into blocks. Spend five minutes on contact drills, five on distance control, and five on accuracy. This keeps your practice focused and stops it from feeling pointless.
Set up your space so it’s always ready to go. Leave your mat, net, and practice balls out if you can. The less hassle, the more likely you’ll stick with it. If you have to pack things up, keep everything in one bag or bin so you can set up in under a minute.
Mix in simple games for variety. Try landing three chips in a row inside your target, or switch between high and low shots every five balls. These little challenges keep things interesting and build real skills.
Tracking Progress and Staying Engaged
Make a simple tracking system to see your improvement. Write down how many chips out of 10 land in your target, or track your average accuracy each week. Watching your numbers jump from 40% to 60% in a month is a real motivator.
Record a video on your phone every few weeks. Seeing your setup and contact improve is great feedback and keeps you invested. You don’t need fancy gear. Just a quick side view that shows your ball position and strike.
Set small, achievable goals. Maybe you want to land 15 out of 20 chips inside a three-foot circle, or go five sessions in a row without missing a practice. Celebrate those wins. They help the habit stick and prove your work is paying off.
Keep a quick practice log with the date, what drills you did, and a note about what felt good or needs work. Takes 20 seconds but really helps you spot trends and stay accountable.
Frequently Asked Questions
Here are quick answers to common questions about practicing golf chipping accuracy at home.
What's a simple chipping setup I can use indoors or in a small backyard without breaking anything?
Use foam or plastic practice balls, a small chipping net or laundry basket, and a hitting mat or turf strip. Indoors, place a towel or pillow behind the target to protect walls and furniture.
Which practice balls work best for chipping at home when space is tight and neighbours are close?
Foam practice balls are best for tight spaces because they are quiet, light, and safer indoors. Plastic wiffle balls also work, but they feel less realistic at impact.
How can I set up targets and landing zones at home to actually track distance control?
Use towels, hula hoops, tape, or baskets as landing zones. Set targets at short, medium, and long distances, then track how many chips out of 10 land in each zone.
What are the most common chipping mistakes high-handicap golfers make at home, and how do you fix them?
The most common mistakes are scooping the ball, practicing only perfect lies, and using just one club. Fix them by keeping weight forward, varying your lies, and rotating through wedges and a 9-iron.
How do you practise consistent contact and strike when you can only make short swings?
Place a coin or piece of tape just behind the ball and chip without touching it. This helps you strike the ball first and avoid hitting too far behind it.
What's the best way to build a quick 10-minute chipping routine at home that still translates to the course?
Spend a few minutes on clean contact, a few minutes hitting two landing zones, and the final minutes on a small pressure challenge, such as landing 7 out of 10 chips in your target.
Share:
Turf Mat vs Grass Practice for Golf Chipping: What Changes at Impact?
How to Build a Simple Backyard Golf Game for Family Weekends