

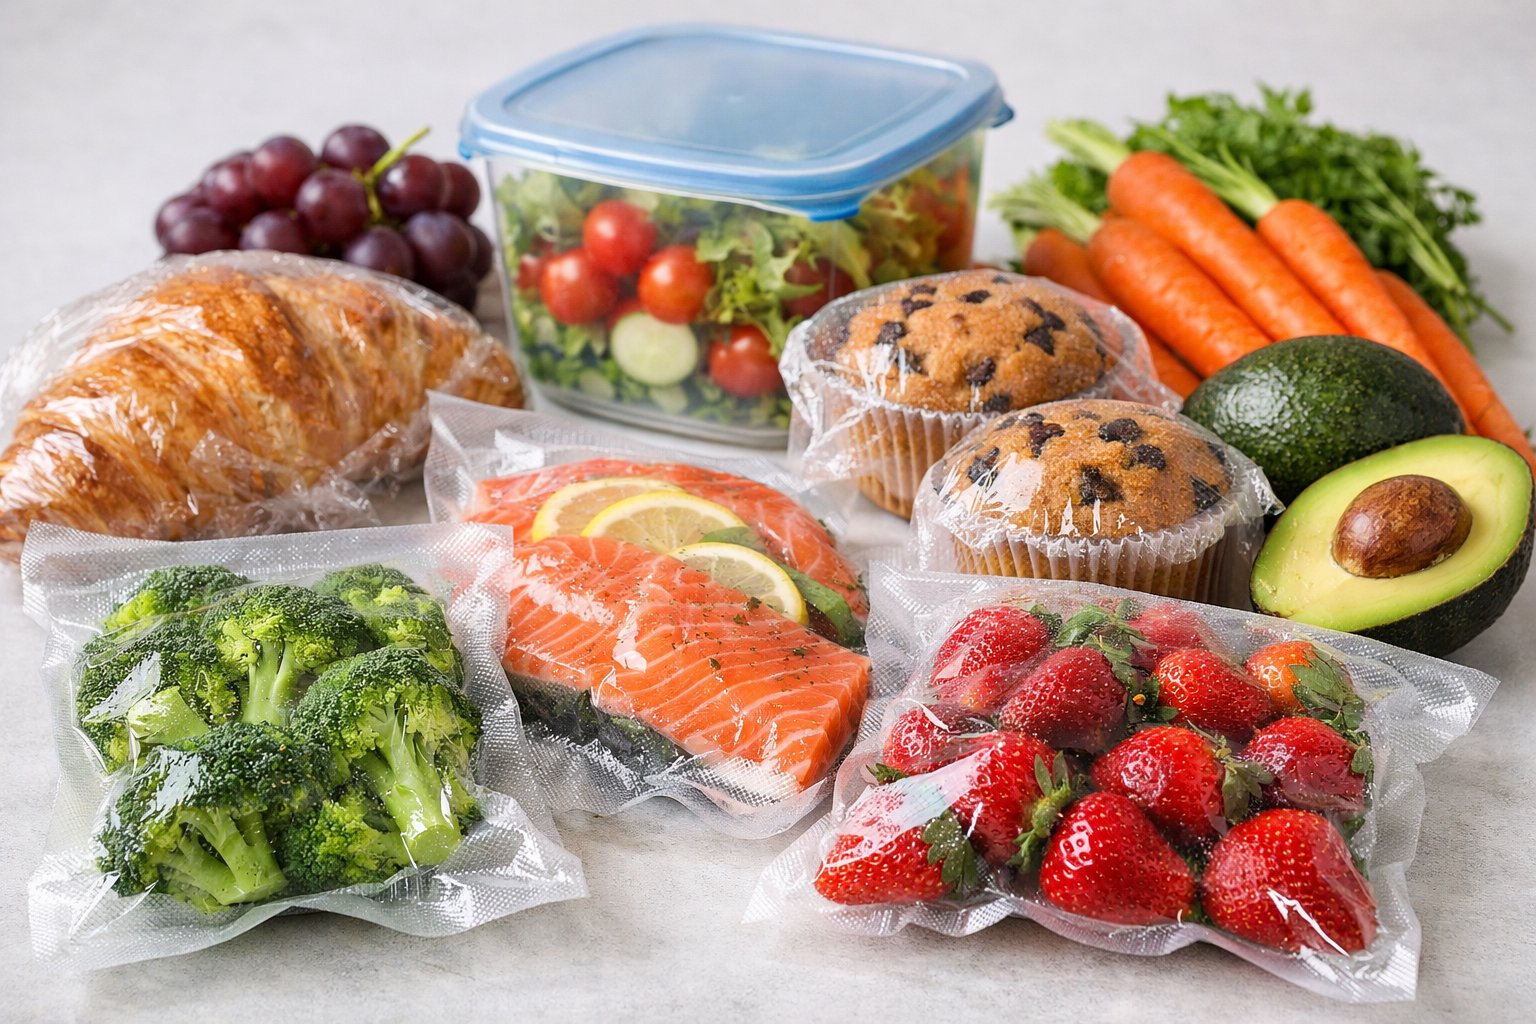
Check out our latest compact vacuum sealer for food collection!
When you grab leftovers from the fridge and find them soggy, mushy, or dried out, the problem probably isn’t what you stored, it’s how you sealed it. The sealing method you use really shapes whether your food keeps its original texture or just turns into a sad, unappetizing mess.
Different sealing techniques handle air, moisture, and pressure in ways that either help or hurt food structure. Who hasn’t been let down by grilled chicken that goes rubbery or veggies that turn limp overnight? Knowing what’s behind this can help you keep food tasting like you just made it.
There’s a lot more to sealing technology and texture than most people realize. Vacuum sealing pulls out oxygen, stopping oxidation and freezer burn. Heat sealing makes an airtight barrier to lock in moisture for foods that need to stay tender. Modified atmosphere packaging (MAP) swaps out regular air for special gas blends to slow down texture loss. Each method works differently, and what you’re storing really matters.
When you get the sealing right, your meal prep actually stays fresh, produce keeps its crunch, and proteins don’t just turn into expensive rubber. Let’s break down how these sealing methods affect texture, which ones work best for certain foods, and what really matters when you want that just-cooked quality.
Key Takeaways
- Different sealing methods control oxygen, moisture, and pressure in their own ways, which can protect or ruin food texture
- Vacuum sealing really extends shelf life but might crush delicate foods; heat sealing and MAP are gentler for texture-sensitive stuff
- Seal strength and choosing the right material are crucial if you want your food to keep its original texture and not go downhill fast
How Sealing Methods Directly Impact Food Texture
The way you seal food controls how much oxygen and moisture reach your ingredients. That’s what decides if a crispy coating stays crunchy or gets soggy, and whether juicy meats dry out or not. Good sealing blocks microbes that would otherwise break down food and ruin texture.
Understanding Oxygen and Moisture Control
Oxygen exposure causes oxidation, which messes with fats and proteins and changes texture. Ever bitten into stale crackers or chewy chips? That’s usually what happens when a seal lets oxygen sneak in.
Moisture is a double-edged sword. Some foods need protection from too much water vapor, while others need to keep their own moisture in. If dried pasta packaging isn’t sealed tight, humidity sneaks in and makes the noodles gummy before you even cook them. On the flip side, a weak seal on fresh bread lets moisture escape and turns soft loaves into bricks.
Hermetic seals are the gold standard for keeping out air and moisture. You’ll see these on vacuum-sealed meats and cheeses—places where texture really matters. The seal integrity has to be solid all the way across, because even tiny gaps can mess things up.
Not all sealing methods are created equal. Heat sealing usually gives you the best barrier properties compared to things like twist ties or snap lids, which is a big deal for foods that lose texture fast, like baked goods or produce.
Preventing Microbial Spoilage for Texture Retention
Microbial spoilage wrecks food texture from the inside. Bacteria and molds break down cell walls, turning firm veggies mushy and making proteins slimy.
Strong sealing keeps these troublemakers out. When you do it right, you create a little fortress where spoilage organisms can’t get a foothold. That’s how you keep ingredients holding together way longer than with a sloppy seal.
Temperature matters during sealing, too. If the heat or pressure doesn’t match the packaging, you get weak bonds with tiny gaps. Those gaps are basically a welcome mat for bacteria—especially in moist foods like deli meats or soft cheese.
Seal food right and you seriously extend the time it stays crisp, firm, or juicy. Leafy greens don’t wilt, berries stay plump, and proteins keep their bite.
Role of Barrier Properties in Texture Preservation
Barrier properties are all about how well packaging resists gas, moisture, and contaminants. They’re a big reason why food keeps its texture—or not.
Multi-layer films with high barrier ratings do a better job than single-layer ones. You want these for stuff that’s sensitive to air or drying out. Nuts stay crunchy, dried fruit stays chewy, and frozen foods dodge freezer burn if the barrier matches the product.
The sealing method has to activate those barrier properties fully. Heat sealing, for example, bonds the layers together into one solid shield. Pressure and dwell time during sealing decide how strong that shield is and, in the end, how well your food keeps its texture.
| Barrier Type | Protects Against | Texture Benefit |
|---|---|---|
| Oxygen barrier | Oxidation, staleness | Maintains crispness and freshness |
| Moisture barrier | Water vapor transfer | Prevents sogginess or drying |
| Light barrier | UV degradation | Preserves color and structure |
Even the best barrier materials can’t help you if the seal strength is lousy. We’ve all had packages that look sealed but still let air in through little leaks. That kind of defeats the point of fancy packaging.
Choosing the Right Sealing Technology
Not every food needs the same sealing approach. Matching the technology to both the product and packaging type is what keeps things from going downhill.
Matching Sealing Method to Food Type
Heat-sensitive foods like chocolate need cold sealing because regular heat sealing would just melt or mess up the texture. Cold sealing uses pressure, not heat, so it’s perfect for delicate stuff.
Moisture-rich foods do best with hermetic sealing via heat. This locks in liquids and keeps textures from breaking down.
Ultrasonic sealing is a good fit for foods that need airtight protection but can’t handle heat. It uses mechanical vibrations to melt the film without heating the food, so things like crackers stay crispy and still get a solid seal.
Dry goods like biscuits usually go with heat sealing since they aren’t sensitive to heat and don’t need the speed that cold sealing offers for things like chocolate.
Flexible vs. Rigid Packaging Needs
Flexible packaging gives you lots of options. Flow-wrapping forms a tube around the food, then cross seals it shut—great for keeping texture intact.
Flexible packs are nice because they mold to the food’s shape, squeezing out extra air that can mess with texture. Speed matters, too: rotary sealing can handle up to 100 meters of film per minute, while long-dwell sealing is slower but gives a much longer sealing time for a stronger bond.
Rigid packaging is a different animal. The container gives the structure, so sealing is all about making sure the lid is on tight.
Amplified heat sealing is kind of the best of both worlds—fast, but with a longer sealing time than basic rotary machines.
Material Compatibility for Optimal Texture
Your packaging material has to match the sealing method if you want to keep food texture in check. Heat sealing films need to fuse at the right temperature and pressure. Cold sealing films have to work with adhesives that activate under pressure.
These days, you can get cheaper films that still work with advanced sealing methods like amplified heat sealing. The profile of the sealing jaws has to match the film, or you’ll end up with weak seals and food that goes stale.
Film selection factors include:
- Can it handle the heat (for heat sealing)?
- Does it work with adhesives (for cold sealing)?
- Does it block moisture?
- Is it flexible enough not to stress the food?
Multi-layer films are pretty common now. The inside layer does the sealing, the outside protects from the environment. Get this wrong, and your food is exposed to air and moisture—hello, stale and soggy.
Popular Food Sealing Methods and Their Texture Effects
Different sealing methods create their own barrier environments, and those have a direct impact on how your food keeps its original texture. Heat sealing fuses polymers to lock in moisture, vacuum sealing sucks out air to stop oxidation, and modified atmosphere packaging (MAP) swaps in protective gases for delicate foods.
Heat Sealing: Pros, Cons, and Food Texture Outcomes
Heat sealing melts polymer layers together with controlled heat, pressure, and time. This makes an airtight barrier that stops moisture loss and keeps microbes out. You see it everywhere, from chip bags to frozen veggies.
This method is great for crispy snacks if you pair it with a moisture barrier. Crackers and cookies stay crunchy since the seal blocks out humidity. For moist foods like cheese or deli meats, heat sealing keeps them from drying out by trapping moisture.
Impulse sealing gives you tight control by using a quick heat pulse. You can get really thin seals—down to 1mm wide—so there’s less thermal stress on sensitive foods.
But you have to get the temperature just right. Too hot, and you degrade the seal or burn the package. Too cool, and you get gaps that let air and moisture in. Foods like fresh pasta or soft bread can end up with hard, brittle edges if the seal gets overheated.
The big downside? Standard heat seals are permanent. Once you open the package, you can’t really reseal it without losing integrity.
Vacuum Sealing: Maximum Freshness and Texture
Vacuum sealing pulls out almost all the air before sealing the package tight. This slows down oxidation, browning, and freezer burn. It’s a favorite for keeping refrigerated foods fresh 3-5 times longer than usual.
It’s especially good for meats. With no oxygen, you don’t get ice crystals forming in the freezer, so steaks and chicken stay tender and juicy. Chamber vacuum sealers are best for foods with lots of liquid, since they equalize pressure and keep liquids from being sucked out.
Vacuum sealing is also what makes sous vide cooking possible. The food sits in a sealed pouch in a water bath at a precise temperature. No moisture escapes, so proteins stay juicy and cook evenly.
But there’s a catch: vacuum sealing can crush soft foods. Berries, soft cheeses, and bread can get squashed. If you’re sealing delicate stuff, you need a gentler approach or a partial vacuum setting.
Modified Atmosphere Packaging: Texture for Delicate Products
Modified atmosphere packaging (MAP) replaces the air inside with a blend of gases like nitrogen and CO2. This protects food without the squish of vacuum sealing. You’ll see MAP in salad mixes, fresh pasta, and bakery goods.
The gas blend depends on the food. High-oxygen MAP keeps meat looking red and fresh, while low-oxygen MAP with lots of nitrogen is better for baked goods, keeping them soft but not moldy.
Tray sealing with MAP is great for foods that need support, like berries or salads. The rigid package holds everything in place, and the MAP keeps things crisp way longer—lettuce can last 10-14 days instead of just a few.
Skin packaging is another twist: a tight film hugs the product on a backing board, combining MAP benefits with physical support. It’s ideal for cookies or crackers that break easily. The film stops movement and breakage during shipping.
MAP costs more since you need special equipment and gas, but for premium products, the texture quality boost is worth it.
Seal Integrity: The Hidden Key to Consistent Texture
The quality of your package’s seal makes or breaks whether food keeps its texture or goes downhill. Even tiny leaks let in moisture, oxygen, or contaminants—and suddenly, all your careful storage is for nothing.
Seal Failure and Its Impact on Texture
When seals fail, food texture changes fast—sometimes faster than you'd think. If a seal lets moisture escape, foods that should stay soft turn dry and crumbly. On the flip side, dry snacks like crackers or cereal suck up humidity through bad seals and lose their crunch in no time.
Oxygen sneaking in through weak seals speeds up fat oxidation, which brings on rancid flavors and breaks down the structure of fresh produce. From what I've seen, the pressure you use during sealing really matters. Not enough pressure? Tiny channels form, letting air and moisture creep in.
Temperature and contact time on the seal bar matter, too. Too much heat? You risk brittle, cracked seals. Not enough? The packaging layers don't fuse right, and you get leaks.
Testing Seal Quality: Bubble Test and Visual Inspection
The bubble test is our go-to quick check for seal leaks. We just dunk the package in water, give it a gentle squeeze, and watch for bubbles. If you see any, there's a leak—even if you can't spot it with your eyes.
Of course, visual inspection comes first. We scan the seal for wrinkles, gaps, or weird discoloration. A good seal should look even and consistent along its whole length.
Good lighting helps here. Sometimes, tiny defects or bits of debris get trapped in the seal and let air sneak in, even if everything else looks fine.
Leak Detection and Tamper Evidence
Modern leak detection isn't just about eyeballing the package anymore. Dye tests work for see-through packaging—just brush on a colored liquid and any cracks show up fast.
Tamper-evident features do double duty. Not only do they show if someone opened the package, but they also give a heads-up if the seal's failing over time.
But here's the catch: tamper-evidence only works if the main seal holds up. If that starts to fail, tear strips or breakable closures might pop open early, tipping you off to storage issues before your food turns stale.
Packaging Materials and Their Role in Texture Preservation
The packaging you pick makes a huge difference in keeping food's original texture. Film composition, barrier strength, and seal layer all play into moisture and oxygen control, and whether your food stays crisp, soft, or just right.
Flexible Packaging Films and Film Thickness
Flexible films like polyethylene (PE) seal well and help keep texture intact. LDPE and LLDPE are popular for their sealing properties. The thickness of these films affects both how well they protect and how tough they are.
You'll usually see films from 25 to 150 micrometers thick. Thin films are fine for dry goods, but thicker ones give more puncture resistance—handy for foods with sharp edges. Different types of LLDPE offer varying seal strengths and flexibility.
Common film thickness applications:
| Film Thickness | Best For | Texture Protection |
|---|---|---|
| 25-50 μm | Lightweight dried goods, herbs | Moderate moisture barrier |
| 50-100 μm | Snack foods, baked goods | Good puncture resistance |
| 100-150 μm | Frozen items, sharp-edged products | Superior mechanical protection |
Honestly, what matters most for texture is the seal layer itself, not just the thickness. A polyolefin seal layer that melts around 98-125°C gives you a solid seal without frying sensitive foods.
High-Barrier and Sustainable Packaging Options
High-barrier films use several layers to block out oxygen and moisture—crucial for foods where texture depends on low permeability. Foil liners are nearly airtight, but they're not see-through or easy to recycle.
Metallized films are a solid middle ground, offering better barrier properties than plain PE and some recyclability. With snacks like coffee or nuts, oxygen getting in can ruin texture in days. High-barrier films stretch that out to months by slowing down gas flow.
Sustainable options are catching up. Bio-based PE and compostable PLA (polylactic acid) are out there now. PLA seals with standard gear, but it's touchy about moisture—great for dry stuff, not so much for wet foods.
Lidding films for trays and cups are getting thinner and greener, but still hold a strong seal thanks to better polymers.
Resealable and Pressure-Sensitive Solutions
Resealable packaging helps keep food texture after opening—key for snacks you don't eat all at once. Pressure-sensitive seals use adhesives that stick when pressed, no heat needed, which is safer for heat-sensitive foods.
Gusseted bags with zippers are handy. They adjust as you use up the product, and the reseal keeps things fresh. Pressure-sensitive adhesives work well for dairy lids and ready meals, where heat sealing might mess things up.
Slider zips, press-to-close strips, peel-and-reseal adhesives—all have their pros and cons for keeping barriers strong after repeated openings. Good pressure-sensitive systems hold about 80% of their original seal strength after 10 opens, which matters for foods you'll be snacking on all week.
Key Parameters for Perfect Seals Every Time
Consistent seal quality comes down to three things: the sealing conditions, the machine you use, and how your production needs shape your choices. Nail these, and your food stays fresh way longer.
Temperature, Pressure, and Dwell Time Essentials
Seal bar temperature is everything. Too cool, and the plastic won't melt; too hot, and you get weak, brittle seals. Most flexible packaging seals best between 300°F and 350°F, but the exact number depends on your materials.
Pressure makes sure the layers fuse fully. If you skimp (less than 40-60 psi), you get air pockets and leaks. The sealing head's gotta press evenly along the whole seal.
Dwell time is how long you heat and press the seal. For thin films, 0.3-0.5 seconds does the trick; thicker stuff needs 0.5-1.0 seconds. Rushing it means the seal looks fine but fails when stressed.
Sealing Equipment and Machine Considerations
Your machine's sealing head design affects how evenly it heats the seal. Constant heat systems stay hot all the time, while impulse sealers only heat up during the seal—saving energy and working better for delicate materials.
Seal bar width matters, too. Most industrial seals are 8-10mm wide for strength, but some impulse systems go as narrow as 1mm. Narrow seals need super precise settings to avoid leaks.
Modern machines have sensors to track temperature, pressure, and time in real time. They tweak settings automatically to keep things consistent. Even a 10-15°F swing can weaken seals, so this tech really saves your bacon.
Material Consumption and High-Volume Settings
High-speed production pushes you to use less material, but go too thin and your films tear during sealing. Balancing machine settings with thinner films is a bit of a dance.
Cutting seal width saves a ton of film over long runs. If you go from 10mm to 5mm at 200 packs a minute, that's real savings. But narrower seals need tighter controls—temperature can't swing more than ±5°F and pressure needs to stay within 5 psi, or you'll get failures.
Parameter adjustments for material optimization:
- Add 0.1-0.2 seconds dwell time when dropping film thickness by 1 mil
- Bump seal bar temp 5-10°F for narrower seals
- Add 10-15 psi if you're using recycled content
- Slow the line by 10-15% when trying new materials
Line speed matters. At 300 packs a minute, you only get 0.2 seconds per seal—not much time for polymers to bond. Sometimes you have to slow things down for stronger seals.
Frequently Asked Questions
Sealing isn't just about freshness, it's about whether your fried chicken stays crispy or your steak stays juicy. The barrier you create controls moisture, oxygen, and contamination, which all decide how your food feels and tastes later.
How does proper sealing preserve the integrity of food textures during storage?
A good seal creates a microenvironment that controls three big things for texture: it manages moisture (so vacuum-sealed beef stays tender instead of drying out), limits oxygen (which stops browning and fat breakdown), and blocks contamination.
Seal quality is more important than most folks realize. Weak seals let air sneak in, causing both moisture loss (toughening meats) and oxygen exposure (softening crispy stuff).
Different foods need different strategies. Crackers need moisture blocked out, bread needs moisture locked in, veggies need humidity balanced—not too wet, not too dry.
Can you dish out the top techniques to keep my steak succulent through savvy sealing?
Vacuum sealing is the gold standard for steak. It removes almost all the air, stopping oxidation and locking in moisture. From my experience, vacuum-sealed steaks last 35-45 days in the fridge and stay tender, versus just a week or so with basic wrapping.
For best results, pat steaks dry before sealing so you don't trap extra water. Chamber vacuum sealers beat external ones, since they press evenly and don't suck juices toward the seal.
If you've cooked the steak, let it cool before sealing. Hot meat causes condensation inside the bag, which turns the surface mushy when reheated. Portioning steaks individually also helps—you don't want to keep opening the whole batch.
Sous vide? Vacuum sealing is a win-win: perfect water contact for cooking and great texture after. Just keep raw, vacuum-sealed meat cold or frozen, since the lack of oxygen can let some bacteria grow.
What's the secret to prolonging freshness and keeping food textures intact in the kitchen?
Honestly, it's about matching the sealing method to the food. Delicate stuff like greens or pastries can't handle strong vacuum sealing, so we go with gentle methods or airtight containers.
Temperature matters just as much as sealing. Even a perfect seal can't save food if your fridge temp jumps around. We keep meats at about 1.5°C, and store nuts or dried goods somewhere cool and dark.
Timing counts. Seal food as soon as you get it home or after prepping—don't wait until it's already losing texture. Fresh herbs last way longer if you seal them within hours, not days.
Biggest mistake? Using the wrong packaging. Thin wrap is fine short-term, but it won't block oxygen or moisture for long. For real results, use high-barrier films or sturdy containers with silicone seals. That's what makes the difference.
Can ensuring a good seal on my food stash prevent texture tragedies? Spill the beans!
Absolutely. We’ve tried this a bunch of times, and honestly, the difference is huge. If you seal green beans well, they’ll stay crisp-tender in the fridge for over a week. Leave them loosely covered, though, and they get slimy by day three. The way you seal your food really decides if moisture stays put or just wanders off somewhere it shouldn’t.
Seal failures usually sneak in at the edges. We always make sure the container lids snap down all the way around—no half-hearted clicks. With vacuum-sealed bags, we look for wrinkles or little channels in the seal that might let air sneak in.
Product
Share:
How to Keep Bulk Meat Purchases Fresh for Weeks
How to Store Leftovers So They Reheat as Good as Day One