

Check out our latest golf collection!
Indoor chipping practice can keep your short game sharp even when the course is too cold, wet, or far away.
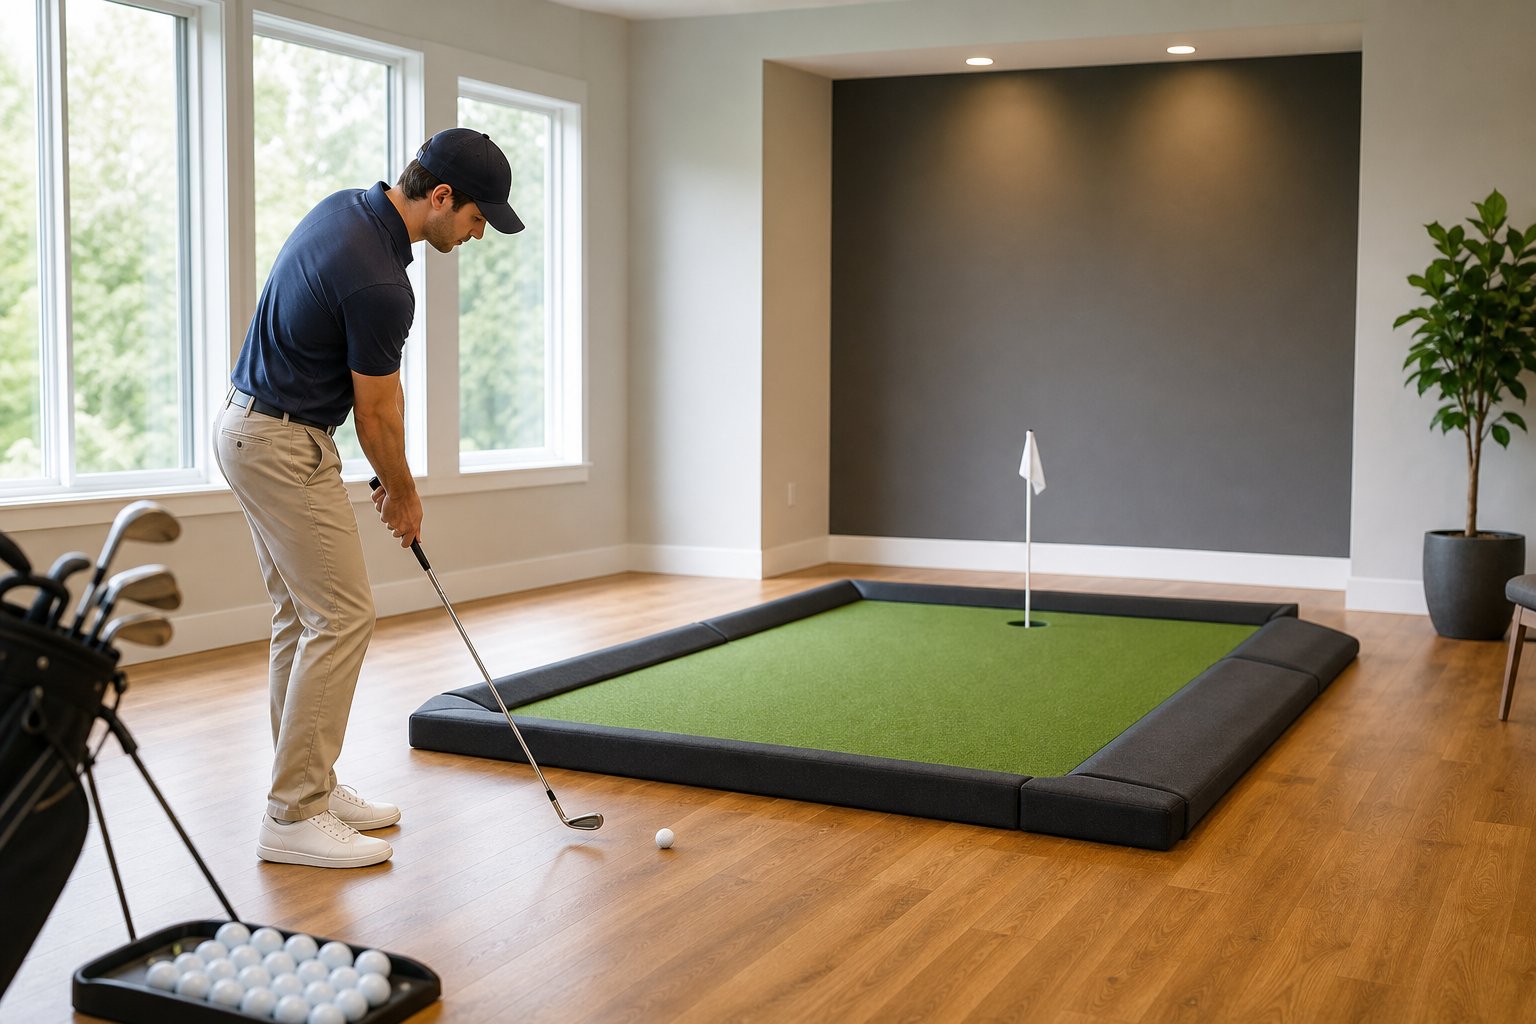
The key is building a setup that is safe, simple, and realistic for the space you have. With the right mat, soft practice balls, a net, and a clear hitting area, a basement, garage, hallway, or living room corner can become a useful practice zone.
This guide explains how to choose a safe space, pick indoor-friendly equipment, protect your home, and build simple drills that improve contact, distance control, and confidence around the green.
Key Takeaways
- You can chip effectively in small spaces, corners, hallways, garages, if you have the right gear and setup
- Foam or plastic practice balls, netting or targets, and clearing fragile stuff are musts for safety
- Consistent indoor short game drills keep your touch sharp and your scoring in shape all year
Choosing a Space for Chipping at Home
Finding a good spot at home is the first step, and honestly, you probably need less room than you think. Most golfers can set up a solid indoor or backyard chipping area with just a few square metres and some basic safety tweaks.
Assessing Indoor and Outdoor Options
When you’re chipping at home, you’ve got two main options: outside or inside. If you have a backyard, you get real grass and changing conditions, feels pretty close to the real thing. You’ll want at least 4.5 metres of clear space so you’re not stressing about windows, fences, or neighbors.
Practicing indoors, especially in a garage or basement, gives you year-round control over the environment. Garages usually have 3 to 4.5 metres of depth, which is plenty for chip shots with foam or limited-flight balls. Basements work too if your ceiling is at least 2.4 metres high, so you don’t whack your club on the ceiling.
Living rooms and hallways can work in smaller homes or apartments. These spaces are best for tempo and contact drills, not full swings. Lay down a hitting mat to protect your floor, and aim at a soft target like a chipping net.
Minimum Space and Safety Requirements
You’ll want enough room to swing without smacking walls, furniture, or lights. A basic chipping zone needs to be at least 1.8 metres wide and 2.4 metres deep for simple chip shots.
Quick Safety Checklist:
- Remove anything breakable from the area
- Use foam or soft-flight balls inside
- Give yourself at least 30 centimetres of space on each side
- Watch out for overhead lights and ceiling fans
- Put up barriers near windows or valuables
- Use a decent hitting mat to protect your clubs and floors
Ceiling height is more important than most people realize. You need at least 2.4 metres for comfortable wedge swings. Anything lower can mess with your follow-through and your habits.
Creative Practice Zones for Small Areas
Even tiny spaces can work for chipping at home. Corners in garages are great since the walls help contain wild shots. All you really need is a bucket, a mat, and a bit of protective flooring to make a workable practice spot.
Hallways are surprisingly useful for tempo and strike drills. Set a mat along the hall and chip toward a net or even a towel. The narrow space forces you to keep things controlled, no wild swings here.
Golfers have turned closets and unused corners into little practice zones. The trick is to match your drills to the space you’ve got. Use shorter clubs like a sand wedge or gap wedge in tight spots, and focus on quarter swings that build feel and contact, not distance.
Essential Equipment for Safe Chipping Practice
A good indoor chipping area relies on four main types of gear: chipping mats, nets, alignment tools, and the right practice balls. These work together to keep your space safe and your practice meaningful.
Chipping Mats and Hitting Surfaces
A decent chipping mat can turn practice from frustrating to rewarding. Go for mats that give you real turf-like feedback so your wedge slides through impact, not bounces off hard plastic.
Look for mats with different surface textures. The best ones have tight lies for fairway shots and thicker sections for rough. This lets you practice different lies, just like on the course. Mats with replaceable hitting strips last way longer, since you can swap out the worn spots.
For floor protection, mats that are 1.5 to 2 inches thick do the trick. Thinner mats might be okay for putting, but they won’t save your hardwood or concrete from repeated chipping.
You want your mat to stay put, so rubber backing is a must. Some people add a yoga mat underneath for extra grip, but a quality chipping mat shouldn’t need it.
Chipping Nets and Target Aids
A solid chipping net keeps your shots contained and your walls safe. Indoor chipping nets are usually 4 to 7 feet wide and set up in a couple of minutes.
Nets with target zones or pockets make practice more interesting and help you work on distance control. We’ve found that visible targets make a bigger difference than blank nets, aiming at something specific just works better.
Set your net at least 8 feet from where you’re hitting to handle different shot heights. If you’ve got high ceilings, you can hit higher chips, but lower ceilings mean you’ll need to stick to bump-and-run shots.
Good nets stand out because they’re durable and often have ball return features. Reinforced netting handles thousands of shots, and built-in ball returns keep you in the flow.
Alignment Sticks and Practice Accessories
Alignment sticks might seem basic, but they’re super useful for building a repeatable chipping motion. Place them parallel to your target line for consistent setup and ball position. Creating a channel with two sticks helps you see your swing path and groove the right move.
Other handy training aids include impact bags or towels just past the ball, hit the ball first, then brush the mat, and avoid the towel. This drill builds crisp contact you’ll use on the course.
Swing plane trainers and tempo devices can help, but honestly, start with the basics before adding gadgets. Once you’ve got your setup and alignment down, you can branch out.
Weighted clubs are good for building strength and tempo. Short sessions with a heavier club make your regular wedge feel lighter and easier to control.
Selecting Practice Balls for Indoors
Foam practice balls are our top pick for most indoor setups. They fly about 25% of a normal shot and won’t break anything if you miss. Modern foam balls actually feel pretty realistic for chips up to 15 feet.
Plastic practice balls with holes are a compromise between foam and real balls. They go farther than foam but still won’t do much damage. These are good if you’ve got a dedicated space with a net and want a bit more feedback.
Limited flight balls compress like real balls but only travel 40 to 60 feet. Use these if you have a big indoor space and full net coverage. They feel authentic, but you’ll need to be extra careful.
Real golf balls should really only be used in fully protected spaces with pro-grade nets and lots of room. Most homes just aren’t set up for that. Foam or plastic balls work fine and won’t wreck your stuff if you shank one.
Safe Setup and Home Safety Tips
If you’re practicing indoors, you need to protect your space and everyone who lives there. Good safety habits can mean the difference between enjoyable practice and expensive repairs.
Protecting Floors, Walls, and Furniture
Start with a decent chipping mat that has a rubber backing to keep it in place and save your floors. Hardwood and tile are especially at risk from club strikes, so get a mat that’s at least an inch thick.
Try to keep your practice area at least 8 feet from walls. If that’s not possible, stick foam padding or gym mats on the wall behind your target. Move furniture out of the way, not just to keep it safe but to avoid working around obstacles.
Laying down a big rug or interlocking foam tiles marks your chipping area and protects the floor from dropped clubs. If you have valuable stuff like TVs or glass cabinets nearby, move them or cover them up with blankets or moving pads.
If you’ve got light fixtures in range, cover them or just practice where your ceiling is high enough that you’re not coming close.
Best Practices for Family and Pet Safety
We always practice when kids and pets are out of the room or busy elsewhere. Setting a “no entry during practice” rule keeps everyone safe.
A simple sign or even a traffic cone can show others when you’re practicing. Some families use baby gates or caution tape, whatever works to set clear boundaries.
Don’t leave clubs, balls, or gear lying around after you finish. Store everything right away. Even foam balls can be a hazard for pets or little kids.
Make sure your practice area is well-lit so you can see what you’re doing and others can see you. Avoid spots near stairs, doors, or busy walkways where someone might wander in.
Using Foam Balls and Backstops
Foam balls make indoor practice much safer and still give you useful feedback. Start with foam even if you have lots of space, they’ll help you build confidence before you move up to limited-flight balls.
A good backstop or net is a must for catching stray shots. Place your net 6 to 10 feet from your mat, depending on how high you usually chip. The net should be wide enough for mishits and tall enough for the occasional high shot.
Pop-up nets are great for small spaces and easy to store. Heavier nets with weighted bases stay put, but lighter ones might need to be tied down. We use bungee cords or straps to keep them steady.
For extra security, put the backstop against a padded wall. That way, if a ball sneaks through, it won’t cause any damage. Keep your foam balls in a basket next to your mat so they’re easy to grab and less likely to roll around.
Fundamentals of Chipping Technique Indoors
Practicing indoors really puts your technique under the microscope, less space means your setup and swing path matter even more. Nail down your posture, ball position, and swing basics for solid contact and better control.
Chipping Setup and Posture
Keep your chipping stance compact and controlled. Stand with your feet closer together than you would for a full swing, about 15 to 20 centimetres apart. This narrower base limits hip rotation and keeps your swing smaller.
Open your stance a bit by pulling your lead foot back. This gives you a clearer view of your target and encourages a natural outside-to-inside swing. Set your hands ahead of the ball at address, so the shaft leans toward the target.
Stay relaxed and athletic, bend from your hips, not your shoulders. Let your arms hang naturally, without reaching or tensing up.
Start with about 60 to 70 percent of your weight on your lead foot, and keep it there through the swing. This forward weight helps you hit down on the ball for solid contact.
Ball Position and Weight Distribution
Ball position really shapes your contact and how you control the ball’s flight. For most indoor chips, put the ball just back of center in your stance, lined up with your trail foot’s instep or maybe a hair forward. It’s not an exact science, but you’ll get a feel for it.
When you set up with the ball back, you’ll hit the ball before your club bottoms out. This creates a downward strike, giving you clean contact and a flight you can count on. If you move the ball forward, you’ll add loft and height, but you also risk chunking the mat or hitting it thin, been there, not fun.
Keep your weight steady, favoring your lead side, about 60 to 70 percent, right from the start and through the swing. If you let your weight drift back, you’ll end up with those dreaded thin or fat shots.
Putting the ball back and your weight forward naturally leans the shaft at impact. That shaft lean is what makes for crisp, lower chip shots indoors.
Swing Mechanics and Path
Indoor chipping should feel simple, almost like a pendulum. Let your arms and shoulders move as one, and keep your wrists quiet. Imagine everything moving back together in one piece, no fancy wrist action needed.
Keep your backswing short and controlled, maybe about 20 to 40 centimeters. There’s no need for a big swing, especially with walls or a ceiling nearby. This compact motion keeps you in control.
Let your swing follow a gentle arc, mostly thanks to your shoulders turning. Try not to steer the club with your hands or scoop the ball. Just swing the club slightly inside the target line and bring it back the same way.
Hold the triangle between your arms and shoulders through the swing. If you flip your wrists or bend your elbows, your contact gets unpredictable. Let your chest rotate a bit through impact, pulling your arms and club together.
Finding Consistent Contact
You get consistent contact by repeating the same impact position over and over. Lead the clubhead with your hands, keeping a clear shaft lean toward the target. You’ll see this forward lean at impact, it’s what gives you that crisp, descending strike.
Try to keep your head steady and your eyes on the ball until you’ve hit it. If you peek early, you’ll likely hit it thin or miss altogether. The ball should feel like it’s getting trapped between the clubface and the mat.
Listen for the sound at impact. A sharp click means solid contact, the club catches the ball first, then brushes the mat. If you hear a dull thud, you probably hit the mat first. A thin, metallic sound means you caught the ball too high.
Practice with alignment sticks or tape on your mat to mark where you want to strike. Aim to hit the ball first and leave a brush mark just ahead of where it started. These visual cues help you build the right habits for reliable indoor chipping.
Short Game Drills and Practice Routines
If you want a reliable short game, focused drills are the way to go. Random chipping rarely leads to real improvement, but practicing with clear goals, like distance control or strike quality, makes a difference.
Target and Ladder Drills for Distance Control
The ladder drill is great for learning to chip to different distances. Start at 3 feet, then 6, then 9, and so on. Lay out towels, sticks, or containers at each spot. Try to land the ball at each target before moving further out.
This drill helps your hands and eyes sync up, teaching you how swing length changes distance. Hit five chips to the first target. If you get three out of five right, move to the next.
Target practice works in a similar way, but you focus on hitting different distances in random order. Set up three to five targets and chip to them unpredictably, just like you’d face on the course.
Both drills help you figure out how hard to swing for each distance, which pays off when you need to get up and down during a round.
Coin, Alignment, and Gate Drills
The coin drill sharpens your strike. Put a coin right behind your ball and try to hit the ball cleanly, don’t touch the coin. It forces you to make a crisp, downward strike rather than scooping.
Gate drills use two sticks or clubs set up parallel, creating a narrow path for your clubhead. Place the gate about a foot in front of your ball, right on your target line. Swinging through this gate over and over builds a consistent path and keeps your clubface square.
Alignment sticks are also handy for checking your setup. Put one along your toes and another along your target line. This setup gives you instant feedback on whether your feet, hips, and shoulders are lined up.
These drills help you nail the basics of contact and alignment, things a lot of golfers skip when practicing at home.
Practising With Different Wedges
Each wedge behaves differently. Your pitching wedge launches lower and rolls out more. The gap wedge sits in the middle. Sand wedges fly higher with less roll, and lob wedges go highest with the least roll.
Spend time with each club during practice. Chip 10 balls to the same target with your pitching wedge, switch to your sand wedge, and do it again. Notice how you need to change your landing spot to get the ball to finish in the same place.
This hands-on comparison helps you pick the right club when you’re faced with different situations on the course. If you’ve practiced with all your wedges, you’ll know which one to grab for tight pins or lots of green.
Mixing up your wedges also keeps you from relying on just one club, making you more versatile around the greens.
Structuring Effective Practice Sessions
A good routine beats just hitting chips aimlessly. Try setting aside 20 to 30 minutes, two or three times a week. That’s enough to build skill without getting tired or sloppy.
Start with 5 minutes of the coin drill for clean contact. Move on to 10 minutes of ladder or target drills for distance control. Spend another 10 minutes rotating through your wedges. Wrap up with 5 minutes of personal challenges, like landing 7 out of 10 chips inside a 3-foot circle.
Focus on one main weakness per session. If distance control is tough, spend more time there. Track your results, write down how many successful shots you hit each time.
Don’t try to fix everything at once. Quality practice with a clear goal always wins. Home chipping drills work best when you stay focused on measurable improvements instead of just hitting balls until you get bored.
Advanced Practice: Tracking Progress and Improving Performance
Tracking your practice turns random swings into real progress. Launch monitors and tracking apps can show you exactly where you’re improving or struggling, even if it’s not obvious during practice.
Performance Tracking Tools and Apps
Start simple. Use a notebook to jot down how you’re doing with distance control, landing spots, and which clubs you use for different shots. Patterns pop up quickly, maybe you’ll see you struggle at certain distances or with certain lies.
Plenty of free golf apps let you log shots, track success rates, and see your improvement over time. Some even come loaded with drills and will crunch the numbers for you.
What to track during chipping practice:
- How often you land in the target zone
- How close you get to your intended distance
- Which types of shots you’re best at (low, high, etc.)
- How long and how often you practice
- What kinds of lies you’re practicing from
The real key is consistency. Even five minutes of notes after each session will help you spot trends and adjust your focus. In our experience, golfers who track their chipping get better faster because they know exactly what needs work.
Using Launch Monitors and Simulators
Launch monitors give you feedback you just can’t get by feel alone. Even entry-level models show ball speed, carry distance, and trajectory for a few hundred bucks. You’ll know exactly how far each club carries and whether your contact is consistent.
Simulators take it up a notch, showing your shots on a screen and breaking down data like spin rate, launch angle, and roll. It’s eye-opening to see how swing speed and club choice change your results.
Key data for chipping:
- Ball speed tells you about your contact quality
- Spin rate shows if you’re getting enough backspin
- Carry distance checks your distance control
- Launch angle reveals if you’re adding or taking away loft
Use launch monitors for structured sessions instead of every casual practice. Set up distance control tests, try to land chips at specific distances with different clubs. The instant feedback really speeds up learning.
A lot of golfers are surprised by their inconsistencies at first. You might think your chips are all the same, but the monitor shows a 15-foot difference. This kind of info helps you focus your efforts.
Incorporating Chipping Into Overall Short Game Improvement
Chipping works best when you practice it alongside putting and approach shots. Try splitting your indoor short game time, about 40% chipping, 40% putting, and 20% on shots that blend both skills.
Set up routines that mimic real play. Chip to a target on your putting mat, then putt out. This way, you’re practicing getting up and down, not just hitting chips in a vacuum.
Track your “scrambling success rate.” Set up different chip shots and see how often you can get up and down in two strokes. This directly relates to your scoring on the course.
Use a putting mirror during chipping practice to keep your setup consistent. The same alignment tricks that help your putting will sharpen your chipping accuracy, too. Alternating between chipping and putting in a single session can really boost your progress.
Try monthly challenges. Chip ten balls from 15 feet and count how many finish inside three feet. Check your results over time, you’ll see real improvement, and it’s motivating.
Frequently Asked Questions
Here are quick answers to common questions about indoor golf chipping practice, safety, space, and equipment.
What's the safest way to set up an indoor chipping area so golf balls and clubs stay under control?
Clear the area first, remove anything breakable, and use foam or plastic practice balls. Set a chipping net in front of a solid wall, not glass, and add a blanket or foam padding behind it for extra protection.
How much room do I realistically need for indoor chipping, including swing clearance and ball flight?
For basic indoor chipping, aim for about 8 to 10 feet between your mat and net, with enough side clearance to swing comfortably. In tighter spaces, use shorter swings and soft practice balls.
Which practice balls are best for indoor chipping without risking windows, drywall, or light fixtures?
Foam practice balls are the safest choice for most homes. Wiffle balls also work well in very small spaces, while limited-flight balls are better for larger garages or basements with a reliable net.
What type of hitting mat works well for indoor chipping, and how do I keep it from sliding on hardwood or carpet?
Choose a cushioned turf mat that is large enough for your stance and has a non-slip base. On hardwood, tile, or smooth floors, place a rug pad underneath to keep it steady.
How do I choose the right net or backstop for short chips, and what should I put behind it for extra protection?
Use a sturdy pop-up chipping net with tight mesh and a stable frame. Place a thick blanket, foam pad, canvas sheet, or cardboard backing behind it to catch mishits and reduce bounce-back.
How can I set up a small-space chipping station that packs away quickly without turning the living room into a golf cave?
Use a foldable net, a roll-up mat, foam balls, and a small storage bag or basket. Keep everything together so the setup is quick to use and easy to put away after practice.
Teilen:
How to Use Target Pockets to Make Golf Practice More Measurable
How to Choose Gifts for Beginner Golfers Who Want to Practice at Home