

Check out our latest compact vacuum sealer for food collection!
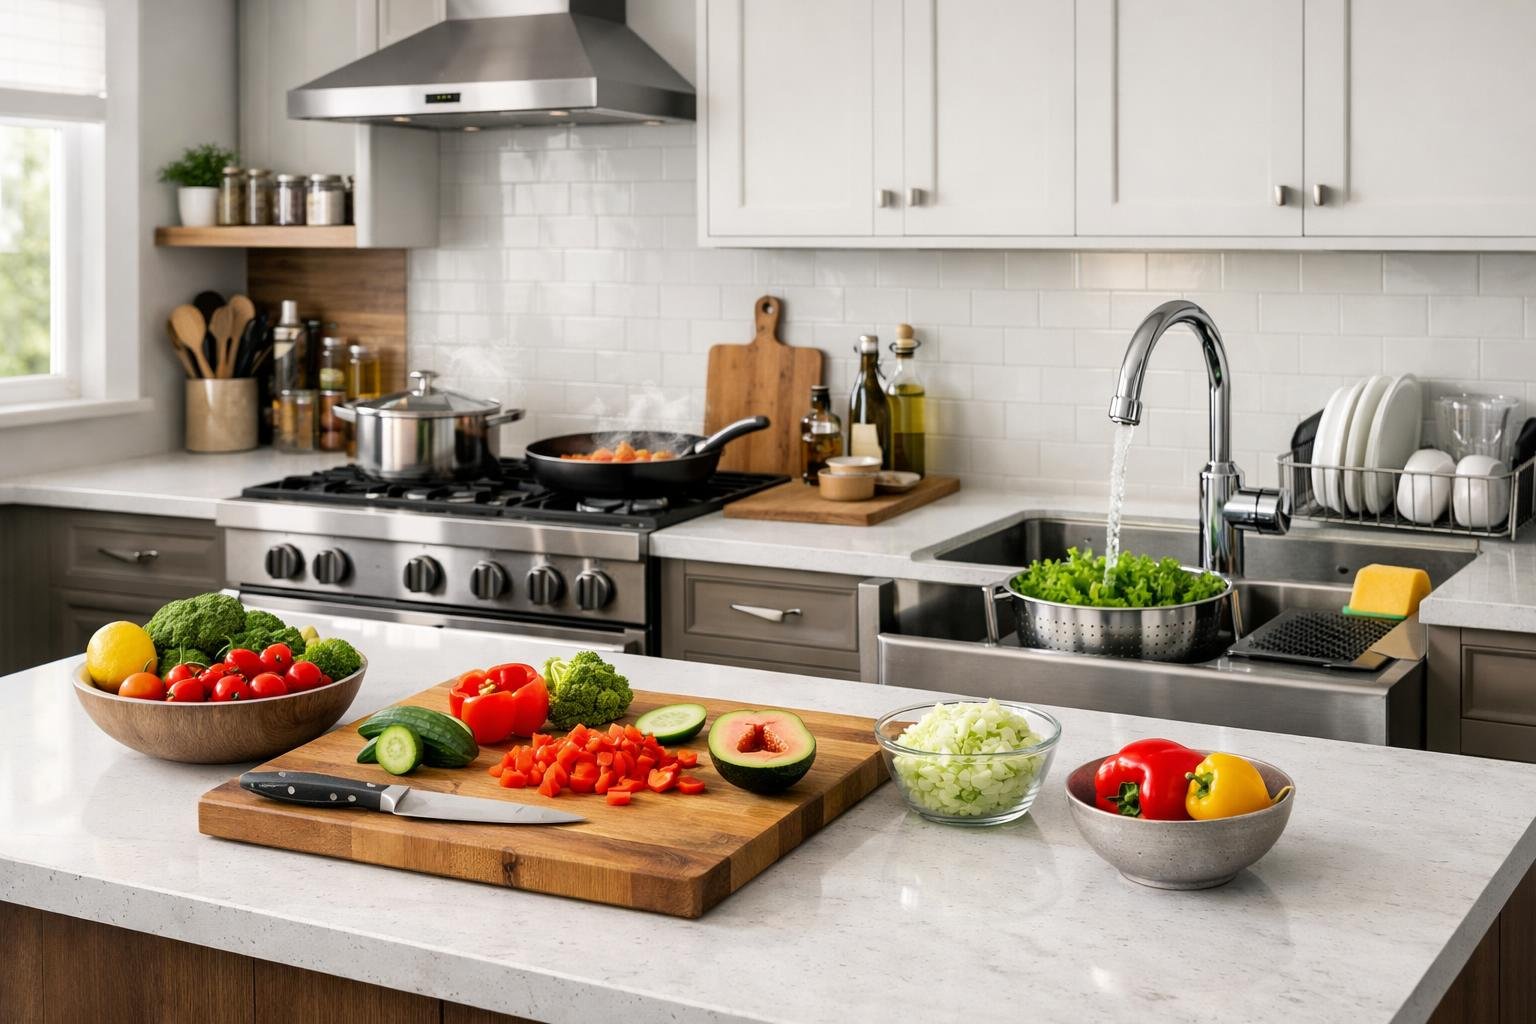
A well set up kitchen can make everyday cooking feel faster, cleaner, and far less stressful. If meal prep feels chaotic, the issue is often your layout, not your routine.
The best kitchen setup for daily meal prep usually follows the work triangle principle, keeping your sink, stove, and fridge within about 4 to 9 feet of each other so you can move through prep, cooking, and cleanup with less backtracking.
That foundation works even better when you add clear zones for storage, prep, cooking, and cleaning. With smarter storage, better lighting, and a layout built around how you actually cook, the whole kitchen becomes easier to use. In this guide, you will learn how to improve flow, organize each zone, and build a kitchen setup that supports daily meal preparation.
Key Takeaways
- The work triangle, sink, stove, fridge, makes meal prep way smoother
- Setting up zones for prep, cooking, cleaning, and storage keeps you from running in circles
- Vertical storage, smart lighting, and organized zones help any kitchen feel more efficient
Key Principles Behind the Best Kitchen Setups
Efficient kitchens really come down to three things: smart movement paths, the classic work triangle, and customizing the space around how you actually cook, not just what looks good in a magazine.
Understanding Kitchen Workflow and Flow
Workflow is basically the route you take from grabbing ingredients to plating dinner. The most functional kitchens let you move in a logical path, with no backtracking or extra steps.
We break our kitchens into work zones. The consumables zone holds the fridge and pantry. The prep zone gives you counter space for chopping and mixing. The cooking zone’s got the stove and oven. The cleaning zone is around the sink and dishwasher. Non-consumables like dishes and glasses get their own area too.
The trick is connecting these zones so you can move smoothly from cold storage to prep to cooking. The actual distance between your most-used spots matters more than how big your kitchen is.
Where you put stuff inside each zone can make or break your flow. Keep knives near your prep counter, pots next to the stove, and dishes by the dishwasher. It sounds simple, but it saves a ton of steps.
Mastering the Kitchen Work Triangle
The work triangle links your fridge, sink, and stove. It’s an old-school concept, but it’s stuck around for good reason, it just works.
Ideally, the total distance between these three points should be between 4 and 8 meters, with each side of the triangle falling between 1.2 and 2.7 meters. That’s the sweet spot: not too cramped, not so spread out you’re running laps.
You want to keep this triangle clear of household traffic. If everyone’s crossing through while you’re cooking, it’s a headache. Islands and peninsulas can help by adding more prep space inside the triangle.
Bigger kitchens or households with two cooks sometimes need more than one triangle or a modified version, but the basic idea’s the same: keep your three main areas connected for easy movement.
Personalizing Kitchen Layouts for Daily Use
The best kitchen layout really depends on how you cook, not what’s trendy. If you mostly microwave meals, your needs are different from someone who bakes bread every weekend or cooks big family dinners.
Take a hard look at your space before making changes. Galley kitchens are naturally efficient because everything’s in a line. L-shaped ones offer some nice flexibility. U-shaped kitchens give you tons of storage and counter space, but you need enough room so it doesn’t feel cramped.
Your daily habits should guide your setup. If you unload the dishwasher every morning, keep your everyday dishes in the nearest cabinet. If you’re always chopping veggies, make sure there’s counter space next to both the sink and stove.
Sometimes you’re stuck with where the plumbing and walls are, but you can still tweak things. Move small appliances, reorganize cabinets, and clear counter space near the stove. Little changes can make a big difference.
Essential Kitchen Zones for Efficient Meal Prep
The smartest setups break kitchens into workflow zones that keep everything you need within reach. Here’s where most of the magic happens during daily cooking.
Prep Zone Must-Haves and Placement
Put your prep zone by the biggest stretch of counter space, close to the fridge and sink. That way, you can grab, wash, and chop ingredients without trekking back and forth.
You’ll want sharp knives on a magnetic strip or in a block, a few cutting boards, and a compost bin or waste bowl right there. Keep measuring cups, mixing bowls, and peelers in the nearest drawer, no one wants to dig through cabinets mid-recipe.
A colander, salad spinner, and a roll of paper towels or kitchen cloths should live here too. Having all your washing and chopping gear in one spot means you can get everything ready for the pan without leaving your zone.
Cooking Zone Organisation Tactics
The cooking zone is all about the stove and oven, with your most-used tools close by. Hang spatulas, tongs, and whisks on a rail or stash them in a nearby drawer. You want to grab them fast when something’s sizzling.
Keep oils, salt, pepper, and seasonings on a tray or in a cabinet next to the range. Pots and pans should be in the nearest lower cabinet or hanging overhead if that works for your space.
Oven mitts and hot pads go in a drawer within reach. Lid organizers help you avoid the classic pot-lid avalanche.
The Storage Zone: Savvy Systems for Daily Routines
Organize storage around what you use most. Everyday dishes, glasses, and breakfast stuff go on the easiest-to-reach shelves. Special occasion stuff can go higher up or somewhere less convenient.
Group pantry items by meal type. Quick dinner staples like pasta, rice, and canned goods stick together; baking supplies get their own area.
Use clear containers for dry goods so you can see what’s running low. Label freezer containers and fridge zones to avoid mystery leftovers and cut down on food waste.
In the fridge, keep grab-and-go breakfasts at eye level, meal prep containers on one shelf, and produce in crisper drawers.
Organising Storage: Pro Habits for Daily Readiness
Pros set up storage so everything’s right where you need it. Stackable containers make the most of vertical space, and pull-out organizers or lazy susans save you from awkward stretches and digging.
Smart Storage Solutions and Stackable Containers
Stackable containers are a must for keeping the pantry and fridge tidy. Clear ones show you what’s inside so you don’t buy doubles or let stuff go bad. Deli containers in a few sizes, 8-ounce, pint, quart, nest when empty and stack when full.
Label containers with masking tape and a marker, always on the container, not the lid, since lids wander off. Add the storage date so you’re not guessing about freshness.
Under-shelf baskets create another layer in cabinets for small stuff like spices or snacks. Glass-front cabinets are handy for things you use all the time, but you’ll have to keep them neat or they start looking messy.
Pull-Outs, Lazy Susans, and Corner Cabinet Optimisations
Pull-out shelves turn deep cabinets from black holes into usable space. Add them to the pantry for oils, vinegars, and condiments so you can pull everything forward instead of digging. Pull-out drawers near the stove keep pots and pans handy.
Corner cabinets can be a pain, but lazy susans fix that. Multi-level ones are great for spices, oils, and vinegars, you just spin to find what you need. Some corner drawers with special hardware also help you use those awkward spaces.
Under the sink, pull-out organizers with adjustable dividers make it easy to see and grab cleaning supplies. They keep bottles from sliding around and tipping over.
Vertical Storage and Drawer Dividers at Work
Vertical storage is a game changer. Store baking sheets, cutting boards, and serving platters upright using dividers or narrow slots, no more pulling out the whole pile just to get one.
Drawer dividers sort utensils and gadgets by function. Measuring spoons, whisks, and spatulas each get their own spot, so you’re not rummaging during a busy dinner rush. Adjustable dividers work for all drawer sizes and tool collections.
Pull-down shelves bring top-cabinet items to eye level, which is super handy for stuff you use a lot but don’t want on the counter. Under-cabinet lighting helps you actually see what’s in lower cabinets. Grouping similar items, like all vinegars in one spot, all herbs in another, makes cooking faster and takes the guesswork out of finding things.
Kitchen Islands, Prep Sinks, and Multi-Tasking Features
A kitchen island with a prep sink gives you a spot to wash, chop, and assemble without fighting for space at the main sink. It also helps when more than one person’s cooking.
Adding a Kitchen Island for Extra Flow
Kitchen islands work best when they don’t block the main triangle and add a second prep area. Standard counter height (36 inches) is fine for most things, but a raised section (42 inches) can double as a breakfast bar or hide the mess from guests.
Islands really shine when you add storage underneath. Deep drawers for mixing bowls and baking sheets, pull-out spice racks, and vertical dividers for pans or cutting boards make life easier.
Leave at least 42 inches of space on all sides so people can pass by without bumping into each other. If you’re short on room, a rolling cart can do a lot of the same jobs without taking up permanent space.
Prep Sinks and Flexible Counter Space
A prep sink in the island means you can rinse veggies while someone else does dishes. Go for a deep, single-bowl model (16 to 18 inches wide is plenty). It’s big enough for colanders and mixing bowls but doesn’t hog the counter.
This setup is a lifesaver for big cooking projects. You can fill pots at the island instead of hauling them from the main sink. A pull-down faucet makes rinsing produce easy. Under the sink, stash a small garbage or compost bin for scraps.
If plumbing isn’t in the cards, just maximize counter space. A big cutting board over part of the island creates a solid prep zone. Keep a bus tub handy for scraps and dirty tools, carry it to the main sink when you’re done.
Lighting and Ambience: See What You're Doing
Good lighting matters more than you think, it speeds up prep and helps you avoid accidents. You’ll want bright, focused light where you’re slicing and measuring, but some softer background lighting too. No one wants to cook in a room that feels like an operating room, right?
Task Lighting for Safer and Faster Meal Prep
Under-cabinet lighting fixes the classic kitchen problem: shadows falling right where we’re trying to chop or read a recipe. Always install LED strips close to the front edge of upper cabinets, otherwise, the light misses the cutting board and just throws more shadows from our hands.
Honestly, continuous LED strips win out over those little puck lights. Pucks leave dark spots between them, so you end up shuffling ingredients around just to see what you’re doing. Who has time for that?
For kitchen islands where the real action happens, pendant lights should hang about 30 to 36 inches above the counter. Any higher and the light’s too soft to be useful. Any lower and you’ll find yourself ducking around them with every pot or mixing bowl.
Range hood lights help too, but let’s be real: most standard hoods don’t put out enough light. If you’re squinting to see if your sauce is simmering or scorching, it’s probably time to swap out those bulbs or upgrade the hood entirely.
Ambient and Accent Lighting Choices
Ambient lighting fills in where task lighting falls short and really shapes the kitchen’s vibe. Recessed lights are a go-to, but it’s less about how many you have and more about where you put them. Place them 18 to 24 inches away from the cabinets, otherwise, you get weird shadows on the doors.
And every ambient light should have a dimmer. Crank it up for breakfast, dial it down for dinner, and keep it low for those midnight snack runs. No one wants to feel like they’re in a spotlight at 2 a.m.
Accent lighting isn’t strictly necessary for cooking, but it sure makes the kitchen feel like somewhere you want to hang out. LED strips inside glass cabinets or under the toe-kick add a cozy glow without getting in the way.
Stick with warm white LEDs (2700K to 3000K). Mixing warm and cool tones just feels off, almost clinical. It’s amazing how much lighting color changes the whole mood.
Small Kitchen, Big Efficiency: Compact Ideas That Work
Small kitchens force you to get clever with storage and where you put all the gadgets. Hidden storage, vertical racks, and modern, slim designs can turn even the tiniest space into a surprisingly functional cooking zone.
Appliance Garage and Hidden Charging Stations
An appliance garage clears the clutter but keeps mixers, blenders, and food processors right where you need them. I’ve found a corner or back wall works best, tucked away but not buried. Tambour doors or lift-up panels are ideal since they don’t block your path when open.
Inside, always add a power strip so everything stays plugged in and ready to go. No more crawling into lower cabinets for the stand mixer.
A charging station in the same area or a nearby drawer solves the device chaos. One drawer with outlets inside keeps phones and tablets charged and out of sight. Placing it near the edge of the work zone, close enough for recipes, far enough that you’re not dodging screens while chopping onions.
Wall-Mounted Racks and Hanging Pot Solutions
Wall-mounted racks are lifesavers for utensils, cutting boards, and other tools you grab constantly. Keep them near the stove or prep counter so I’m not digging through drawers mid-recipe.
A hanging pot rack, either from the ceiling or wall, frees up a ton of cabinet space. You can have them over islands or in corners, where pots are handy but not in the way. Cast iron and big pans work best here since they’re heavy and get used all the time.
It’s just so much easier to cook when your go-to pans are right in front of you, not stacked in a lower cabinet.
Making the Most of Modern Kitchens
Modern kitchens often use slim, built-in cabinetry that doesn’t stick out into your walking space. I’ve seen shelves just 15 cm deep that still fit glasses and small plates.
Reflective tile or stone backsplashes bounce light around, making even the smallest kitchen feel bigger. Dark accents in shadowy spots add depth and keep things from looking flat.
I’m a big fan of mobile islands with storage. Rolling carts can be moved out of the way when you need space, or rolled in to add a prep surface when things get busy.
Personalized Zones: Coffee, Beverages, and More
A dedicated drink station keeps coffee, tea, and smoothies out of the main cooking path. It’s a game changer on busy mornings, no more bumping elbows just to get a cup of coffee.
Coffee Stations for Smooth Mornings
Putting the coffee maker near the sink or water source saves so much time (and spilled water). Mugs should hang or stack right by the machine, no hunting required.
I keep coffee beans or pods in airtight containers above or beside the maker. Filters, stir sticks, and sweeteners go in the same drawer or cabinet. No one wants to dig around for sugar before they’ve had their first cup.
A tray or mat under the coffee maker catches drips and marks the coffee zone. It keeps things tidy and makes it clear where coffee prep happens. Mug trees or hooks under cabinets free up shelf space and make it easy to grab a cup.
Beverage Centres and Kid-Friendly Spaces
A beverage centre isn’t just about coffee, think tea, smoothie makers, juice pitchers. Keep these on a low shelf or counter so kids can serve themselves.
Clear bins or lazy Susans are perfect for tea bags, hot chocolate packets, and protein powder. You can actually see what you have, and nothing gets lost in the back.
For families, store reusable water bottles and kids’ cups at kid height. Toss in a basket for straws and drink mixes, and you’ve got a one-stop drink zone that never clogs up the main kitchen flow.
Meal Planning, Serving, and Storage Behaviour
A kitchen that actually helps you plan and serve meals needs smart zones for ingredients, serving, and storage, otherwise, it’s just chaos.
Optimizing for Daily Meal Planning Routines
I break the kitchen into three storage zones that match how we cook. The fridge area keeps dry goods and cleaning supplies close. Near the sink, stash dishes, cutting boards, and knives for easy access during prep.
Grouping ingredients by meal type, not just category, makes meal planning so much easier. Use stackable containers in the freezer for meal components, ready-to-heat dinners, and breakfast items. It’s much harder to forget about food when you can see everything at a glance.
Counter space is huge. Try to keep about 36 inches of prep area near both storage and cooking spots. That way, I’m not running back and forth all night. Magnetic strips hold knives safely, and hooks keep cutting boards dry and ready.
Serving and Storing with Ease and Freshness
Serving bowls and platters live near the range or oven, but I’m careful about fire hazards. It’s so much easier to go from stove to table without crossing the whole kitchen.
For post-meal storage, use the golden triangle: fridge, stove, and sink all within four to nine feet of each other. That keeps everything within reach and cuts down on unnecessary steps. Always leave at least 15 inches of counter space on both sides of big appliances to set down hot dishes fast.
Kitchen islands are multitaskers, serving station on top, storage for linens and containers below. In small kitchens, a stainless cart you can roll around is a lifesaver.
Frequently Asked Questions
These quick answers cover the most practical ways to improve kitchen flow, storage, and freshness for daily meal prep.
How do you organize your pantry to make daily meal prep a breeze?
Group pantry items by use, such as breakfast, baking, and dinner staples. Store everyday ingredients at eye level, use clear labeled containers, and keep a small use first bin for items that need attention soon.
What's the secret to a clutter-free countertop that still keeps everything within arm's reach?
Keep out only what you use several times a week, then group daily essentials in one tray or crock. Store knives on a magnetic strip and move less-used appliances into cabinets to free up prep space.
Can you share tips for creating the perfect flow in a home kitchen for ease of cooking?
Set your kitchen up in the order you work: storage, prep, cooking, and cleanup. Keep your main prep area between the sink and stove, maintain comfortable walking space, and leave landing space near major appliances.
What are some smart storage solutions for commonly used cooking ingredients?
Store oils and seasonings near the stove, spices where labels are easy to scan, and baking staples in sturdy containers below the counter. Keep produce like onions, garlic, and potatoes in separate bins in a cool, dark space.
How do you maintain the freshness of perishables with savvy storage techniques?
Use the fridge intentionally by storing raw meat on the bottom shelf and moisture-sensitive produce with absorbent towels. Label what you have, refresh herbs in water, and freeze extra chopped ingredients in small ready-to-use portions.
What are your go-to strategies for keeping kitchen tools accessible but out of the way?
Use drawer dividers, pull-out storage, and cabinet door organizers so each tool has a clear home. Keep your most-used pots, pans, and small appliances close to the action, but off the counter when they are not needed.
Share:
How Do You Balance Speed And Quality In Everyday Cooking
How Can You Reduce Time Spent On Repetitive Cooking Tasks